12
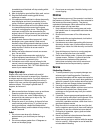
• Press out on the legs of the lower handle and
remove lower handle from the mower.
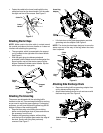
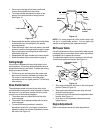
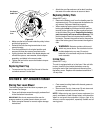
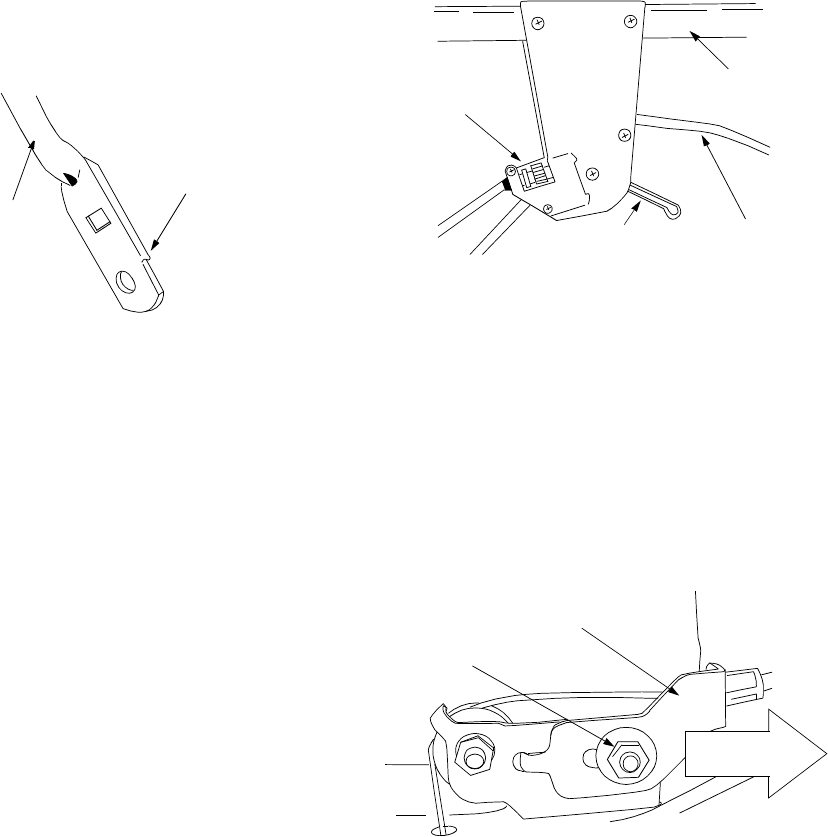
• Turn lower handle around so the notch on the
bottom of the lower handle is facing forward.
See Figure 12.
Figure 12
• Reassemble the handles, placing the bottom holes
in the handle over the weld pins in the handle
mounting bracket.
• Place the hairpin clips in the inner holes in the weld
pins and insert the carriage bolts through the upper
hole on the handle mounting bracket and secure
with plastic wing nuts.
• Reassemble the upper handle to the lower handle.
• Attach the starter rope as instructed on page 8.
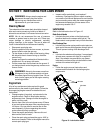
Cutting Height
Your mower is shipped with the cutting height in the
lowest position. The cutting height adjustment lever is
located above the left rear wheel. To adjust the cutting
height, proceed as follows:
• Pull the lever out and away from the mower and
then move it forward or backward to another slot.
For rough or uneven lawns, move the height
adjustment lever to a higher position. This will help
stop scalping.
Drive Clutch Control
The adjustment wheel is located in the drive clutch
control handle housing and is used to tighten or loosen
the drive belt. You will have to adjust the drive clutch
control if any of the following happens:
1. The mower does not propel itself with the drive
clutch engaged.
2. The mower’s drive wheels hesitate with the drive
clutch engaged.
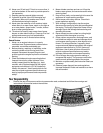
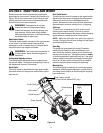
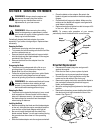
• To resolve the above problems, rotate the
adjustment wheel with your fingers: clockwise to
tighten the cable and counter-clockwise to loosen
the cable. See Figure 13.
Figure 13
NOTE: For some people the drive clutch control may
not be in a comfortable position. You can adjust the
handle out by tightening the adjustment wheel.
Shift Lever Cable
Periodic adjustment of the six speed shift cable may be
necessary due to normal wear on the cable. Adjustment
is needed if all six speeds do not work.
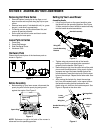
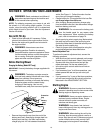
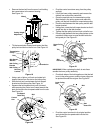
The adjustable cable bracket is located on the left side
of the mower beside the engine. See Figure 14.
Figure 14
• Start engine and place shift lever in the sixth speed
position. Refer to Figure 13.
• Stop engine and disconnect spark plug wire and
ground it against engine.
• Loosen hex nut which secures the adjustable cable
bracket. See Figure 14.
• Push back on the adjustable cable bracket and
tighten hex nut.
Engine Adjustments
Refer to the engine manual for these adjustments.
Notch
Lower Handle
Adjustment
Bottom View
Wheel
Drive Clutch
Control
Upper
Handle
Shift Lever
Hex Nut
Adjustable Cable
PUSH
Bracket


