16
• Tip the snow thrower up and forward, so that it rests
on the housing.
• Remove six self-tapping screws from the frame
cover underneath the snow thrower.
• Remove the click pins which secure the wheels,
and remove the wheels from the axle.
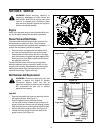
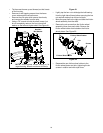
• Using a 7/8" wrench to hold the shaft, loosen, but
do not completely remove, the hex nut and bell
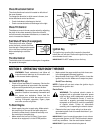
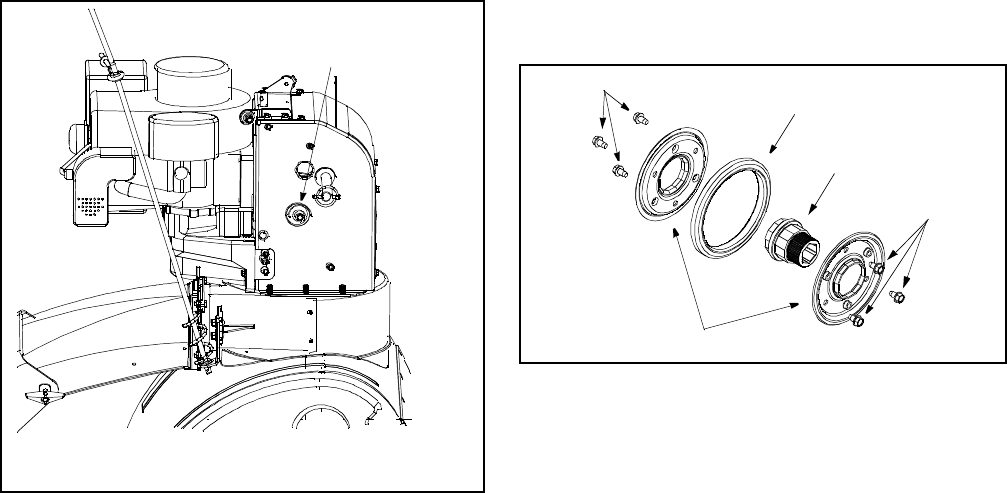
washer on the left end of gear shaft. See Figure 21.
Figure 21
• Lightly tap the hex nut to dislodge the ball bearing
from the right side of frame before removing the hex
nut and bell washer from left end of shaft.
• Move the gear shaft to the right and slide the friction
wheel assembly from the shaft.
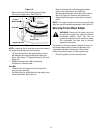
• Remove the six screws from the friction wheel
assembly (three from each side). Remove the
friction wheel rubber from between the friction
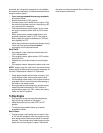
wheel plates. See Figure 22.
Figure 22
• Reassemble new friction wheel rubber to the
friction wheel plates and hub, tightening the six
screws in rotation and with equal force.
Hex Nut /
Bell Washer
NOTE: Snow thrower shown resting on its
auger housing. Wheels not shown for clarity.
Friction Wheel Rubber
Screws
Screws
Friction Wheel Plates
Hub


