8
Traction Control / Auger Control Lock
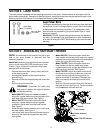
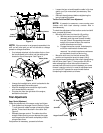
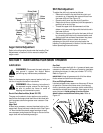
The traction control is located on the right handle. See
Figure 7. Squeeze the traction control to engage the
wheel drive. Release to stop.
This same lever also locks the auger control so you
can operate the electric chute rotation switch without
interrupting the snow throwing process. If the auger
control is engaged simultaneously with the traction
control, the operator can release the auger control (on
the left handle) and the augers will remain engaged.
Release the traction control to stop the augers and
wheel drive (the auger control must also be released).
Chute Directional Control (Model 724 STE)
The chute directional control is located on left side of
the snow thrower.
To change the direction in which snow is thrown, turn
chute directional control as follows:
• Crank clockwise to discharge to the left.
• Crank counterclockwise to discharge to the right.
Electric Chute-Rotation Switch (Model 926 STE)
The electric chute-rotation switch is located on the left
side of the snow thrower handle panel.
To change the direction in which discharged snow is
thrown, proceed as follows:
• Push the toggle switch to the left to rotate the chute
counterclockwise.
• Push the toggle switch to the right to rotate the
chute clockwise.
IMPORTANT:
Release the switch once the chute has
completed its rotation cycle in either direction. Failure to
do so can result in damage to the electric chute motor
and/or its drive gear.
Track Steering Control
The left and right track steering controls are located on
the underside of the handles and are used to assist in
steering the snow thrower. See Figure 7. Squeeze the
right track control when turning right, squeeze the left
control when turning left. Operate your snow thrower in
open areas until you become familiar with these
controls.
NOTE: It is easier to maneuver a non-running snow
thrower with both track steering controls held in
simultaneously.
Heated Handles Switch (Model 926 STE)
The heated handles switch is located on the right side
of the snow thrower handle panel. See Figure 7. To
activate the heated handles, toggle the switch to the
right to generate heat within the handle grips.
NOTE: The heated grips are a compliment, NOT a
substitute for proper cold weather outerwear for hands.
It is recommended that the user wear gloves/mittens
when operating this snow thrower.
IMPORTANT:
Toggle the heated handles switch to the
left into the OFF position after using the snow thrower.
Chute Tilt Control
The distance snow is thrown can be changed by
adjusting the angle of the chute assembly. Move the
chute tilt control forward to decrease the distance,
toward the rear to increase. See Figure 7.
Fuel Shut-Off Valve
The fuel shut-off valve, located under
the fuel tank, controls fuel flow from
the tank. Always make certain it is in
the Open (vertical) position before
attempting to start the engine.
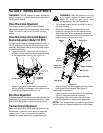
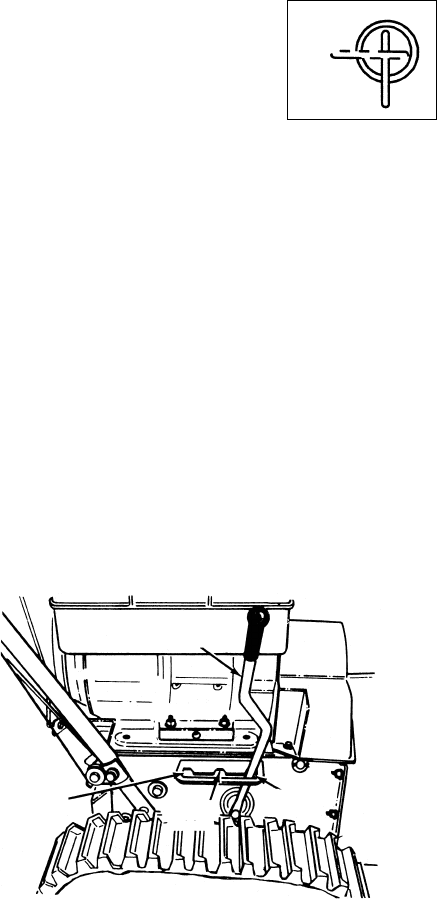
Track Lock Lever
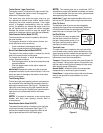
The track lock lever is located on the right side of the
snow thrower and is used to select the position of the
auger housing and the method of track operation. See
Figure 8. Move the lever to the right, then forward or
backward to one of the three positions.
Transport—Raises the front end of the snow thrower for
easy transport. Using proper caution, this position may
also be used on many gravel driveways to clear snow
while leaving gravel undisturbed.
Normal Snow—Allows the tracks to be suspended
independently for continuous ground contact.
Packed Snow—Locks the front end of the snow thrower
down to the ground for hard-packed or icy snow
conditions.
Figure 8
Open
Closed
Track
Lock Lever
Transport
Normal
Snow
Packed
Snow


