14
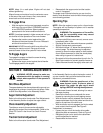
• Remove the plastic belt cover on the front of the
engine by removing the two self-tapping screws.
• Tip the snow thrower up and forward, so that it rests
on the housing.
• Remove six self-tapping screws from the frame
cover underneath the snow thrower.
• Pull the idler pulley away from the drive belt and
remove the belt from the engine pulley.
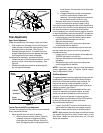
• Working from the underside of the frame, slip belt
between the friction wheel and the friction wheel
disc. You may have to twist the belt flat in order to
slide it through the clearance between the friction
wheel and the friction wheel disc. Remove and
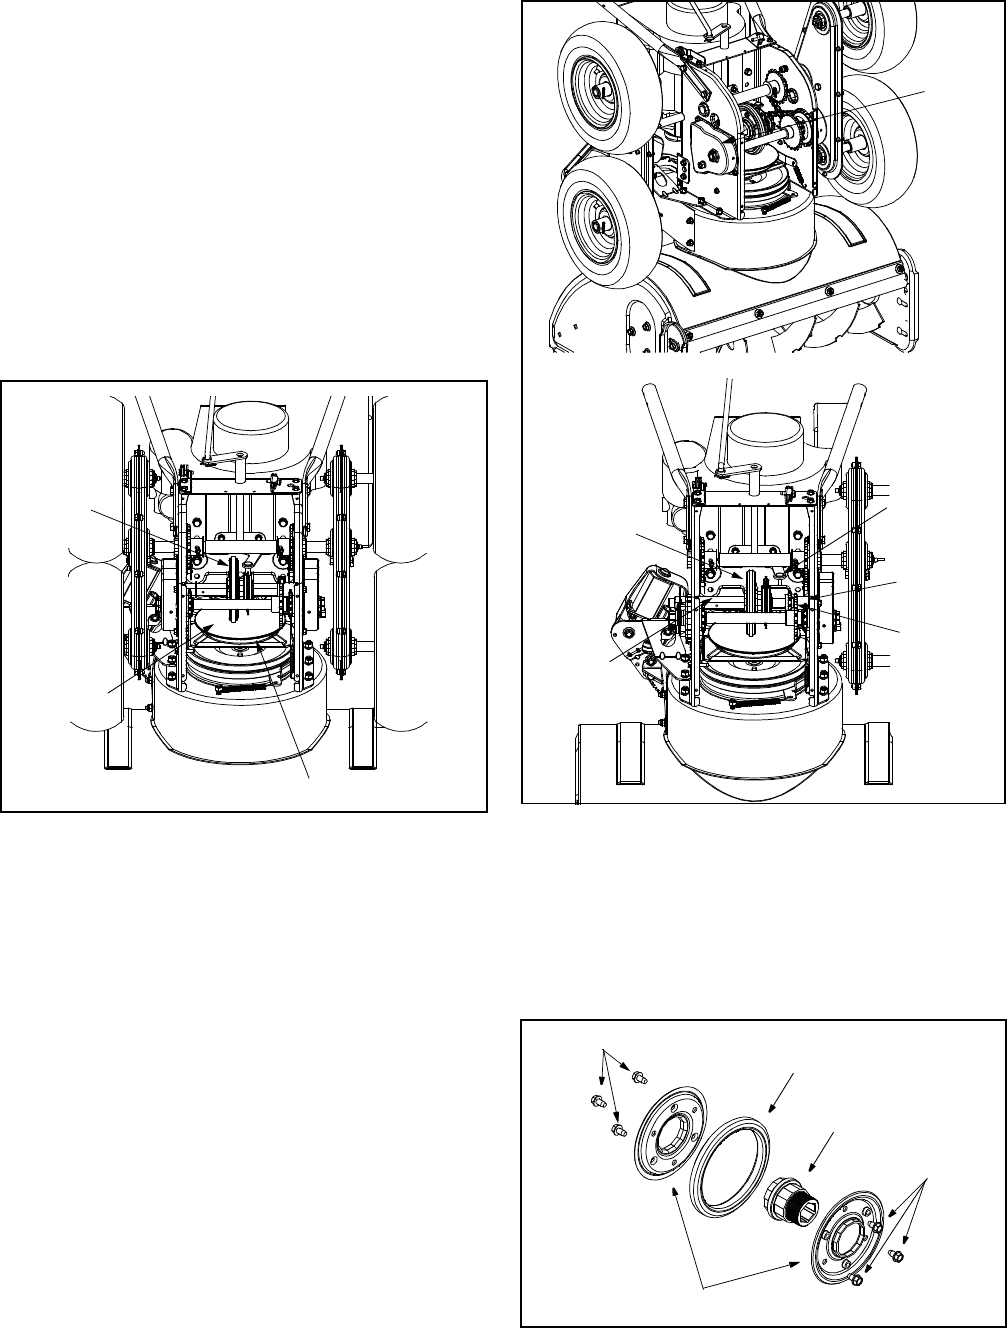
replace the belt. Reassemble following the
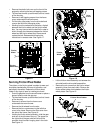
instructions in reverse order. See Figure 17.
Figure 17
Servicing Friction Wheel Rubber
The rubber on the friction wheel is subject to wear and
should be checked after 25 hours of operation, and
periodically thereafter. Replace the friction wheel
rubber if any signs of wear or cracking are found.
• Drain the gasoline from the snow thrower or place a
piece of plastic under the gas cap.
• Tip the snow thrower up and forward, so that it rests
on the housing.
• Remove six screws from the frame cover
underneath the snow thrower.
• Remove the left wheels from the axle.
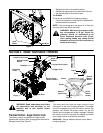
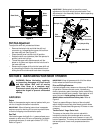
• Remove the four screws securing the left drive
cover to the frame. Remove the drive cover from
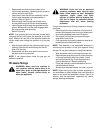
the side of the frame. See Figure 18.
• Holding the friction wheel assembly, slide the gear
shaft out of the left side of the unit. The spacer on
the right side of the gear shaft will fall and the
sprocket should remain hanging lose in the chain.
See Figure 18.
Figure 18
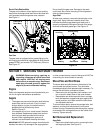
• Lift the friction wheel assembly out between the
axle shaft and the drive shaft assemblies.
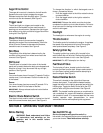
• Remove the six screws from the friction wheel
assembly (three from each side). Remove the
friction wheel rubber from between the friction
wheel plates. See Figure 19.
Figure 19
Friction
Wheel
Friction
Wheel Disc
Drive Belt
Drive
Cover
Friction
Wheel
Pin
Spacer
Sprocket
Gear
Shaft
Friction Wheel Rubber
Screws
Screws
Friction Wheel Plates
Hub


