Yournew tractorhas been assembledat the factory withexceptionof thosepartsleft
unassembledfor shippingpurposes. To ensuresafe and properoperationof your
tractorall parts and hardwareyou assemblemustbe tightenedsecurely. Use the
correcttoolsas necessaryto insurepropertightness.
TOOLS REQUIRED FOR ASSEMBLY
A socketwrenchsat will make assembly
easier. Standardwrenchsizesyou need
are listedbelow.
(1) 9/16"wrench (1) Pliers
(2) 1/2"wrench (1) Utilityknife
(1) Tire pressure
gauge
When rightor lefthandismentionedin
thismanual,it means whenyou are in the
operatingposition(seated behindthe
steeringwheel).
TO REMOVE TRACTOR FROM
CARTON
UNPACK CARTON
1. Remove all accessibleloose parts
and partscartons from carton.
2. Cut, from topto bottom,alonglines on
allfour cornersof carton,and lay
panelsflat.
3. Checkfor any additionalloose parts
or cartonsand remove.
BEFORE REMOVINGTRACTOR
FROM SKID
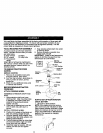
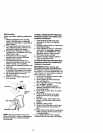
ATTACH STEERING WHEEL
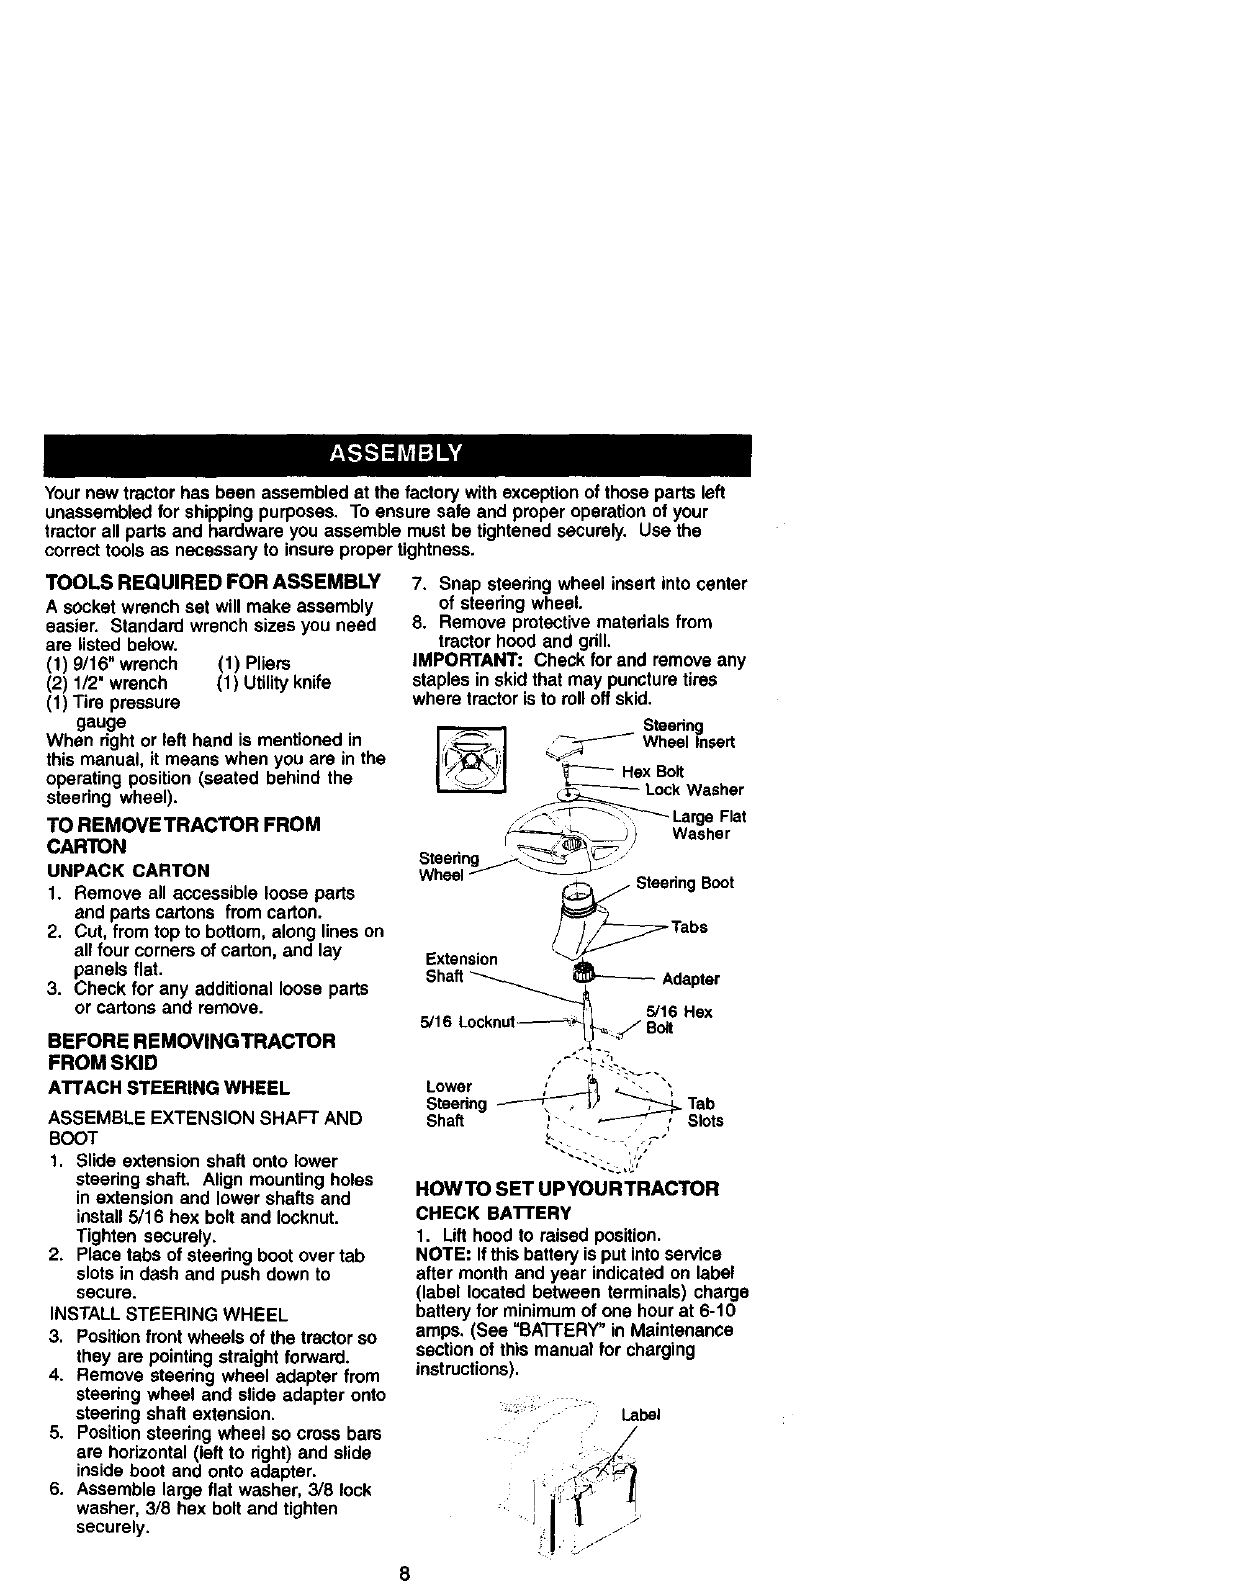
ASSEMBLE EXTENSION SHAFT AND
BOOT
1. Slide extension shaft onto lower
steering shaft. Align mounting holes
in extension and lower shafts and
install 5/16 hex bolt and Iocknut.
Tighten securely.
2. Place tabs of steedng boot over tab
slots in dash and push down to
secure.
INSTALL STEERING WHEEL
3. Position front wheels of the tractor so
they are pointing straight forward.
4. Remove steering wheel adapter from
steering wheel and slide adapter onto
steering shaft extension.
5. Position steering wheel so cross bars
are horizontal (left to right) and slide
inside boot and onto adapter.
6. Assemble large flat washer. 3/8 lock
washer. 3/8 hex bolt and tighten
securely.
7. Snap steering wheel insert into center
of steering wheel.
8. Remove protective materials from
tractor hood and gdll.
IMPORTANT: Check for and remove any
staples in skid that may puncture tires
where tractor is to roll off skid.
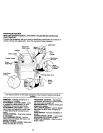
Steedng
,_F Wheel Insert
'_x Bolt
_k Washer
,,-_ - Large Flat
.... ) Washer
SteedngwheelF _
_ _eering Boot
,.epter
Lower /'_" _ ' I"
Steering _ _! _ ab
Shaft '" _ , Sots
HOWTO SET UPYOURTRACTOR
CHECK BA'I-rE RY
I. Lift hood to raised position.
NOTE: If this battery is put into service
after month and year indicated on label
(label located between terminals) charge
battery for minimum of one hour at 6-10
amps. (See "BATTERY_ in Maintenance
section of this manual for charging
instructions}.
8


