CUSTOMER RESPONSIBILITIES
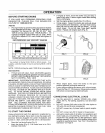
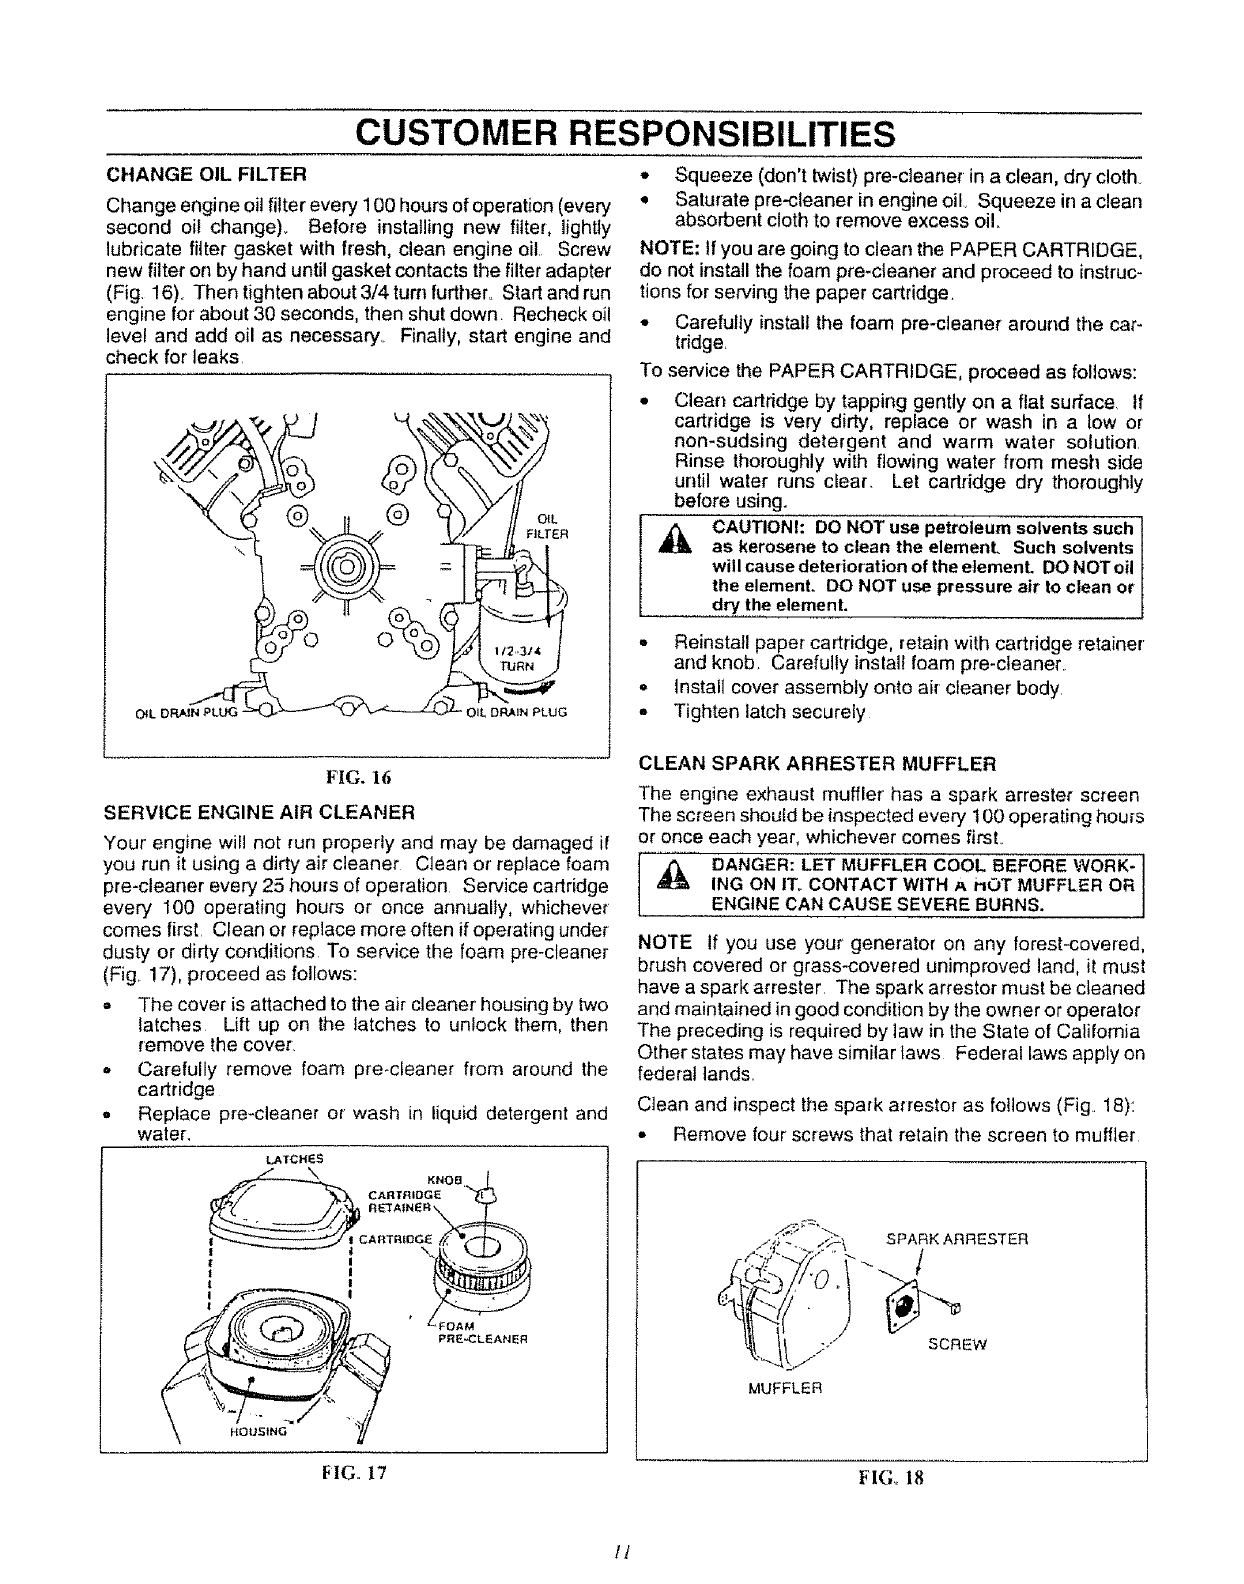
CHANGE OIL FILTER
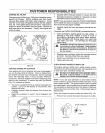
Change engine ell filter every 100 hours ef operation (every
second oil change)_ Before installing new filter, lightly
lubricate filter gasket with fresh, clean engine oil Screw
new filter on by hand until gasket contacts the filter adapter
(Fig. 16). Then tighten about 3/4 turn further. Start and run
engine for about 30 seconds, then shut down. Recheck oil
level and add oil as necessary. Finally, start engine and
,heck for leaks
,, Squeeze (don't twist)pre-cleaner in a clean, dry cloth
,, Saturate pre-cleaner in engine oil. Squeeze in a clean
absorbent cloth to remove excess oil..
NOTE: If you are going to clean the PAPER CARTRIDGE,
do not install the foam pro-cleaner and proceed to instruc-
tions for serving the paper cartridge.
• Carefully install the foam pre-cleaner around the car-
tridge
To service the PAPER CARTRIDGE, proceed as follows:
• Clean cartridge by tapping gently on a flat surface, if
cartridge is very dirty, replace or wash in a low or
non-sudsing detergent and warm water solution.
Rinse thoroughly with flowing water from mesh side
until water runs dear. Let cartridge dry thorougi_ly
before using.
A CAUTIONh DO NOT use petroleum solvents such
as kerosene to clean the elemenL Such solvents
will cause deterioration of the etemenL DONOToil
the element. DO NOT use pressure air to cleanor
dry the element.
= Reinstall paper cartridge, retain with cartridge retainer
and knob. Carefully install foam pre-cleaner.
• Install cover assembly onto air cleaner body
- Tighten latch securely
FIG. 16
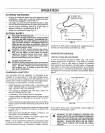
SERVICE ENGINE AIR CLEANER
Your engine will not run properly and may be damaged if
you run it using a dirty air cleaner Clean or replace foam
pre-cleaner every 25 hours of operation Service cartridge
every 100 operating hours or once annually, whichever
comes first Clean or replace mere often ifoperating under
dusty er didy conditions To service the foam pre-cteaner
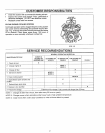
(Fig 17), proceed as follows:
= The cover is attached tothe air cleaner housing by two
latches Lift up on the latches to unlock them, then
remove the cover.
o Carefully remove foam pre-cleaner flora around the
cartridge
- Replace pro-cleaner or wash in liquid detergent and
water.
LATCHES
c KNO0_L
PR_.,,CLEAN ER
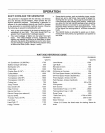
CLEAN SPARK ARRESTER MUFFLER
The engine exhaust muffler has a spark arrester screen
The screen should be inspected every t 00 operating hours
or once each year, whichever comes first.
DANGER: LET MUFFLER COOL BEFORE WORK- ]
A ING ON ITo CONTACT WITH A i_OT MUFFLER OR
ENGINE CAN CAUSE SEVERE BURNS.
NOTE If you use your generator on any forest-covered,
brush covered or grass-coveted unimproved land, it must
have a spark arrester The spark arrestor must be cleaned
and maintained in good condition by the owner or operator
The preceding is required by law in the State of California
Other states may have similar taws Federal taws apply on
federal lands
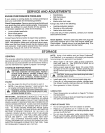
Clean and inspect the spark arrestor as follows (Fig. 18):
= Remove four screws that retain the screen to muffler
' :-_T\ SPARK__ARRESTER
_ SCREW
MUFFLER
FIG°17
FIGoI8
1/


