Read and follow the assembly and ad-
justment instructions for your snow
thrower. All fasteners are in the parts
bag. Do not discard any parts or materi-
al until the unit is assembled.
,_ WARNING: Before doing any
assembly or maintenance to
the snow thrower, remove the
wire from the spark plug.
,_ WARNING: Always wear
safety glasses or eye
shields while assembling
snow thrower.
NOTE: In this instruction book, left
and right describe the location of a
part from the operator's position be-
hind the unit.
Tools Required
1 Knife
1 Pliers
1 1/2 inch open end wrenches
1 9/16 inch open end wrenches
1 3/4 inch open end wrenches
1 Measuring tape or ruler
1 Screwdriver
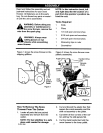
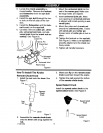
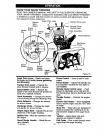
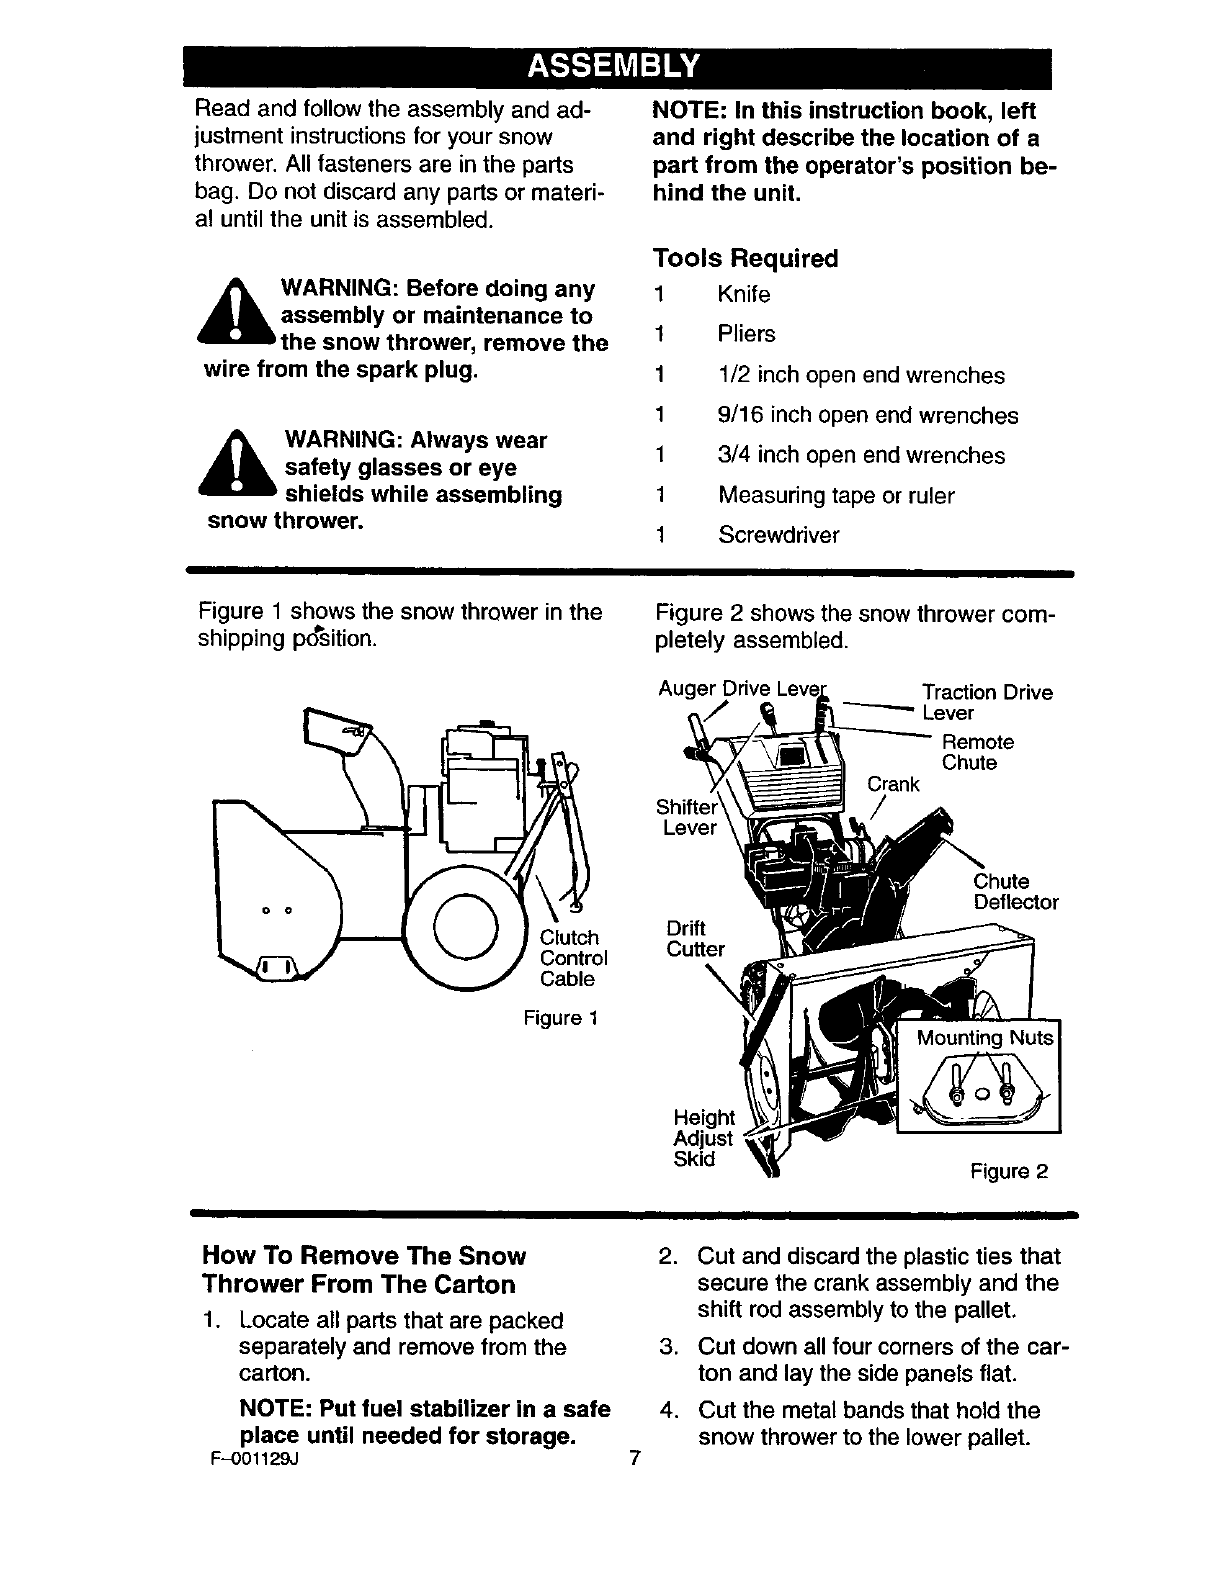
Figure 1 shows the snow thrower in the
shipping po"sition.
Clutch
Control
Cable
Figure 1
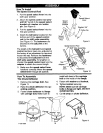
Figure 2 shows the snow thrower com-
pletely assembled.
Traction Drive
----'- Lever
Remote
Chute
Crank
Lever
Drift
Cutter
Chute
Deflector
Height
Adjust
Skid
Figure 2
How To Remove The Snow
Thrower From The Carton
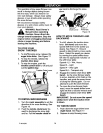
1. Locate all parts that are packed
separately and remove from the
carton.
NOTE: Put fuel stabilizer in a safe
place until needed for storage.
F-001129J
,
,
4.
7
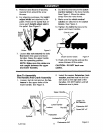
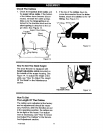
Cut and discard the plastic ties that
secure the crank assembly and the
shift rod assembly to the pallet.
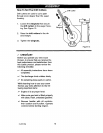
Cut down all four corners of the car-
ton and lay the side panels flat.
Cut the metal bands that hold the
snow thrower to the lower pallet.


