10
FIGURE 20
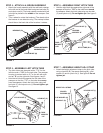
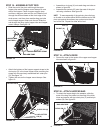
STEP 18 - ASSEMBLE PIVOT ROD
• Slidetheendofthepivotrodthroughtheupper
hoppertubeandthehoppermountclampsonone
sideofthehopper.Placeahoppersupportstrap
andthenabagarmtubeontotherod.Slidetherod
throughthestitchedsleeveatthefrontedgeofthe
windscreen,andthenplaceanotherbagarmtube
and a hopper support strap onto the rod. Slide the
rodthroughtheotherupperhoppertubeandhopper
mountclamps.Seegure18.
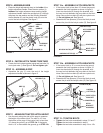
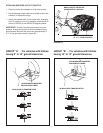
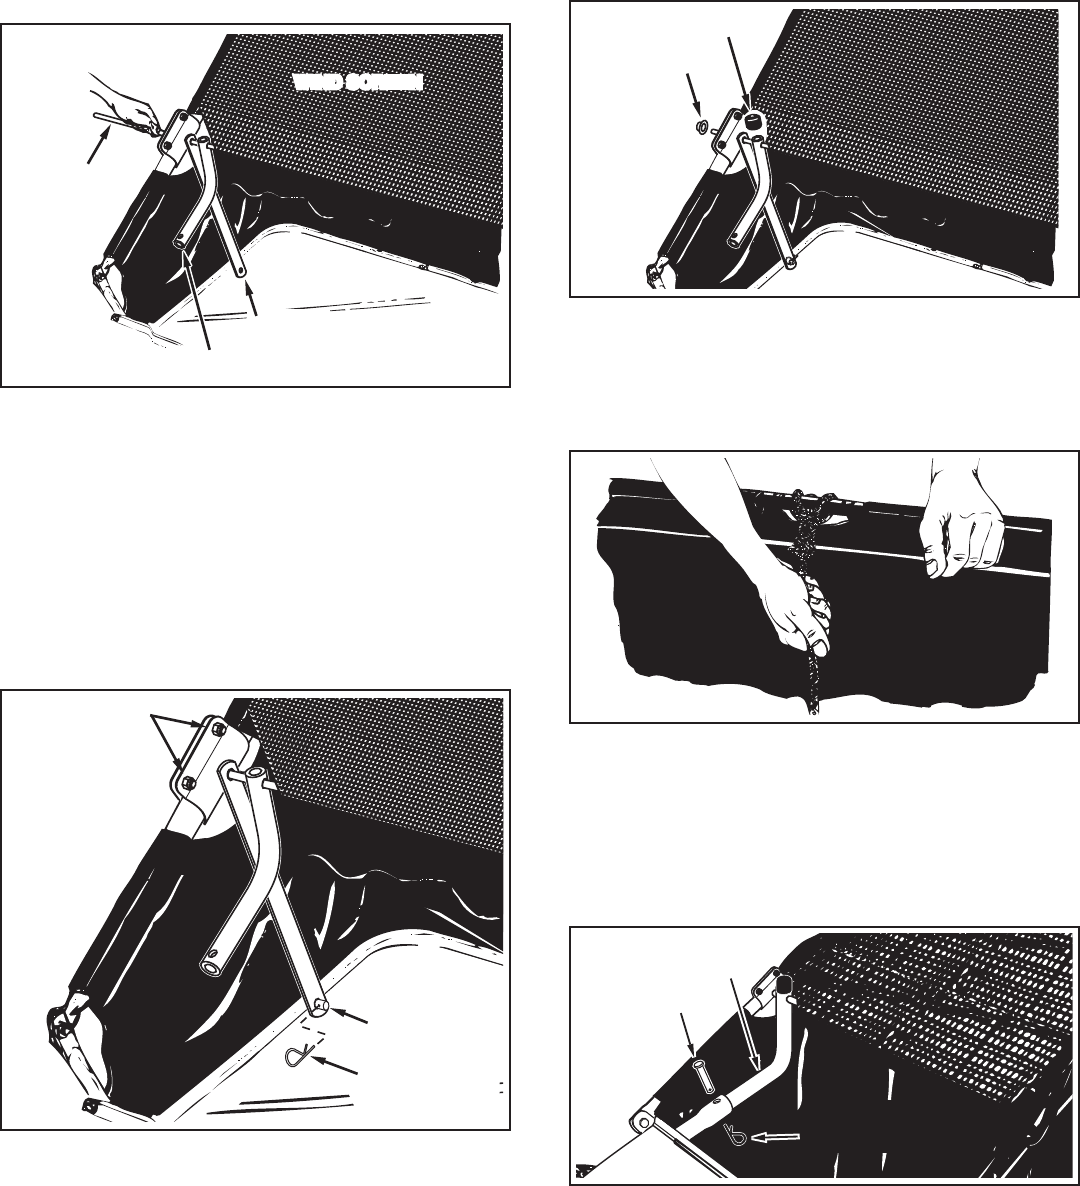
STEP 20 - ATTACH HOPPER BAG
• Toattachthehopperbagtothesweeper,slidethe
endsofthebagarmtubesintotheendsofthehitch
tubesandsecurewithtwoclevispins(P)andhairpin
cotters(M).Seegure22.
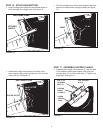
STEP 19 - ATTACH ROPE
• Securetheropetothecenteroftheupperrearhopper
tubeasshowningure21.
FIGURE 22
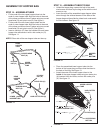
• Assembleavinylcap(U)ontoeachbagarmtubeas
showningure20.
• Assembletwopalnuts(Q)ontotheendsofthepivot
rodusingahammer.Seegure20.
HINT: Toeaseassemblyofthepalnuts,placethebag
onitssideonasolidsurface.Withthebottomendofthe
pivotrodagainstthesurface,tapapalnutontothetop
end of the rod. Repeat for other end of rod.
FIGURE 18
FIGURE 21
BAG ARM TUBE
HOPPER BAG
PIVOT ROD
MOUNTING CLAMPMOUNTING CLAMP
WIND SCREENWIND SCREEN
HOPPER SUPPORT STRAP
MOUNTING CLAMP MOUNTING CLAMP
HAIR COTTER
PIN (S)
TIGHTEN NUTS
CLEVIS PIN (O)
FIGURE 19
MOUNTING CLAMP MOUNTING CLAMP
PALNUT (Q)
CAP (U)
CLEVIS PIN (P)
BAG ARM TUBE
HAIRPIN
COTTER (S)
• Attachthebottomsofthehoppersupportstrapstothe
clevispins(O)inthelowerhoppertubes,securingthe
strapswiththepreviouslyassembledhaircotterpins
(S).Seegure19.
• Tightenthenutsonthehoppermountclamps.See
gure19.


