


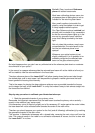

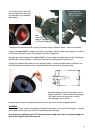
6
Read your telescope instruction manual for the correct procedure to remove the main mirror cell.
Most manuals contain this in the maintenance part ”Cleaning The Main Mirror”. Nearly all designs
hold the main mirror cell in the tube by three screws. You will find them near the rear end of the
tube spread 120° apart around the tube’s circumference. Prior to any removal mark the position
of the main mirror cell against the tube with two small sticky labels. Then carefully unscrew these
three screws and pull the main mirror cell out of the tube very cautiously.
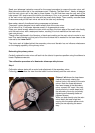
Now make a stencil of cardboard using compasses and scissors.
The stencil’s outer diameter has to match exactly that of the main mirror.
Cut a hole of 8 to 10 millimeter diameter exactly in its geometrical center.
Place your stencil exactly above the main mirror and copy the inner edge of the small hole directly
onto the main mirror with a waterproof marker, resulting in a circle marked on the main mirror
(see next picture).
Though often mentioned in the literature, a black spot marking on the main mirror’s center is use-
less! You would blacken out that part of the mirror surface that is needed for the laser beam to be
returned to the Laser-Colli™.
This circle mark is hidden behind the secondary mirror and therefor has no influence whatsoever
on the imaging capability of the primary mirror.
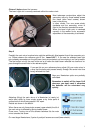
Relocating the primary mirror:
Carefully replace the main mirror cell back into the tube to its previous position using the stickers to
locate. Replace screws etc.
The collimation procedure of a Newtonian telescope with pictures.
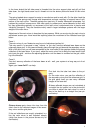
Step 1
Collimation always starts with a control and adjustment of the secondary mirror.
Following pictures show the view from the tube’s front end directly onto the main mirror.
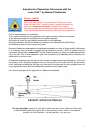
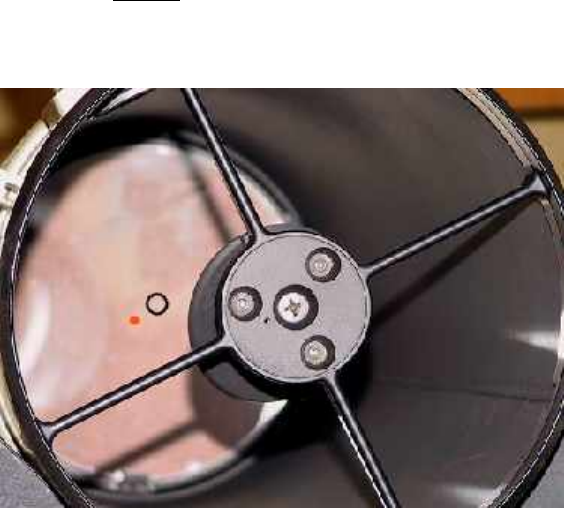
Picture 1 left shows the laser beam
(red dot) obviously missing the
marker circle in the center of the main
mirrror. Note the three adjustment
Hex head screws of the secondary
mirror spread 120° apart. Very cau-
tiously and only in small steps re-tilt
the secondary mirror by very slowly
tightening and releasing these ad-
justment screws.
While you look directly onto the main
mirror watch the laser’s light dot
moving into the center marker circle
while you are adjusting the secon-
dary.