


8
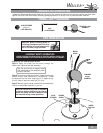
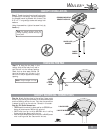
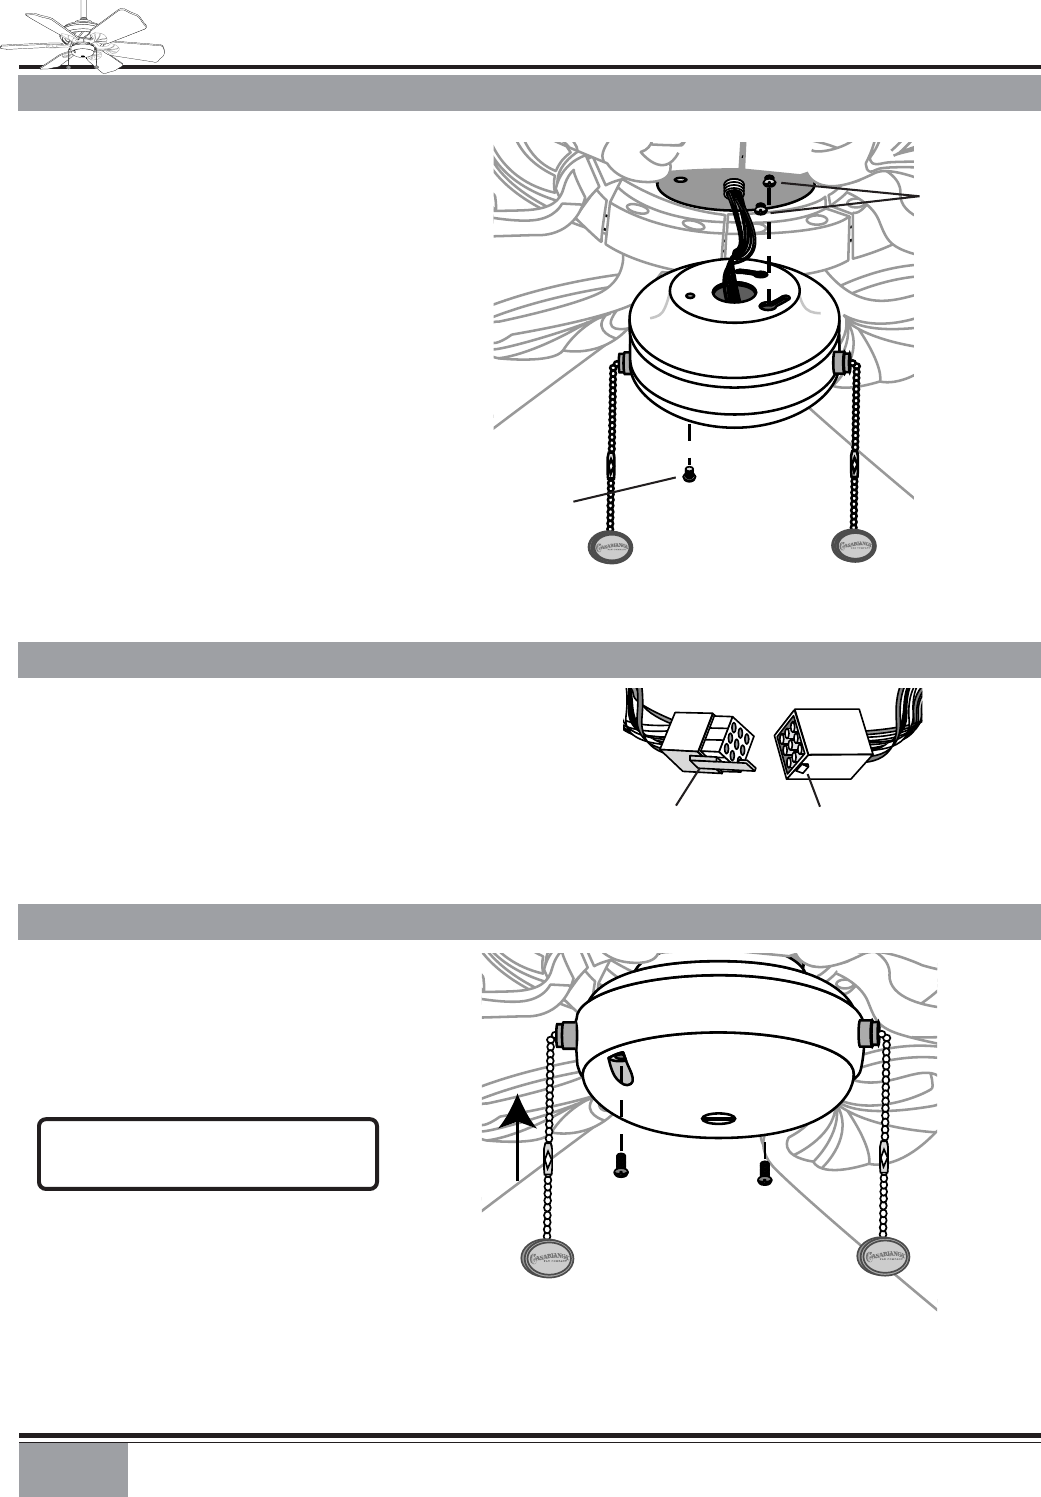
Step 15. Install 2 of the 3 switch housing
screws onto the fan adapter plate, leaving
1
⁄
8
" threads visible. Feed the wire connec-
tor from the fan through the center of the
switch housing.
Align the 2 screws on the adapter plate with
the keyhole slots of the switch housing.
Raise the switch housing, pulling on the fan
wire connector to assure no wires get
pinched.
Turn the switch housing counter clockwise,
engaging the 2 screws. Install the third
screw and tighten all 3 screws.
INSTALL SWITCH HOUSING
SWITCH
HOUSING
2 SWITCH
HOUSING
SCREWS
SWITCH
HOUSING SCREW
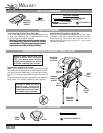
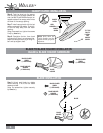
Step 16. Plug the wire connector for the
fan into the wire connector for the switch
housing. Assure that the clip from the fan
connector engages the notch on the switch
housing connector.
CONNECT WIRES
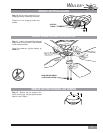
Step 17. If you are installing a light fix-
ture, please refer to the “3-Speed Optional
Light Fixture Installation” on the next page.
If no light fixture is being installed, care-
fully push the wires and components back
into the switch housing.
Align the guiding pegs of the cap to the
non-threaded holes of the switch housing.
Reinstall the switch housing cap screws re-
moved in Step 12.
INSTALL SWITCH HOUSING CAP SCREWS
CLIP NOTCH
WAILEA
TM
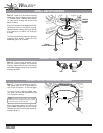
NOTE: The black wiring boxes have double
sided tape. Use the tape to secure the boxes
to the top of the switch housing.