


Portable Generator
8
GROUNDING THE
GENERATOR
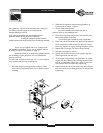
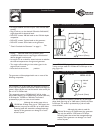
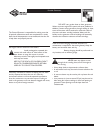
The National Electrical Code requires that the frame and
external electrically conductive parts of this generator be
properly connected to an approved earth ground. Local
electrical codes may also require proper grounding of the
unit. For that purpose, a GROUNDING FASTENER is
provided on the generator end (Figure 4).
Generally, connecting a No. 12 AWG (American Wire
Gauge) stranded copper wire to the grounding fastener and
to an earth–driven copper or brass grounding rod
(electrode) provides adequate protection against electrical
shock. Be careful to keep the grounding wire attached after
connecting the stranded copper wire. However, local codes
may vary widely. Consult with a local electrician for
grounding requirements in your area.
Properly grounding the generator helps prevent electrical
shock if a ground fault condition exists in the generator or
in connected electrical devices, especially when the unit is
equipped with a wheel kit. Proper grounding also helps
dissipate static electricity, which often builds up in
ungrounded devices.
BATTERY CHARGER
If equipped, use battery float charger jack to keep the
starting battery charged and ready for use. Battery charging
should be done in a dry location, such as inside a garage.
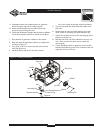
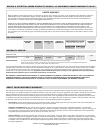
• Plug the charger into the unit’s “Battery Float Charger”
jack, which is located on the starter switch (Figure 5).
Plug battery charger into a 120 Volt AC wall receptacle.
• Unplug the charger from the unit and the wall outlet when
generator is being started and while it is in operation.
• Keep this charger plugged in when generator is not in
use to prolong battery life.The charger has a built in float
equalizer and will not overcharge the battery, even when
plugged in for an extended period of time.
IMPORTANT: See “Battery Maintenance” on page 12 for
additional information.
OPERATING THE
GENERATOR
CAUTION! NEVER start or stop the engine
with electrical loads connected to the receptacles
AND with the connected devices turned ON.
IMPORTANT: Always unplug the battery float charger
before starting the generator.
Starting the Engine
Disconnect all electrical loads from the generator. Use the
following start instructions:
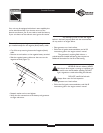
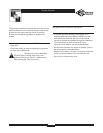
• For models with the fuel valve built into the engine, turn
the fuel valve to the “On” position (Figure 6).
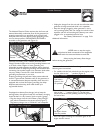
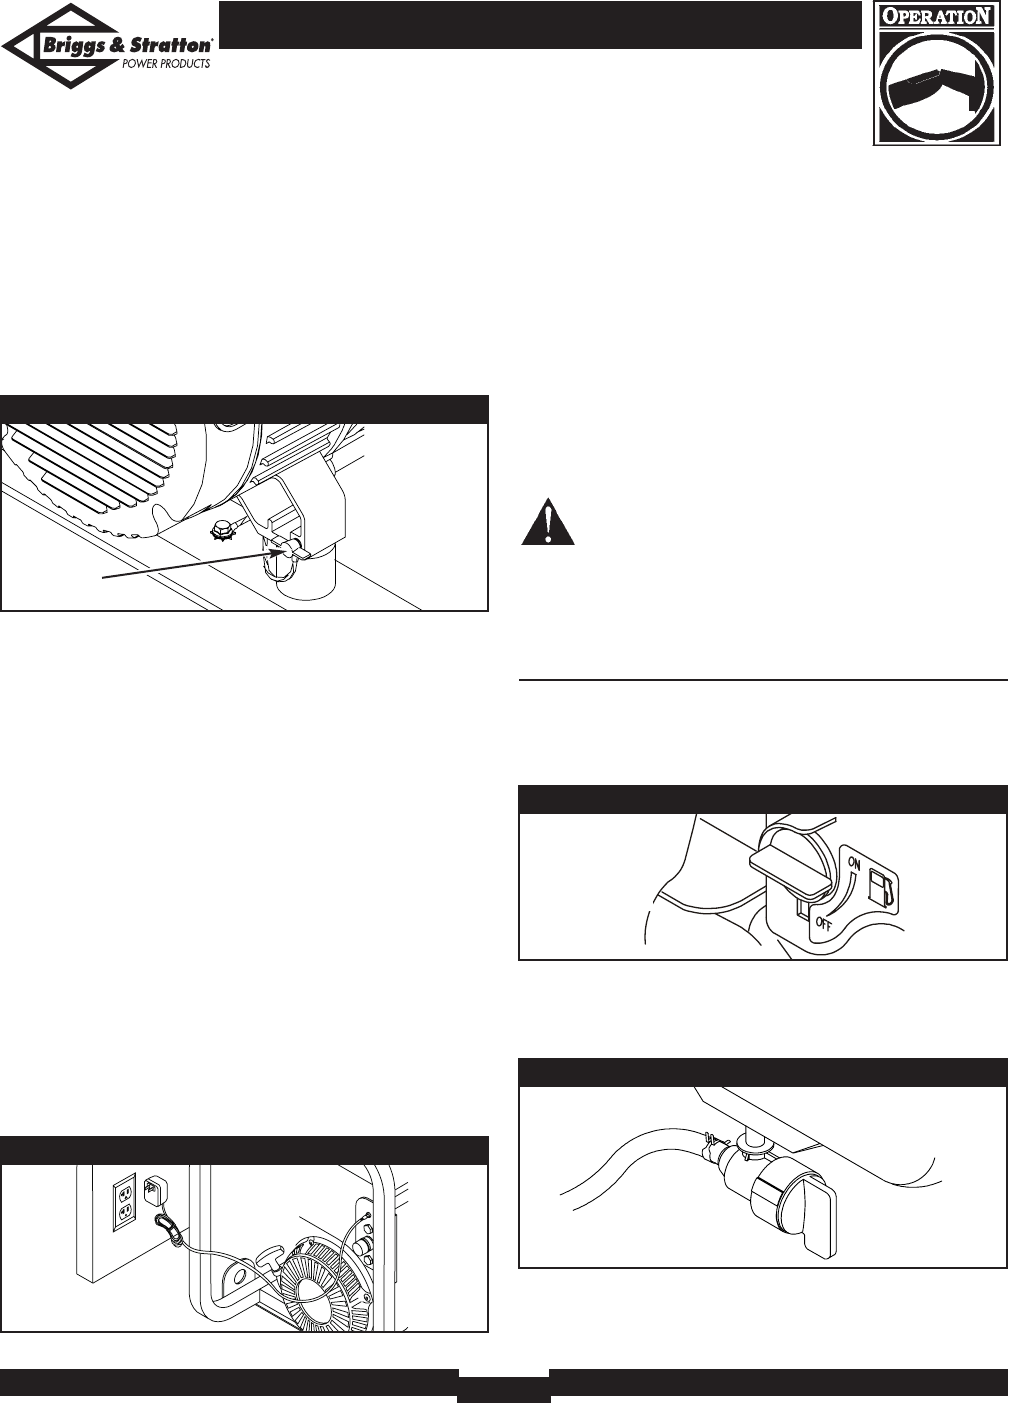
• For models with an overhead fuel tank, turn the fuel
valve to the “On” position (Figure 7).The fuel valve
handle should be vertical (pointing toward the ground)
for fuel to flow.
• Start the engine according to instructions given in the
engine owner’s manual.
Figure 4 — Grounding Fastener
Grounding
Fastener
Figure 5 — Battery Charger Jack
Fuel Valve is shown
in the On position
Figure 7 — Fuel Valve
Fuel Valve is
shown in the
On position
Figure 6 — Fuel Valve