


Portable Generator
5
ASSEMBLY
Your generator requires some assembly and is ready for
use after it has been properly serviced with the
recommended oil and fuel.
If you have any problems with the assembly of your
generator, please call the generator helpline at
1-800-743-4115. If calling for assistance, please have the
model, revision, and serial number from the data tag available.
INSTALL WHEEL KIT
NOTE: If your unit is supplied with a 10” wheel kit use
the following instructions. If your unit is supplied with an
8” wheel kit use the instructions on page 6.
NOTE: While the wheel kit is designed to greatly improve
the portability of your generator, it is not intended for
over-the-road use.
You will need a socket wrench with 1/2" or 13mm sockets
and a needle-nose pliers to install this kit.
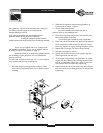
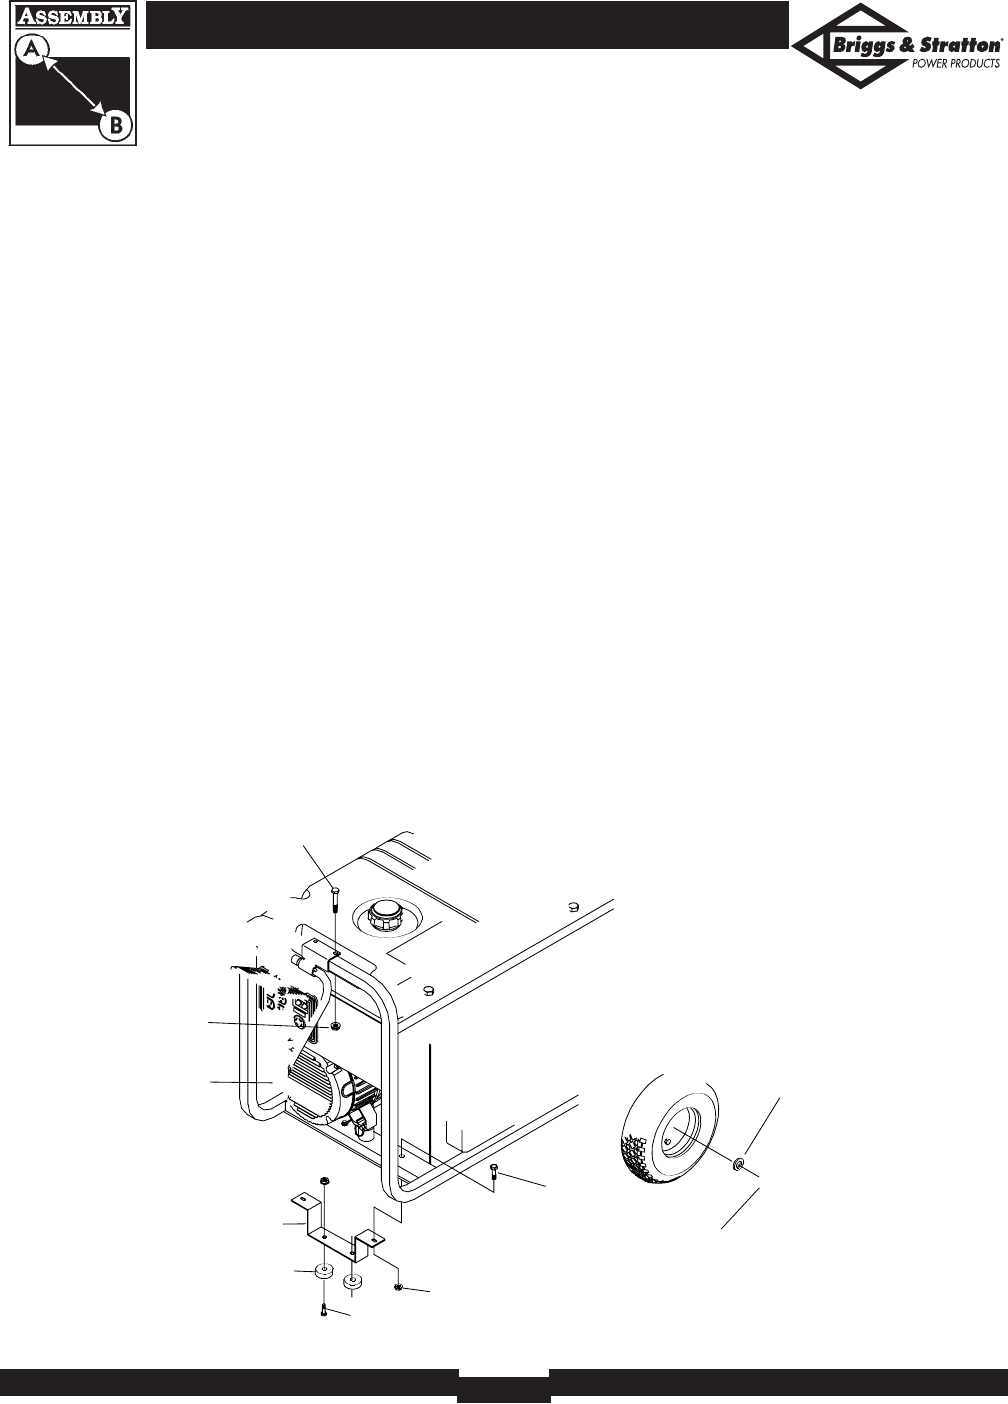
Install the 10” Wheel Kit as Follows
1. Place the bottom of the generator cradle on a flat,
even surface.Temporarily place unit on blocks to ease
assembly.
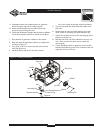
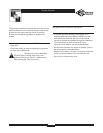
2. Slide axle through both axle mounting brackets on
cradle frame, as shown in Figure 1.
3. Slide a wheel over the axle.
NOTE: Be sure to install both wheels with the air
pressure valve on the outboard side.
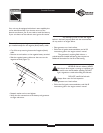
4. Place the e-ring onto the groove in the axle.You may
add the flat washer if desired.
NOTE: Use retaining pins instead of e-clip, if applicable.
5. Place one end of the needle nose pliers on the bottom
of the axle and the other end of the pliers on top of
the e-ring. Seat the e-ring by pressing the pliers closed.
6. Repeat step 3 through 5 to secure second wheel.
7. Remove the temporary blocks.
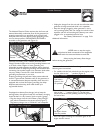
8. Attach the vibration mounts to the support leg with
30mm capscrews and lock nuts.
9. To aid support leg assembly, rest generator on cradle,
engine end down. Remove the existing hardware from
the left unit vibration mount with 13mm wrench. Use
the same hardware to attach the support leg.
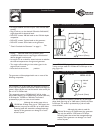
10. Attach the other side of the support leg with a 20mm
cap screw and lock nut. Rest generator on wheels and
support leg.