Document: - page 12 (Black)
Screen angle and frequency: 45.0000, 150.0000
12
MAINTENANCE
WARNING
ALWAYS disconnect spark plug, de-energize starter, lock and remove safety key BEFORE
performing ANY service to the engine or mower. Traumatic amputation or severe laceration
can result.
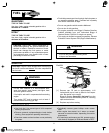
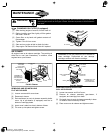
CHANGING OIL FILTER (if equipped)
[1] After draining engine of used oil, fill with fresh oil.
[2] Before installing new filter, lightly oil filter gasket
with fresh, clean oil.
[3] Screw filter on by hand until gasket contacts oil
filter adapter.
[4] Tighten 1/2 to 3/4 turn more.
[5] Start and run engine at idle to check for leaks.
[6] Stop engine. Re-check oil level. Add oil if required.
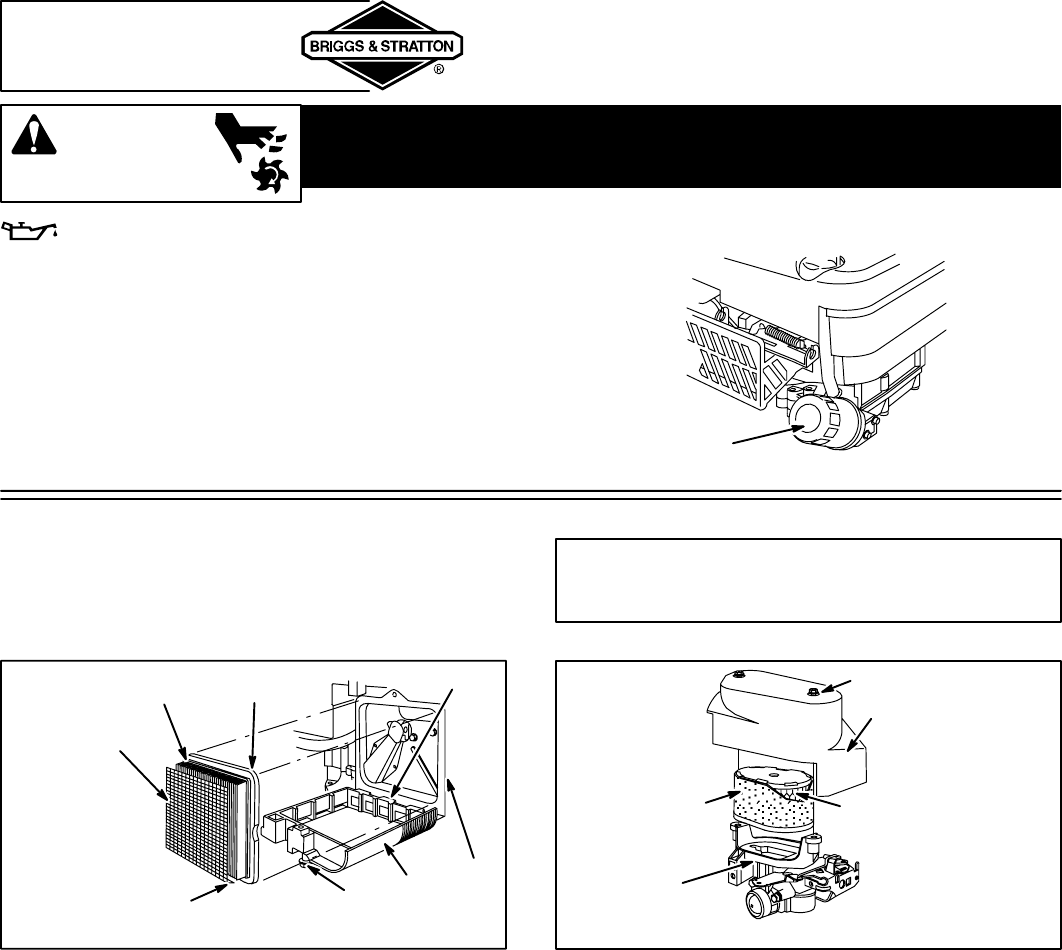
OIL FILTER
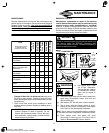
AIR CLEANER
All engines have an air cleaner cartridge. The cartridge is
either flat or oval (see illustrations). In addition, some
engines have a pre-cleaner.
CAUTION: Do not use pressurized air or solvents to
clean cartridge. Pressurized air can damage
cartridge; solvents will dissolve cartridge.
Flat Air Cleaner
SCREW
COVER
BASE
CARTRIDGE
P/N 491588
OR P/N 5043
CARTRIDGE
LIP
ASSEMBLE SO
CARTRIDGE LIP
TOUCHES BASE
IN DIRECTION
SHOWN
PRE-CLEANER LIP
TABS AND SLOTS
PRE-CLEANER
P/N 493537
REMOVING AND RE-INSTALLING
FLAT AIR CLEANER
[1] Loosen screw and tilt cover down.
[2] Remove air cleaner.
[3] Re-install clean (or new) air cleaner assembly inside
cover. Lip of pre-cleaner (if equipped) must be at
bottom of cartridge pleats.
[4] Insert cover’s tabs into slots in bottom of base.
[5] Tilt cover up into place and tighten screw.
Oval Air Cleaner
ASSEMBLE SO THAT
CARTRIDGE LIP
SITS INSIDE BASE
2 SCREWS
COVER
BASE
CARTRIDGE
P/N 497725
PRE-CLEANER
273185
REMOVING AND RE-INSTALLING
OVAL AIR CLEANER
[1] Loosen two screws and lift off cover.
[2] Remove air cleaner assembly (pre-cleaner, if
equipped, and cartridge) from base.
[3] Re-install clean (or new) air cleaner assembly in base.
Air cleaner must fit securely in base.
[4] Place cover over air cleaner and tighten screws.


