21
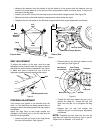
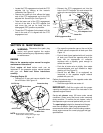
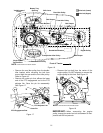
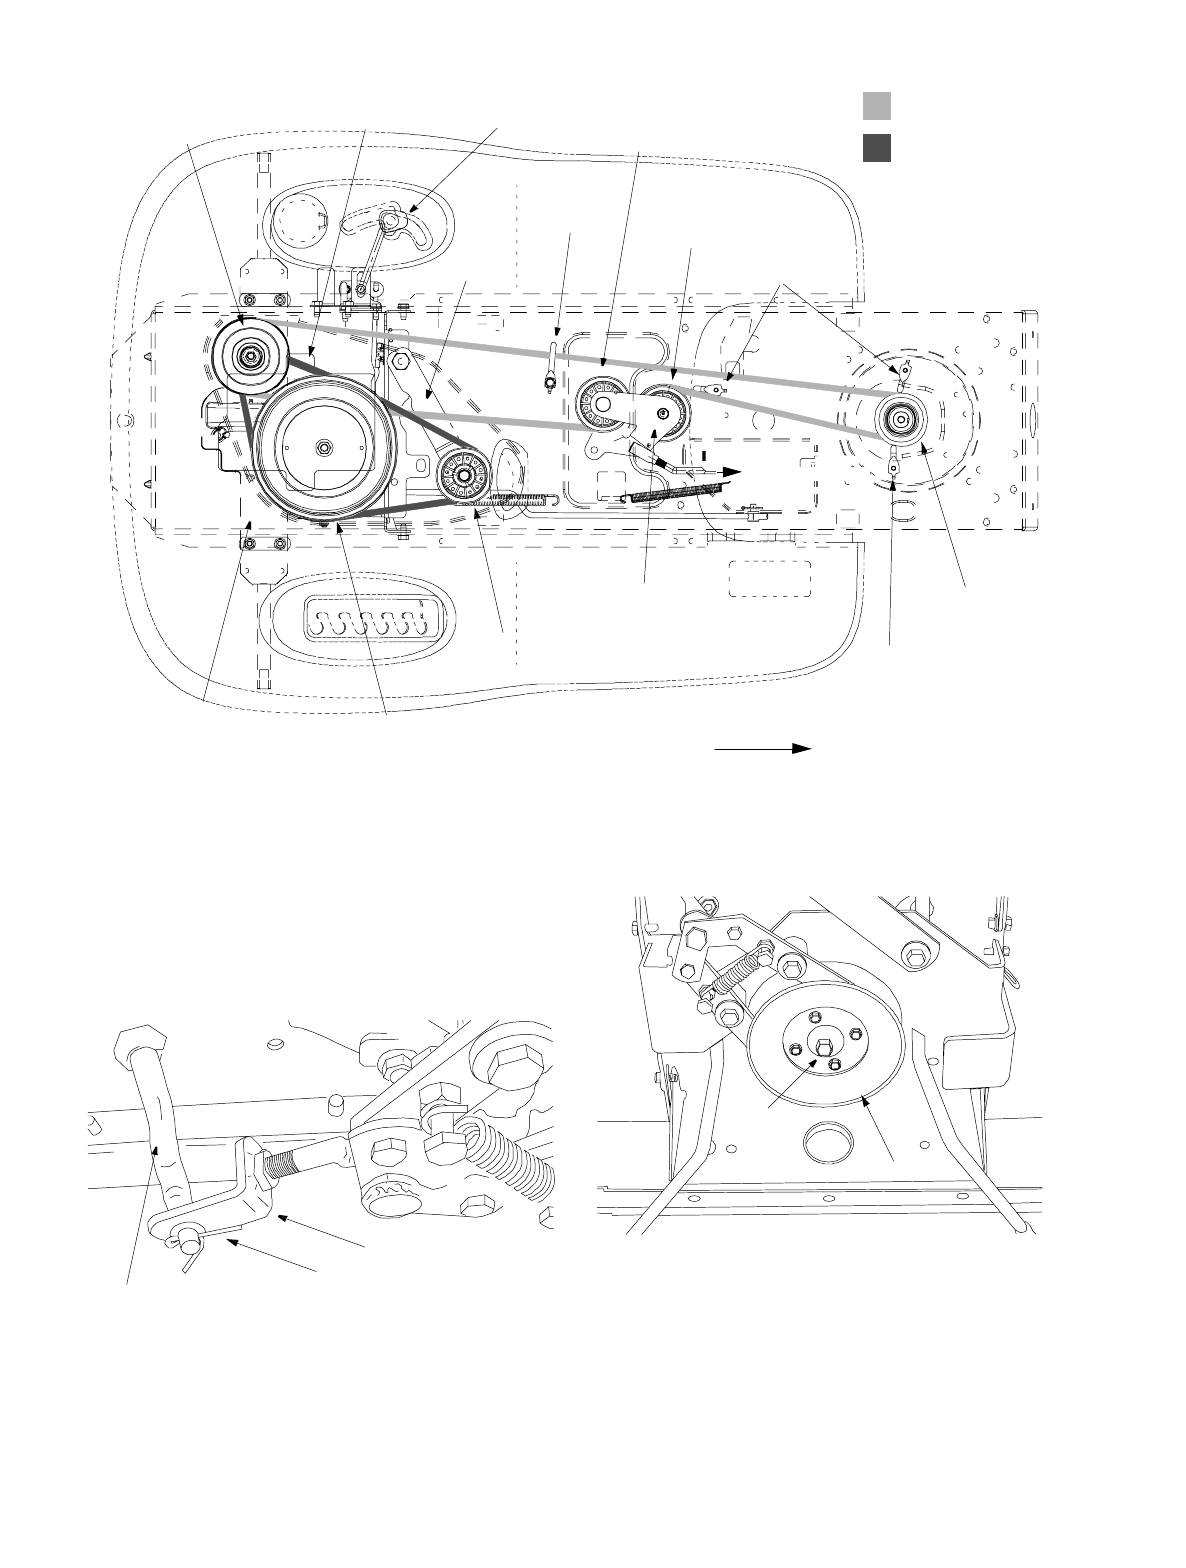
Figure 16
• Remove the rear idler pulley from the double-
idler bracket while unrouting the belt from
around both the rear and the front idler pulley.
Refer to Figure 16.
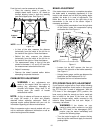
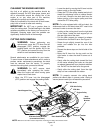
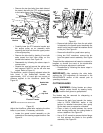
• Remove the cotter pin that affixes the lower
end of the PTO engagement rod to the PTO
adjuster link. Save the pin for reassembly.
See Figure 17.
Figure 17
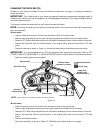
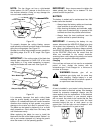
• Remove the hex bolt from the center of the
engine pulley. Do NOT attempt to remove the
engine pulley at this time. See Figure 18.
Figure 18
IMPORTANT:
When remounting the engine
pulley, torque the center hex bolt to between 38 foot-
pounds and 50 foot-pounds.
Drive belt (Lower)
Drive belt (Upper)
Front of Tractor
Rear Idler Pulley
Front Idler Pulley
Variable-speed
Pulley
Battery Tray
Belt Keeper
Transmission Idler Pulley
Transmission Pulley
Engine Pulley
Belt Keeper
Single-speed
Transmission
Shift Lever
Opening
Double-Idler Bracket
Idler Bracket
to AutoDrive
™
pedal
Belt Keeper
NOTE:
View shown from above tractor.
PTO Engagement Rod
Cotter Pin
PTO Adjuster Link
Hex Bolt
Engine Pulley
NOTE:
View shown from beneath tractor.


