15
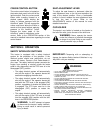
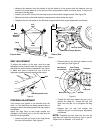
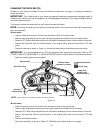
• Measure the distance from the outside of the left blade tip to the ground and the distance from the
outside of the right blade tip to the ground. Both measurements taken should be equal. If they’re not,
proceed to the next step.
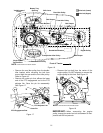
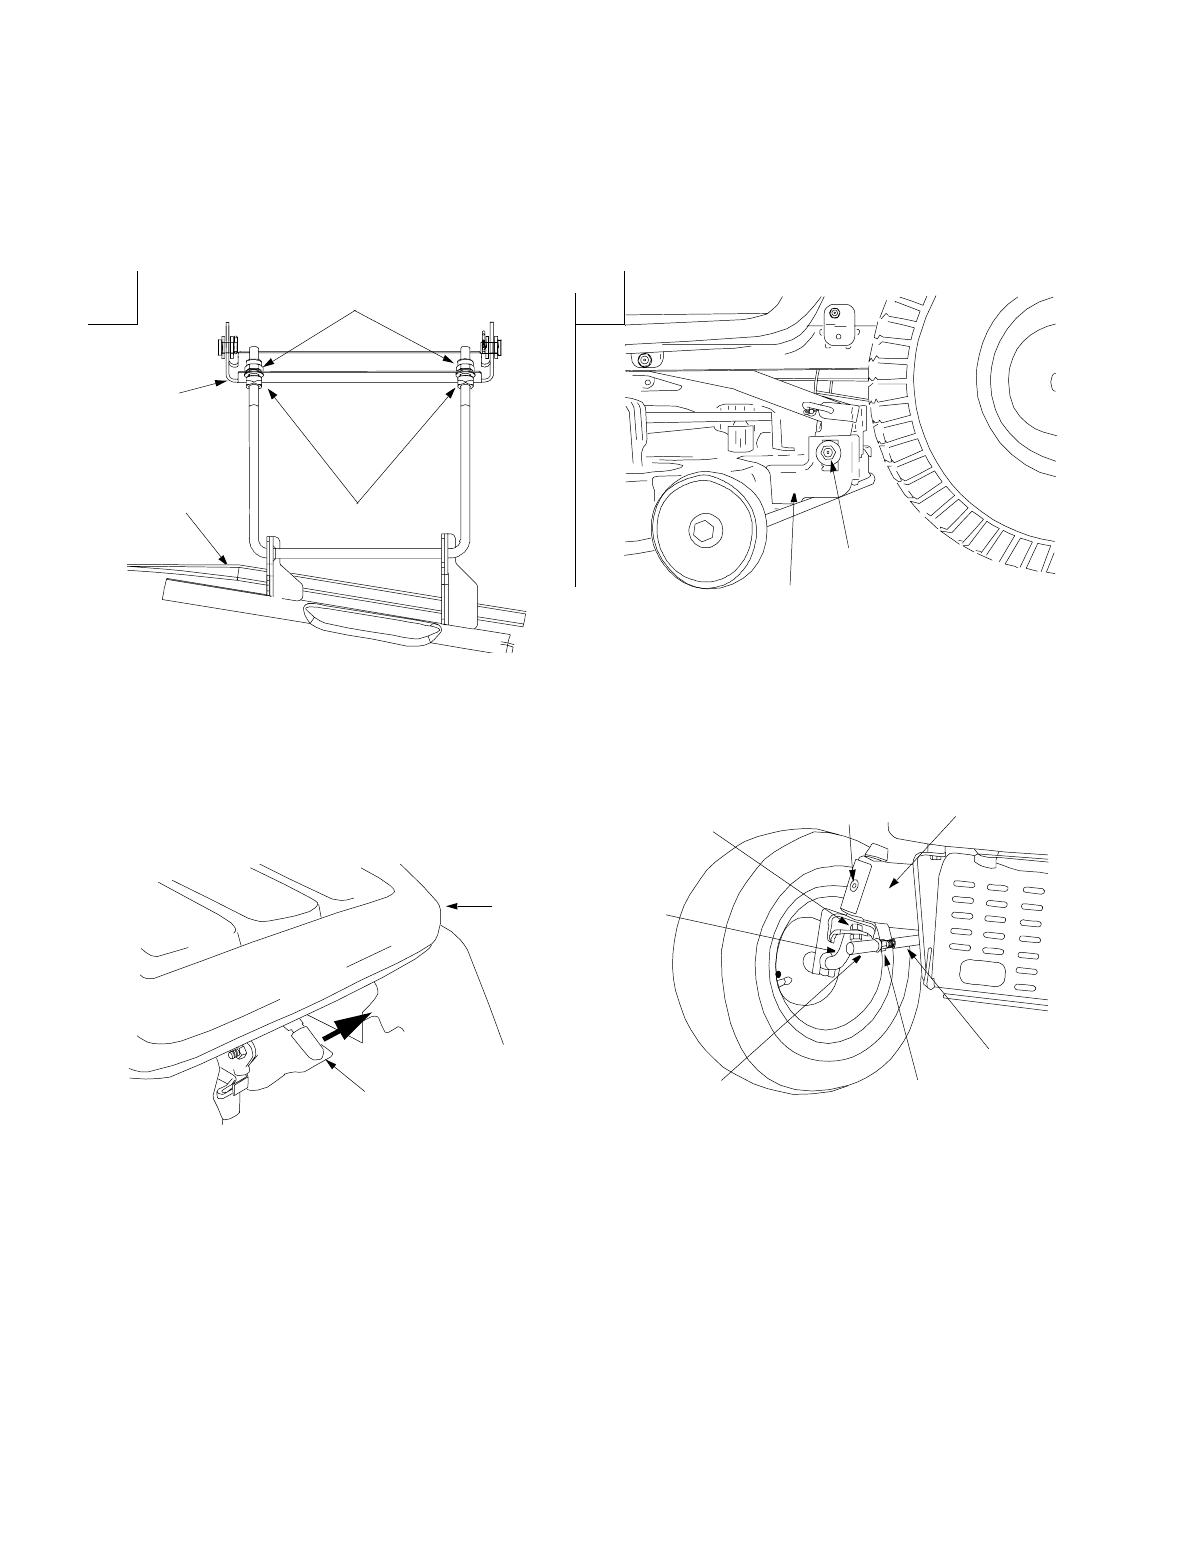
• Loosen, but do NOT remove, the hex cap screw on the left deck hanger bracket. See Figure 7B.
• Balance the deck so that both blade tip measurements taken earlier are equal.
• Retighten the hex cap screw on the left deck hanger bracket when proper adjustment is achieved.
Figure 7
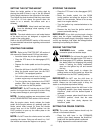
SEAT ADJUSTMENT
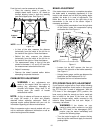
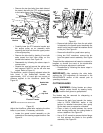
To adjust the position of the seat, move the seat
adjustment lever (located under the seat) to the left
and slide the seat forward or backwards. See Figure
8. Make sure seat is locked into one of the six
adjustment positions before operating the tractor.
Figure 8
STEERING ADJUSTMENT
If the tractor turns tighter in one direction than the
other, or if the ball joints are being replaced due to
damage or wear, the steering drag links may need to
be adjusted.
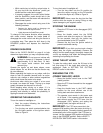
Adjust the drag links so that equal lengths are
threaded into the ball joint on the left side and the
ball joint on the right side:
• Loosen the jam nut found on the drag link at
the rear of the ball joint. See Figure 9.
• Remove the hex nut and lock washer on the
top of ball joint. See Figure 9.
Figure 9
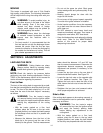
• Thread the ball joint toward the jam nut to
shorten the drag link. Thread the ball joint
away from the jam nut to lengthen the drag
link.
• Replace hex nut and lock washer and
retighten the jam nut after proper adjustment
is achieved.
NOTE:
Threading the ball joints too far onto the
drag links will cause the front tires to "toe-in" too far.
Proper toe-in is between 1/16" and 5/16".
Jam
Deck
Stabilizer
Bracket
Nuts
Lock
Nuts
Deck
Hex Cap Screw
Deck Hanger Bracket
A
B
F
ront to Rear
Side to Side
Seat
Seat Adjustment Lever
Drag Link
Ball Joint
Axle
Pivot Bar
Hex Nut and
Jam Nut
Lock Washer
Zerk Fittting
(if so equipped)


