633GC OPERATOR’S MANUAL
19
P/N 70944 Jan 07 © 2007 ICS, Blount Inc.
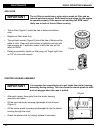
• Remove the four screws attaching the starter assembly to the
crankcase, and remove the starter cover assembly.
• Remove the three starter pulley cover screws.
• Remove the starter pulley cover.
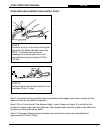
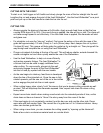
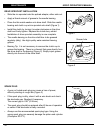
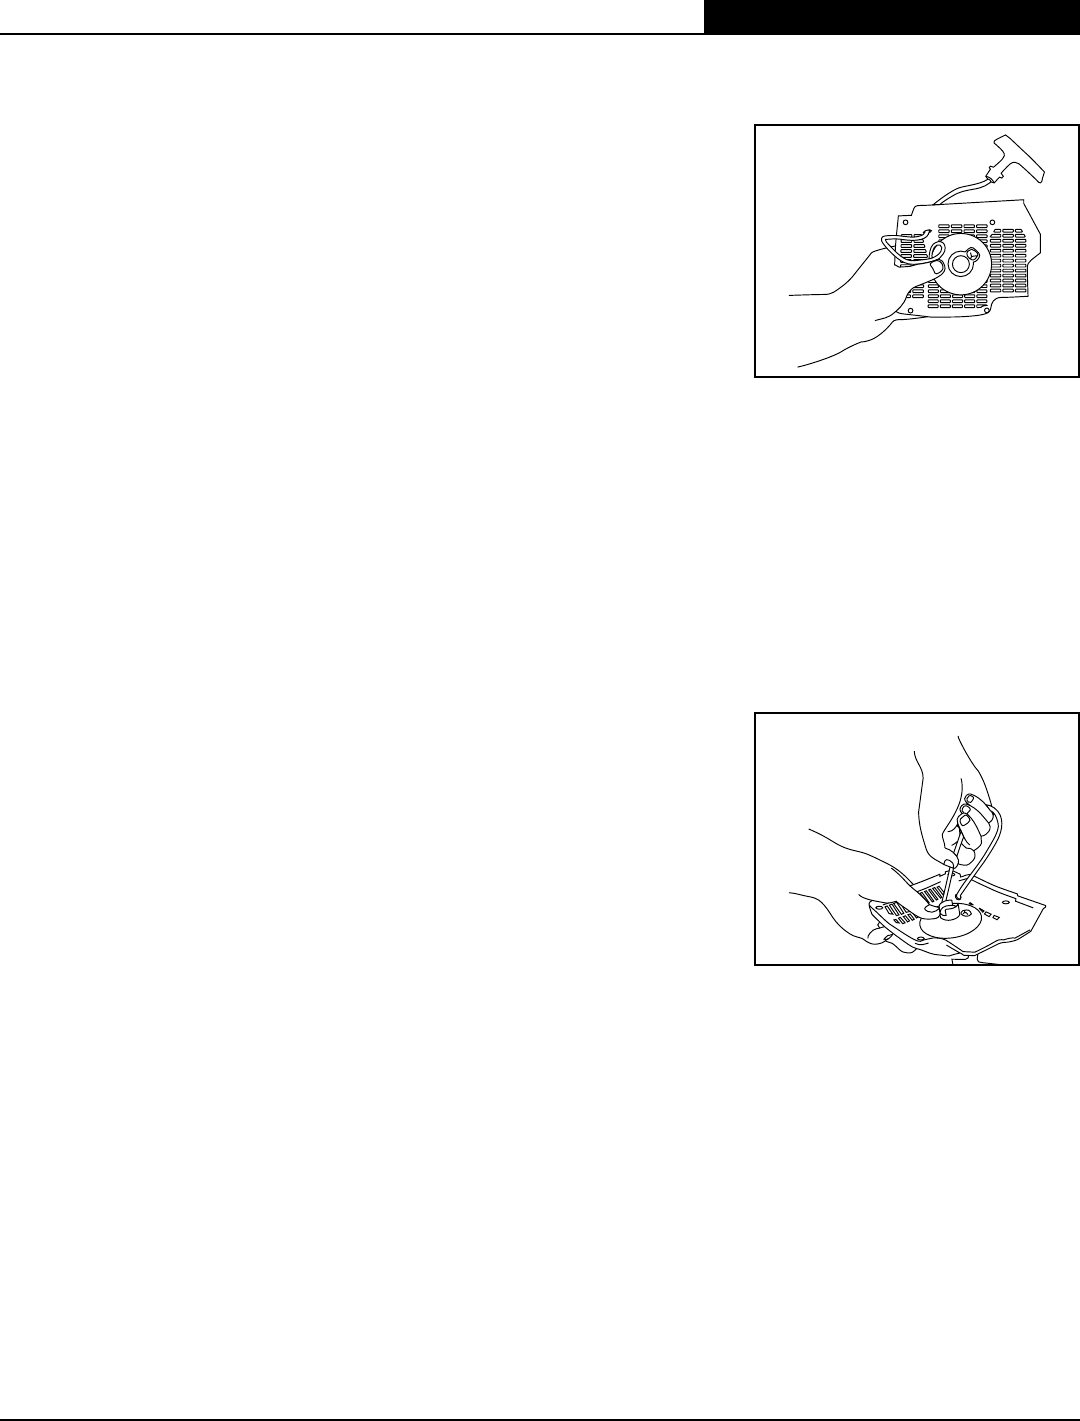
• Pull the rope out until the notch in the pulley has made at least
two full revolutions and is at the rope inlet, then hold the pulley
in place (Figure 1).
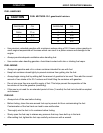
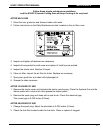
• While holding the pulley in place, lift the rope into the pulley
notch and allow the pulley to unwind slowly (counterclockwise)
without wrapping the rope (Figure 2). Do this until the recoil spring is completely unwound.
• Undo the screw in the center of the pulley, and remove the pulley.
• Remove the old rope from the pulley. Retain the starter rope washer.
• Pry the starter rope retainer from the starter rope handle, and remove the old rope from
the handle.
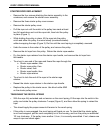
• Tie a knot in one end of the rope and thread the rope through the:
o Starter rope washer, then
o Starter rope pulley, then
o Starter cover, then
o Starter rope handle, then
o Starter rope retainer
• Tie a knot to lock the end of the rope in the starter rope
retainer.
• Reseat the starter rope retainer in the starter rope handle.
• Replace the pulley in the starter cover. Use blue Loctite #242
on the starter pulley screw.
TENSIONING THE RECOIL SPRING
Figure 2
STARTER ROPE REPLACEMENT
Figure 1
MAINTENANCE
• With the rope fully extended and no tension on the recoil spring, lift the rope into the notch in the
pulley and rotate the pulley clockwise 7 wraps (Figure 2), and then allow the spring to retract the
rope.
• This should apply the proper amount of tension to the recoil spring.
• If the pulley is over-wrapped, the recoil spring will break on use. To check that the starter pulley
is not over-wrapped, pull the cord completely out of the housing, and turn the pulley an additional
1/2 turn clockwise. If the pulley turns another ½ turn, it is correctly assembled. If not, release one
wrap of rope and check again.


