GB - 17
3. Connect the positive (+) jumper cable to the
positive terminal of the discharged battery.
4. Connect the other end of the same jumper cable
to the positive (+) terminal of the booster battery.
5. Connect one end of the second jumper cable to
the negative (–) terminal of the booster battery.
6. Make the final jumper cable connection to the
engine block or the furthest ground point away
from the discharged battery.
7. Follow steps in “Starting and Shut OFF”.
8. Remove jumper cables in the reverse order of
their connection: Remove cable from ground
point, the negative (–) terminal of the booster
battery, the positive (+) terminal of the booster
battery, and then the positive (+) terminal of the
discharged battery.
IMPORTANT: DO NOT fast charge. Charging at higher
rate will damage or destroy battery.
TIRES
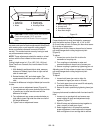
NOTE: Keep tires properly inflated at all times. For
proper tire inflation when working under various condi-
tions, refer to chart below. Use a low pressure tire
gauge for accurate pressure readings.
Check tire pressure at least once a month. Over
inflation may cause operator discomfort and excessive
tire tracks on lawns or soft surfaces, while under
inflation causes short tire life.
NOTE: After checking and/or inflating, replace and
tighten valve caps to prevent air loss.
SEAT
Clean seat regularly, using a vinyl cleaner (not solvent).
Extreme temperatures can damage seat when left
unprotected against weather. If seat should tear, apply
vinyl repair tape to protect damaged area.
GENERAL LUBRICATION
IMPORTANT: Wipe each grease zerk fitting clean
before and after lubrication. Keep grease and oil off
belts to avoid slippage and deterioration.
Apply Sten Mix Hi-Temp Grease or equivalent to the
lube fittings. Order P/N: 00036800 - three pack of 3 oz.
cartridges or 00036700 - ten pack of 14 oz. cartridges.
Apply oil at lubrication points.
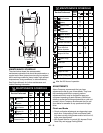
The steering system, front wheels, left rear wheel and
linkage pivot points (figure 11) should be lubricated
every 25 hours of operation, or twice each season,
whichever occurs first.
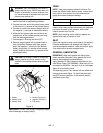
WARNING: UNIT MOVEMENT can result in
death or serious injury. NEVER jump start unit
directly to the starter or starter solenoid. Unit
can move forward or backward and injure the
person jump starting unit.
CAUTION: REVERSE CONNECTIONS may
result in sparks which may result in injury.
ALWAYS connect/disconnect cables in proper
order.
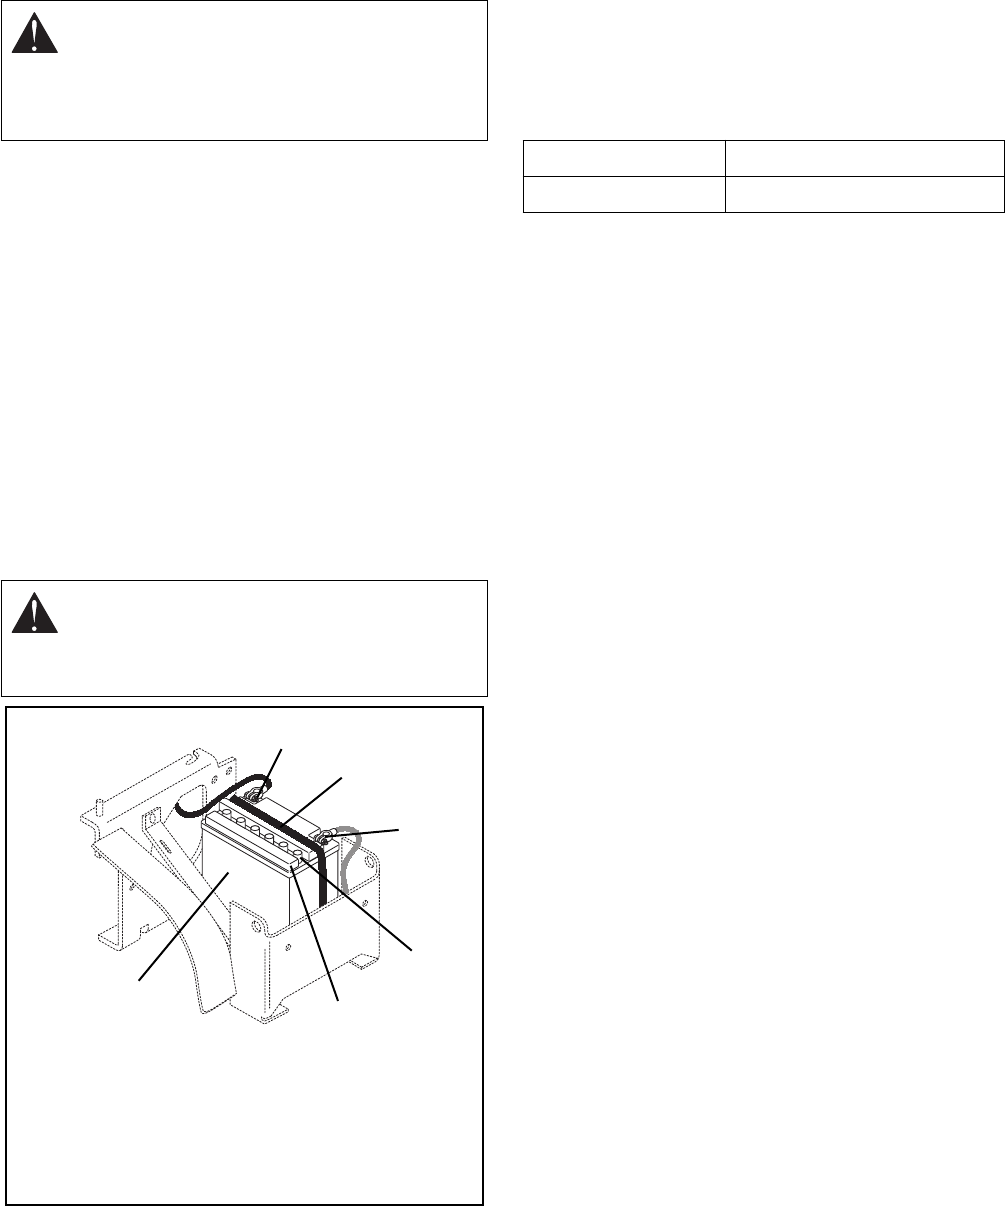
1. Battery
2. Battery Cover
3. Battery Strap
4. Positive Terminal (+)
5. Negative Terminal (–)
6. Filler Caps
Figure 10
1
3
2
5
6
4
Front
14 psi
Back
14 psi


