GB - 12
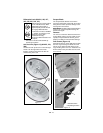
Connect Battery (924516, 517)
1. Remove wing nuts from battery cover.
2. Install wire lead to battery terminal.
3. Install battery cover and tighten wing nuts.
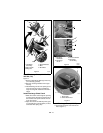
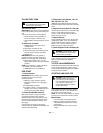
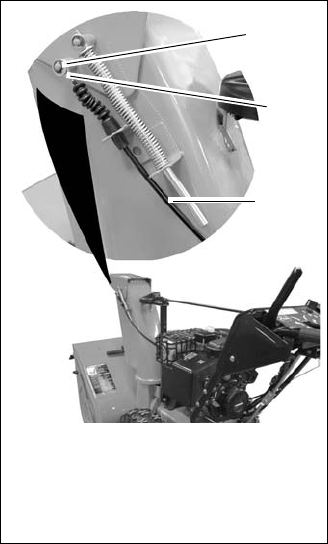
Deflector Remote
1. Remove e-ring and flat washer from stud
on discharge chute.
2. Route deflector remote cable between the
engine and the chute pedestal.
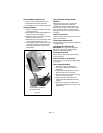
3. Slide cable end through hole on bracket on
left side of chute (Figure 10).
4. Attach cable eye to stud on deflector. Hold
in place with flat washer and e-ring.
5. Check deflector travel. Adjust nut on cable
end under handlebar to obtain full travel.
(See Deflector Remote in Service and
Adjustments.)
Check Function of Dual Handle
Interlock
Without the engine running, press down
(engage) both clutch levers. Release
attachment clutch lever. Attachment clutch
should remain engaged until traction clutch
lever is released, then both clutches must
disengage. If they do not, contact your dealer
for repairs.
Check Tire Pressure
Check tire pressure and adjust to the pressure
listed on tire sidewall.
Check Auger Gearcase Oil
Check oil level in auger gearcase (see Service
and Adjustments).
Check Engine Crankcase Oil
IMPORTANT: The engine is shipped with
5W-30 oil in crankcase. Refer to Engine
Manual for detailed instructions.
Fill Engine Fuel Tank
Refer to Engine Manual for proper fuel type
and tank capacity.
Check Function of all Controls
Ensure unit runs and performs properly. Refer
to Operation.
Run-in Attachment Belt
1. Start unit in a well-ventilated area
according to Starting and Shut-Off in
Operation.
2. Engage attachment clutch lever and run
attachment for about 15 minutes.
3. Stop unit, wait for all moving parts to stop,
and remove spark plug wire.
4. Adjust belt finger, if necessary. See
Attachment Drive Belt Replacement on
page 25.
5. Adjust clutch according to Attachment
Clutch/Brake Adjustment in Service and
Adjustments.
Figure 10
1.Cable Eye
2.Flat Washer and E-Ring
3.Deflector Cable
1
2
3


