GB - 26
Change Hydraulic Fluid and Filter
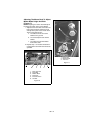
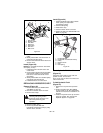
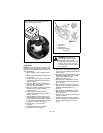
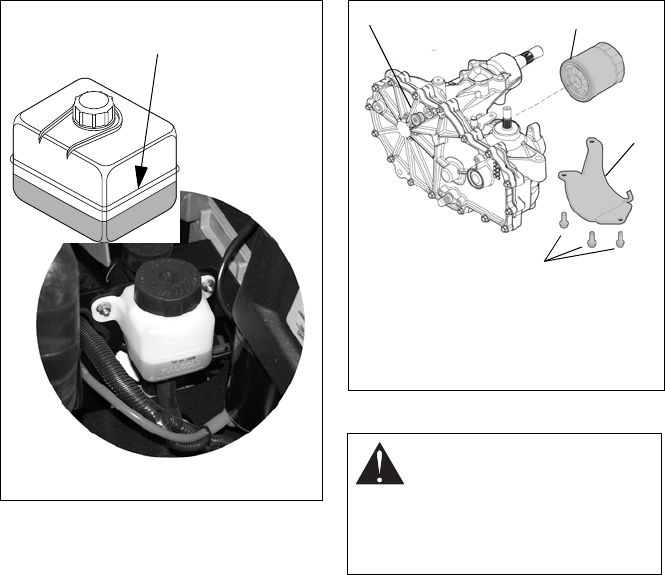
(Figure 26)
NOTE: Change hydraulic fluid and filter after
the first 75 hours of operation and then every
400 hours. Use 20W-50 engine oil with an SL
API classification.
1. Place container under oil filter to catch
oil.
2. Remove the filter guard and oil filter from
the transaxle.
3. Remove the oil drain plug or fitting from
the inlet port and allow the transaxle to
drain completely.
4. Clean the filter mounting surface and
then lubricate rubber gasket on new oil
filter with clean hydraulic oil.
5. Spin new oil filter onto filter housing until
it makes contact. Tighten oil filter
another 3/4 turn.
6. Install the filter guards removed in
step 2. Tighten the mounting screws to
65 lbf-in (7.3 N•m).
7. Fill with 20W-50 engine oil with an SL
API classification until oil appears at the
bottom of the drain plug (about 2 quarts
per transaxle). Install the drain plug and
tighten it to 180 lbf-in (20.3 N•m).
8. Repeat steps 1–7 for the other
transaxle.
9. Follow the instructions in “To Add
Hydraulic Fluid:” on page 25.
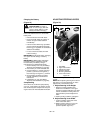
Purging the Hydraulic System
1. With the unit up to and facing a wall, jack
up the unit so that both drive wheels are
off the ground.
2. Disengage the parking brake and put the
transaxle bypass levers in the neutral
position (see MOVING UNIT
MANUALLY on page 16).
3. Start the engine and slowly move the
steering levers in forward and reverse
five or six times.
4. Stop the engine and put the transaxle
bypass levers in the drive position (see
MOVING UNIT MANUALLY on
page 16).
5. Start the engine and slowly move the
steering levers in forward and reverse
five or six times.
6. Stop the engine, check the oil level and
add oil as needed.
7. Repeat steps 2–6 until the transaxles
operate smoothly in forward and reverse
at normal speeds without excessive
noise.
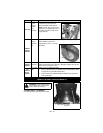
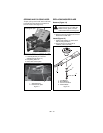
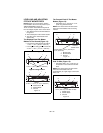
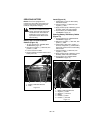
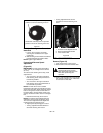
Figure 25
The hydraulic fluid should be at the cold
fill line of the expansion tank.
WARNING: This adjustment
requires operating the engine.
Use extreme care to avoid
contact with moving parts and hot
surfaces. Be sure rear of unit is
well supported and secure before
starting engine.
Figure 26
1. Drain Plug
2. Oil Filter
3. Filter Guard
4. Mounting Hardware
1
4
3
2


