6
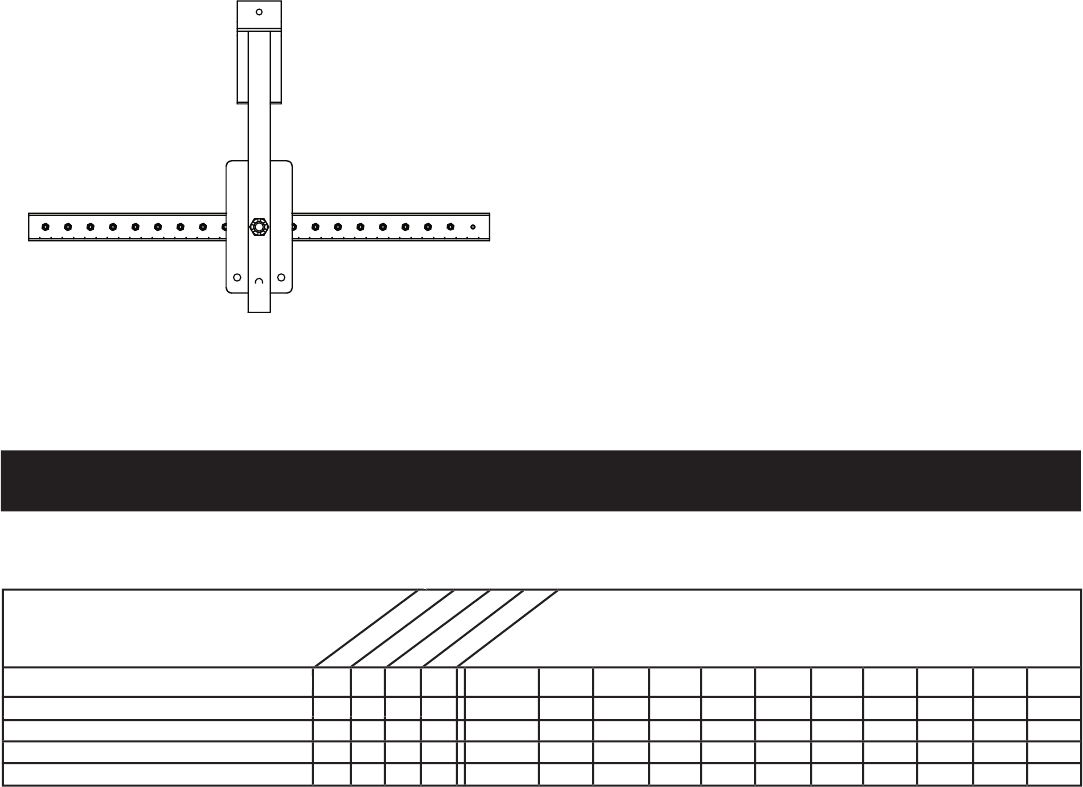
Service Dates
Check for loose fasteners X
Check for loose fasteners X
Cleaning X X
Cleaning X X
Cleaning X X
Cleaning X X
Cleaning X X
Cleaning X X
MAINTENANCE SCHEDULE
MAINTENANCE SCHEDULE
Fill in dates as you
complete regular service.
complete regular service.
Before each use
Before each use
After each use
Every season
Before storage
Before storage
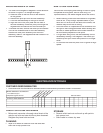
MAINTENANCE/STORAGE
CUSTOMER RESPONSIBILITIES
•
Read and follow the maintenance schedule and the maintenance procedures listed in this section.
CHECK FOR LOOSE FASTENERS
•
Before each use make a thorough visual check of the
rake for any bolts and nuts which may have loosened.
Retighten any loose bolts and nuts.
CLEANING
•
Wipe off or wash off loose dirt from the rake after
each use to help prevent rust.
STORAGE
•
Remove all dirt and rust and touch up with paint to
help prevent rust.
•
Store inside in a clean, dry area.
Use this rake for scraping and leveling of loose or lightly
compacted dirt and gravel, and for back fi lling. For
improved traction, use wheel weights and/or tire chains.
• Before starting, make sure the material to be graded,
such as dirt, is dry enough. Squeeze some in your
hand and if it forms a ball that does not crumble, the
material may be too wet for raking.
• Drive the tractor at a speed which fi ts conditions and
the type of work being performed. When leveling with
the rake, a slower speed will allow loose material to
be more evenly deposited in low spots.
• For light back fi lling work, the rake assembly can be
reversed by rotating it 180 degrees. This allows you
to back up with your tractor and push dirt to fi ll larger
holes.
•
Do not back the rake into piles of dirt or gravel at high
speed.
HOW TO USE YOUR RAKE
ADJUSTING ANGLE OF RAKE
•
The rake can be angled 24 degrees in either direction
as shown in fi gure 6. To change the angle:
a. Raise the rake so that the tines of the rake are
off the ground.
b. Remove the pivot pin from the hitch assembly.
c. Pivot the rake assembly to the right or the left.
d. Align the hole in the pivot plate with the hole in
the hitch assembly. Install the pivot pin through the
aligned holes and secure with the haircotter pin.
• To reverse the rake, remove the cotter pin and slotted
nut from the threaded stud on the rake assembly.
Remove the rake pivot assembly from the hitch
assembly, rotate it 180 degrees and then reattach it to
the hitch assembly.


