4
ASSEMBLY
TOOLS REQUIRED FOR ASSEMBLY
(2) 9/16" Wrenches
(2) 1-1/2" Wrenches or 14" Adjustable Wrenches
REMOVAL OF PARTS FROM CARTON
•
Remove all parts and hardware packages from the
carton. Lay out all parts and hardware and identify.
ASSEMBLING THE RAKE
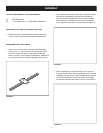
• Attach the 24 rake tines to the rake pivot assembly
using a 3/8" x 1" hex bolt and 3/8" nylock hex nut for
each tine. Insert the ends of the tines through the
slots in the rear of the rake pivot assembly. Make sure
all nuts and bolts are securely tightened. See fi gure 1.
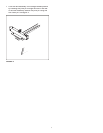
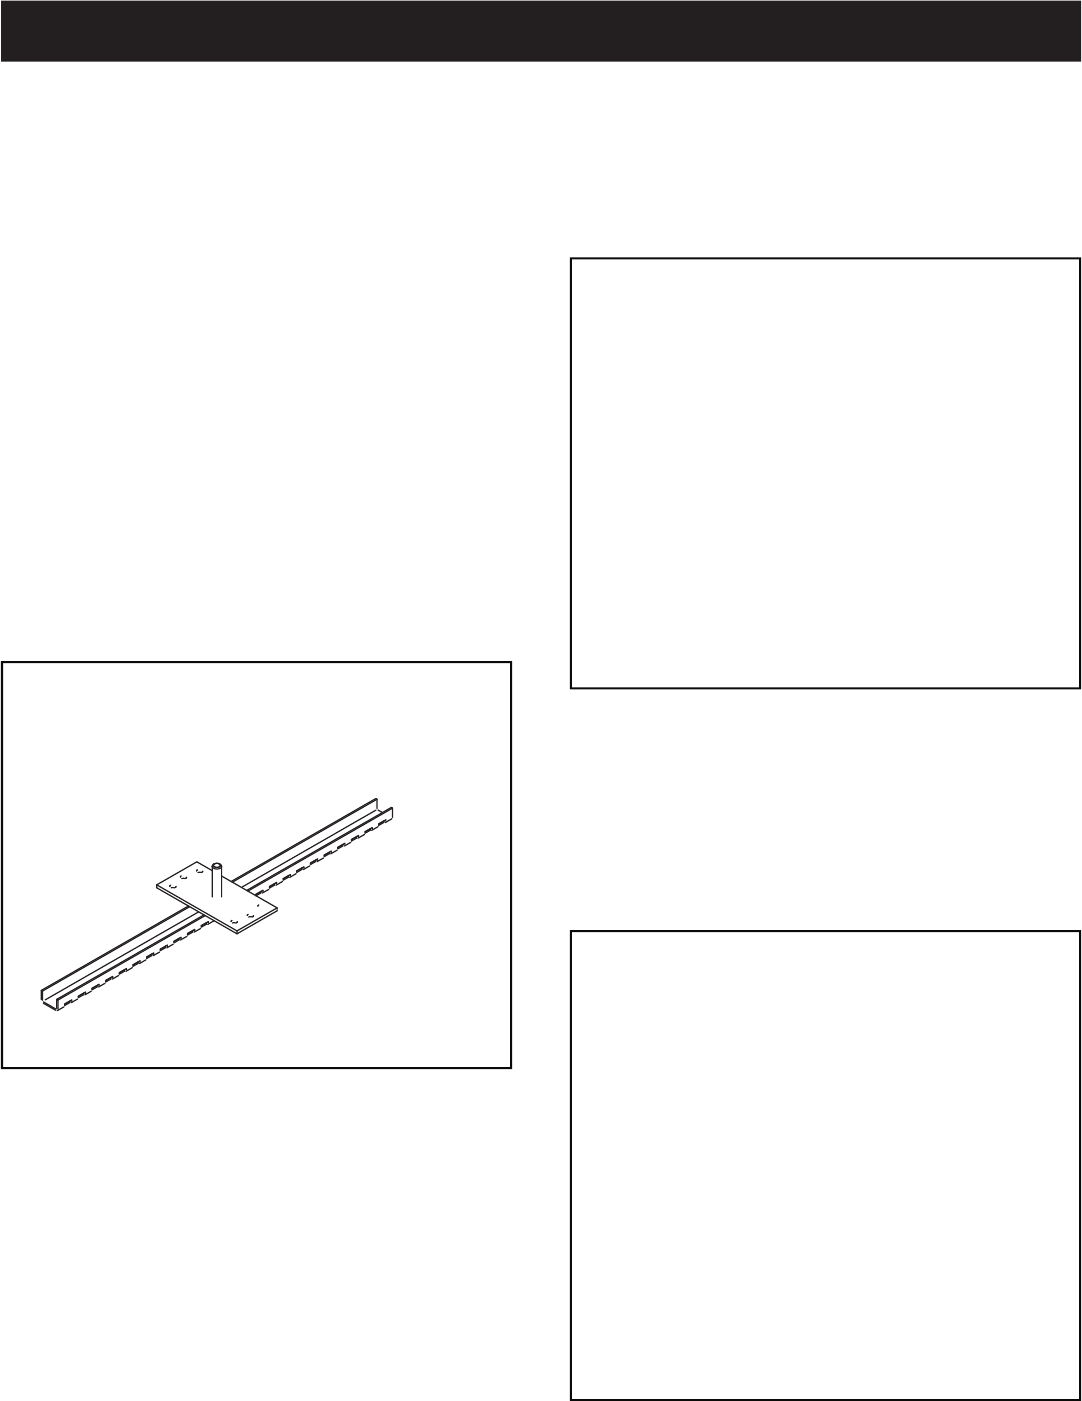
• Align the hitch assembly (pointing in direction shown)
and the rake assembly. Place the hitch assembly
down onto the threaded stud on the rake assembly
and install the 1" slotted hex nut onto the threaded
stud. Tighten the nut until it is just snug. See fi gure 2.
FIGURE 1
FIGURE 2
• Back the slotted nut off until the fi rst slot in the nut
lines up with the hole in the threaded stud. If the hitch
assembly will not pivot on the threaded stud, back the
nut off to the next slot. Install the cotter pin through
the stud and spread the ends of the pin. See fi gure 3.
FIGURE 3


