22
•
XO-1
3. Empty the used shock oil from the shock body.
4. Fill the shock with new silicone shock oil up to the top of the
shock body.
5. Slowly move the piston up and down (always keeping it
submerged in oil) to release the air bubbles. Let the shock sit for
a few minutes to allow any remaining air bubbles to surface.
6. Slowly thread the upper cap with the installed shock bladder
onto the shock body with the suspension multi tool. The excess
oil will bleed out of the small hole in the shock cap.
7. Tighten the shock cap until snug. Use the included steel shock
wrench to hold onto the shock body while tightening.
Centering Your Servo
If you have removed the servo horn from your model’s steering
servo, or the servo has been removed for service or cleaning, the
servo must be re-centered prior to installation of the servo horn or
installation of the servo in the model.
1. Remove the servo horn from the steering servo.
2. Connect the steering servo to channel 1 on the receiver. Connect
the electronic speed control (ESC) to channel 2. The white wire on
the servo lead is positioned towards the receiver’s LED.
3. Turn the transmitter power switch on. Make certain the
transmitter’s batteries are not depleted.
4. Turn the transmitter’s steering trim knob to the center
“0” position.
5. Disconnect the black and white motor wires to prevent the motor
from turning during the next steps. Connect a fresh battery pack
to the speed control and turn on the ESC. The servo’s output shaft
will automatically jump to its center position.
6. Install the servo horn onto the servo output shaft. The servo horn
should face toward the center of the chassis and be perpendicular
to the servo body.
7. Check servo operation by turning the steering wheel back and
forth to ensure that the mechanism has been centered properly
and you have equal throw in both directions. Use the transmitter’s
steering trim knob to fine-tune the position of the servo horn so
the model tracks straight when the steering wheel is at neutral.
RECEIVER BOX: MAINTAINING A WATERTIGHT SEAL
Removing and Installing Radio Gear
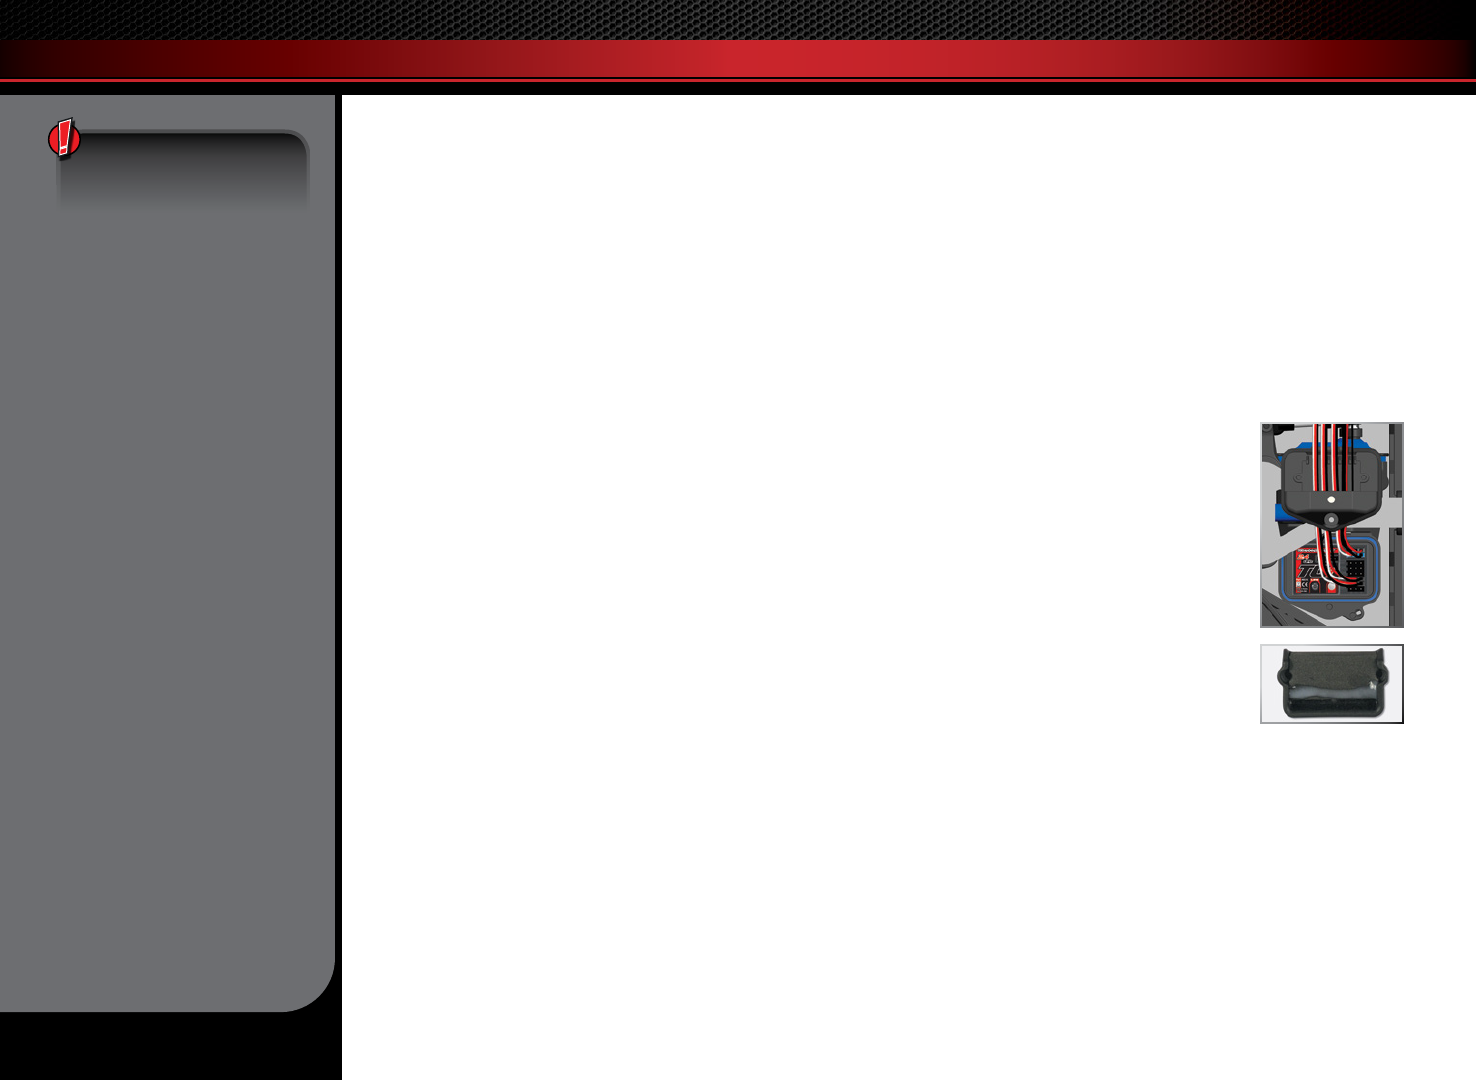
The unique design of the receiver box allows the removal and
installation of the receiver without losing the ability to maintain a
watertight seal in the box. The patent-pending wire clamp feature
gives you the ability to also install aftermarket radio systems and
maintain the watertight features of the receiver box.
Removing the Receiver
1. Remove the wire clamp by removing the two 2.5x8mm cap screws.
2. To remove the cover, remove the two 3x10mm button-head
cap screws.
3. Unplug the servo cables from the receiver and remove the receiver.
Receiver Installation
1. Thread the servo wires and antenna through
the cover.
2. Install the receiver into the box with double-
sided foam tape.
3. Install the cover onto the box making sure
the O-ring is properly seated into the groove
in the receiver box so that the cover will not
pinch it or damage it in any way.
4. Install the cover and tighten the 3x10mm
button-head cap screws securely.
5. Push the extra servo wires into the box.
6. Install the wire clamp and secure with the two
2.5x8mm cap screws.
The Power System is NOT
WATERPROOF. Do not
expose the power system
to any type of water,
condensation, or moisture.
BASIC TUNING ADJUSTMENTS
If you have questions or need technical assistance, call Traxxas at
1-888-TRAXXAS
(1-888-872-9927) (U.S. residents only)
