English 32
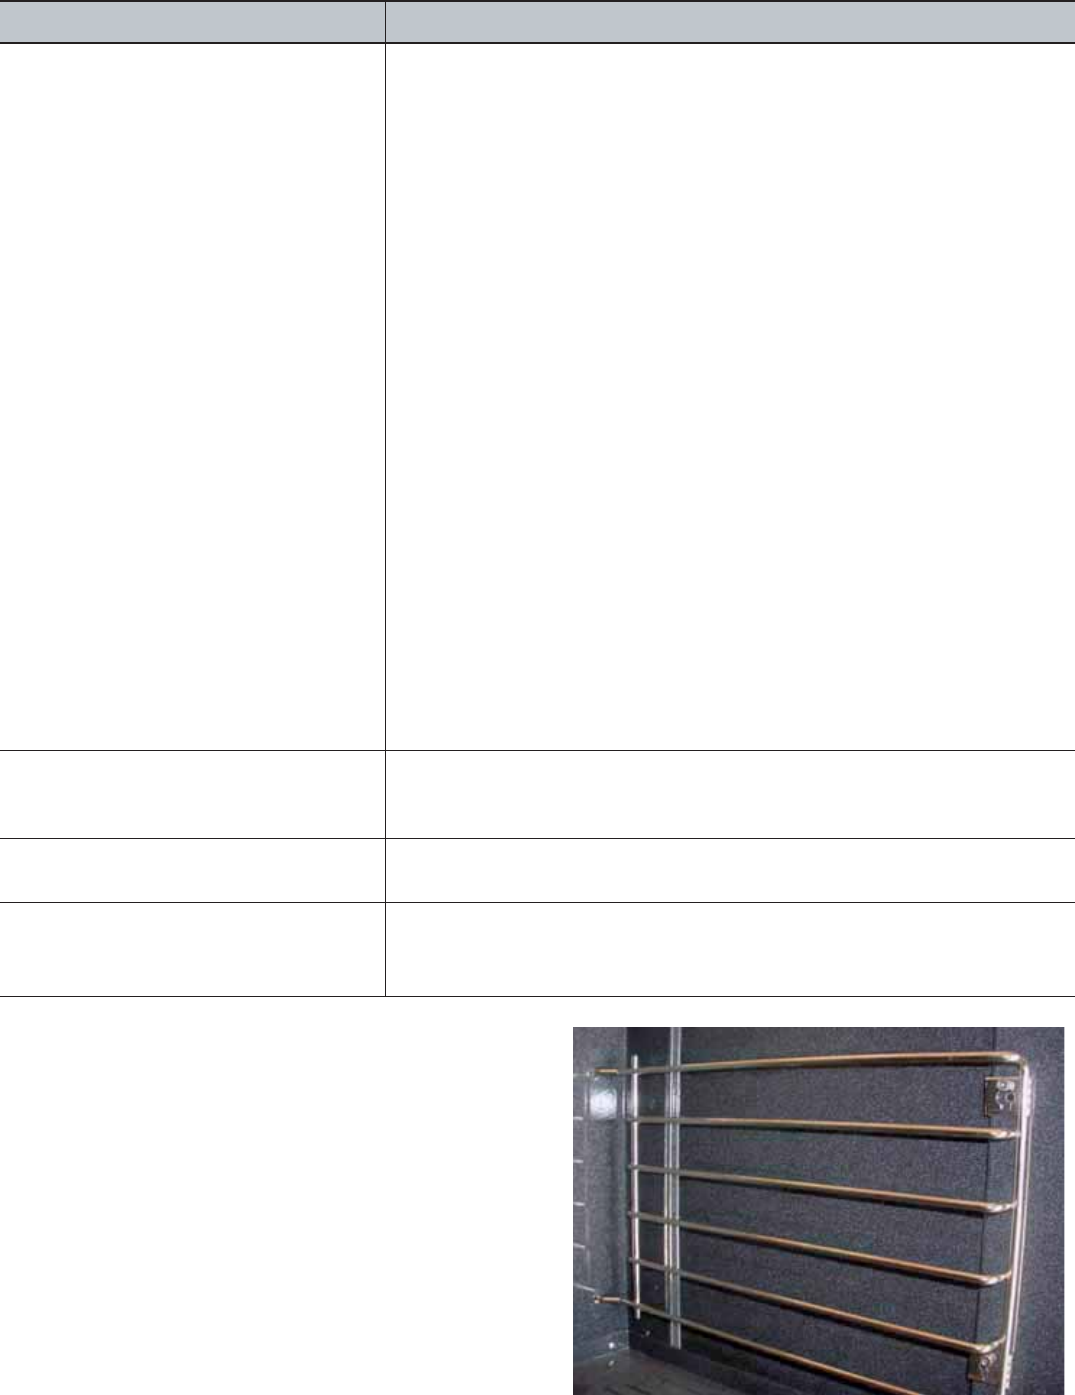
Rack Guide removal, for cleaning:
1. Lift the front of rack guide to clear the heads of the two
shoulder bolts at the front of the oven cavity.
2. Remove the front portion of the rack guide by pulling
the guide's key slots over the shoulder bolts.
3. Pull the two rails out of the holes in the back of the
oven cavity
Note:
The rack guides are designed to fit either side of the oven
cavity.
Oven Racks and Rack Guides
Nickel Plated
Note:
The rack guides are removable, for
cleaning using this procedure (see
removal instructions on page 32).
Hot sudsy water.
• Wash, rinse thoroughly, and dry.
Cleaners: Soft Scrub
®
.
• Apply with a damp sponge or cloth according to manufacturer’s
directions. Rinse and wipe dry.
Powdered Cleanser: Bon-ami
®
Comet
®
, Ajax
®
.
• Apply with a damp sponge or cloth according to manufacturer’s
directions. Rub lightly. Rinse thoroughly and wipe dry.
Soap filled fiber or steel wool pads: S.O.S
®
, Brillo
®
.
• Dampen pad, rinse thoroughly, and dry.
Harsh Cleaners: Easy Off
®
Oven Cleaner.
Note:
Some commercial oven cleaners cause darkening and discoloration. Test
the cleaner on a small part of the rack and check for discoloration before
cleaning the entire rack.
• Apply a generous coating. Allow to stand for 10 to 15 minutes. Rinse
thoroughly and wipe dry.
If the racks do not slide easily after being cleaned, dampen a paper towel
with a small amount of cooking oil and rub it lightly over the siderails.
Exterior, Frame, Handle, Heat
Deflector
Stainless Steel
Use care to keep cleaners and water away from the door vents. If water or
cleaners spill into the vents, water may streak the glass inside.
See Exterior Finish/Back Guard / Stainless Steel, page 29.
Interior
Porcelain Enamel
See Cavity, page 31.
Seal
Door Gasket
General Kitchen Cleaners: Formula 409
®
, Fantastik
®
.
•Spray on and blot dry with a cloth. Do not rub. Do not move, remove or
damage mesh.
PART/MATERIAL CLEANING PRODUCTS/DIRECTIONS
