B
Service Tips – Fault Codes (2)
Faults
3 - NTC
4 - Aquasensor
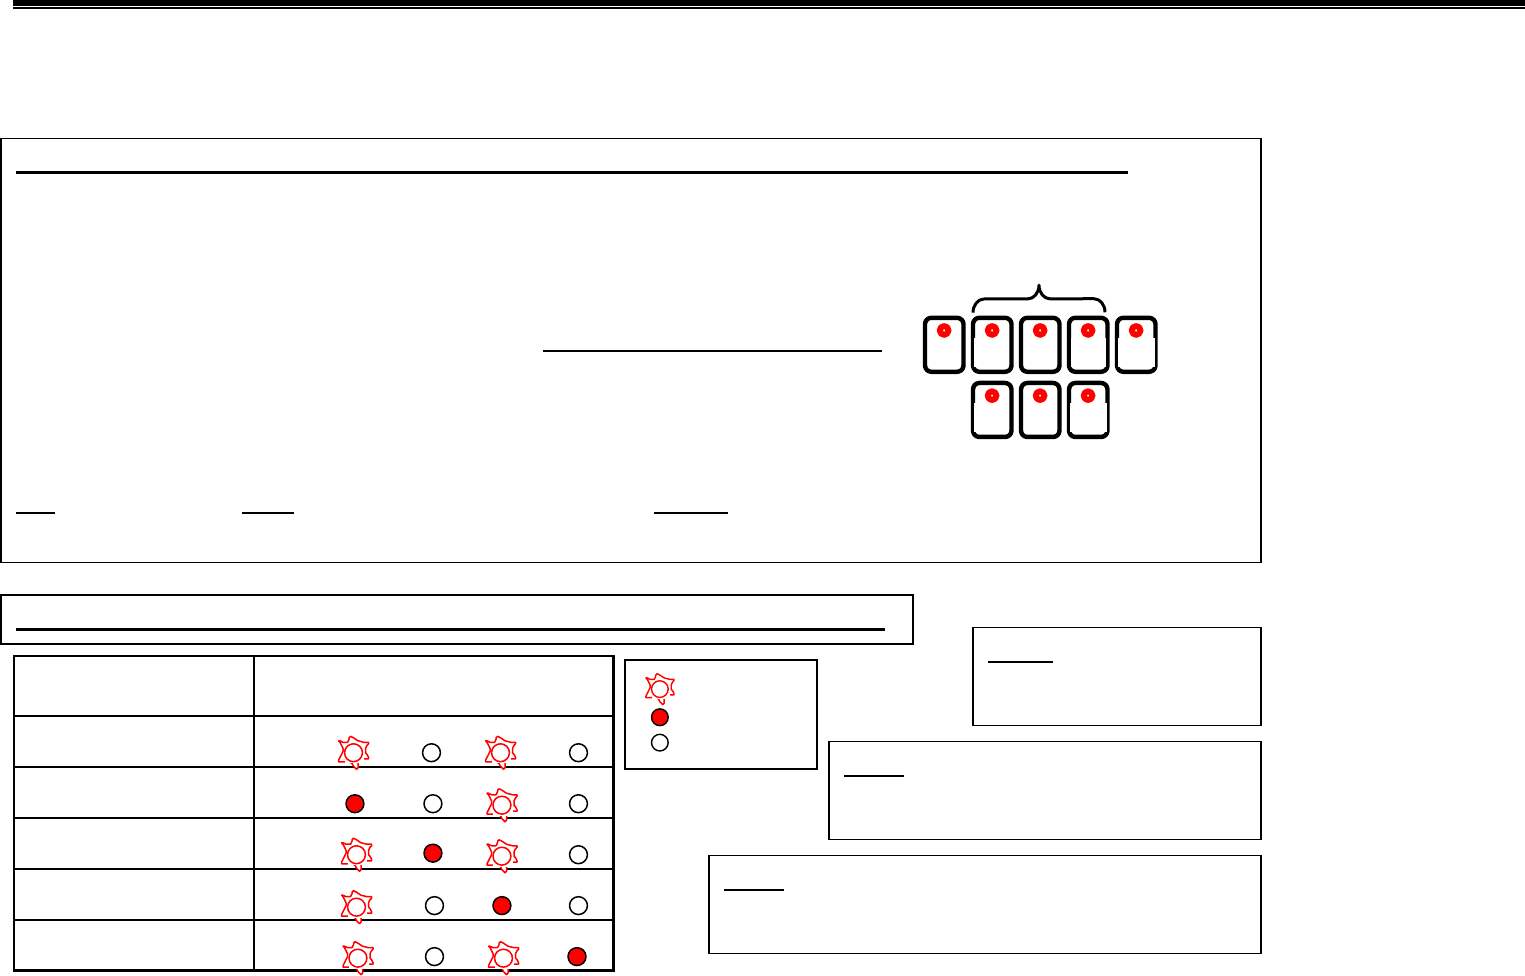
LED Fault Codes
0 - No faults
1 - Heater Element
2 - Water Filling
NSF
NSF
NSF
NSF
CYCLE CLEAN NSFREADY
READY
READY
READY
READY
CYCLE
CYCLE
CYCLE
CYCLE
CLEAN
CLEAN
CLEAN
CLEAN
DISHWASHER TEST PROGRAM ERROR CODES (on SHX33A/43E/46A-B, SHV46C, SL84A models):
●○○ – Heating system fault (heater, Hi-Limit, flow switch, control heater relay)
○●○ – NTC (temperature sensor) fault
○●● – Water filling fault
●○○ – N/A
●○● – N/A
●●○ – Aqua sensor (sensotronic) fault
●●● – N/A
TIP: Fault codes do NOT add up for multiple faults – shows highest fault code
on list above (1
st
– heating, 2
nd
– NTC, 3
rd
– water filling, 4
th
– aqua sensor)
DISHWASHER TEST PROGRAM ERROR CODES (on SHU43E/53E/66E models):
INT: Dishwasher test program heat water to
150°F, so test programs will generally run > 20
minutes for incomin
water tem
eratures ~120°F.
INT: Open door to select test
program for fully-integrated models,
then close door to run
ro
ram.
OT
: Flow
through heaters heat
water ~ 2°F/minute.
LED flashes
LED lit
LED off
Top
Rack
Power
Scrub
Reg.
Wash
Del./
Econo
Rinse
& Hold
Power
Scrub
Reg.
Wash
Rinse
& Hold
ault code LED’s
HV46C, SHX43E/46A-B, SL84A
