19
Getting started
US
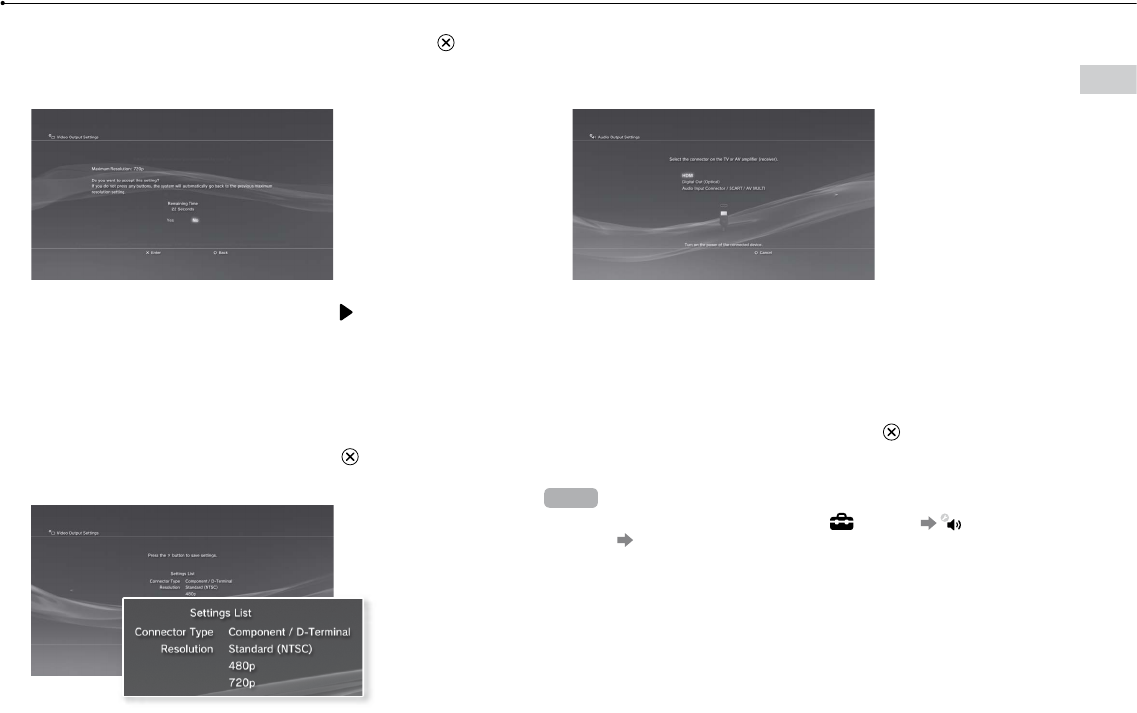
6 Confirm the settings, select [Yes], and then press the button.
Depending on the connector selected in step 2 and the resolutions selected
in step 5, this screen may not be displayed.
7 Select the type of TV, and then press the button.
If you selected [Standard (NTSC)] or [480p] in step 5, a screen for selecting
the TV screen size will be displayed. Adjust the setting to match the TV in use.
If you selected [720p] or a higher resolution in step 5, the TV type will
automatically be set to 16:9 and the screen for selecting the TV screen size
will not be displayed.
8 Confirm the settings, and then press the button.
The video output settings will be saved on the system.
9 Adjust audio output settings.
Continue on to adjust audio output settings. Adjust settings to match the TV
or audio device in use.
If you select [HDMI], you will have the option to choose [Automatic] or
[Manual] on the next screen. In most cases, select [Automatic].
If using a cable other than an HDMI cable to output audio from the TV, select
[Audio Input Connector / SCART / AV MULTI]. If using an optical digital cable
to output audio, select [Digital Out (Optical)] and choose the output format
on the next screen.
10 Confirm the settings, and then press the button.
The audio output settings will be saved on the system.
Hints
You can adjust audio output settings under
(Settings) (Sound
Settings)
[Audio Output Settings].
If the TV in use supports 3D Stereoscopic display, a screen for setting the TV’s
screen resolution will be displayed after step 2. Follow the on-screen
instructions to adjust the settings. Using an HDMI cable, connect the PS3™
system to a TV that supports 3D Stereoscopic display.
