58
6 BACKUP
Click this icon to backup the selected recorded video in AVI
format.
7 SEARCH
CALENDAR
The calendar shows dates with recorded video in a light blue and
the selected date in dark blue.
8 TIMELINE BAR
The timeline shows recorded data in dark blue on the bar. You can
adjust the time-line scale and move it to the time you wish to play
back. Click the play icon to display the recorded video.
9 PLAY BUTTONS
10 DISPLAY MODE
Click these icons to select display mode.
9-5-1. Backup
You can back up recorded video in AVI format from the search viewer.
1. Click the MARK IN icon when the scale on the blue timeline is on the time you wish to
the backup file to begin.
2. Set the ending time on the blue timeline by dragging the scale to the ending time for the
backup file and clicking the MARK OUT icon . The color of the timeline between the
beginning time and ending time will change to dark green.
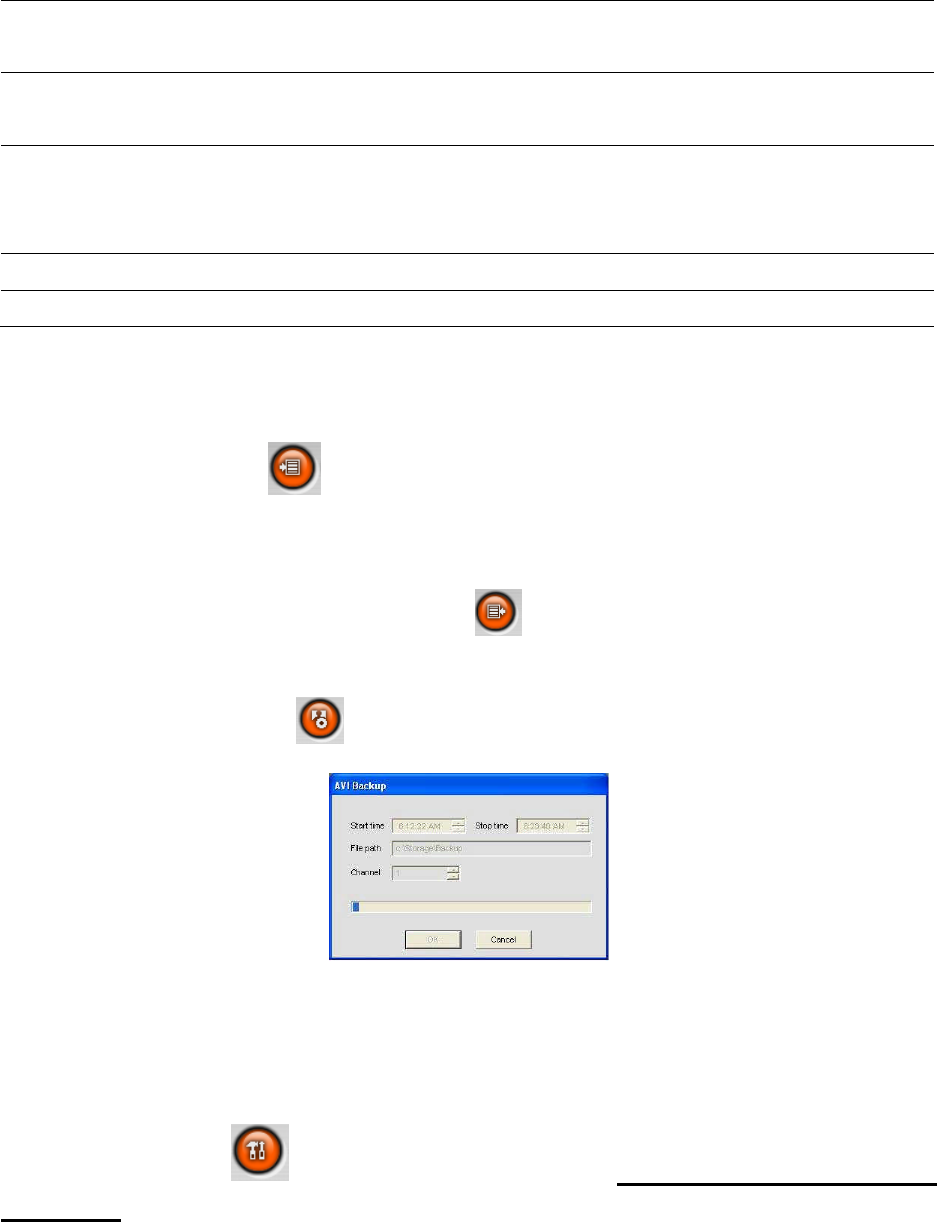
3. Next, click the backup icon and the pop up window appears as below.
The beginning and ending time can also be set on this window.
After selecting a channel for backup, click the OK button. The backup will begin.
9-6. PC System configuration
Click the setup icon to setup the configuration of PC that the network client S/W
is installed.
9-6-1. General
Once you click the setup icon, this pop up window appears. Select security options and set a
password. When you access any of the selected functions, you will need to enter the password.


