2
4
Click KX-P7110 and click Install Network
Utilities.
5
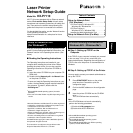
Follow the instructions until the screen below is
displayed.
6
Click on the Yes check button, and then click
.
7
Click the KX-P7110 printer you want to set up in
the list.
To select the printer, refer to the MAC address
confirmed at step 2.
8
Click the Setup menu and select Network
Setup….
9
Click the TCP/IP tab.
10
Remove the check of the Use DHCP/BOOTP
check box, then enter IP address, Subnet Mask
and Default Gateway. Click .
11
Confirm the setting and click .
You will see the message “Update is completed.
Do you wish to reset the printer?”.
12
Click .
13
Click Device menu and select Exit.
■ Step 3: Installing the LPR Port on the
Computer
1
Confirm the printer is ready for printing.
2
Insert the printer CD-ROM into the CD-ROM
drive and click KX-P7110.
3
Click Install Network Port.
4
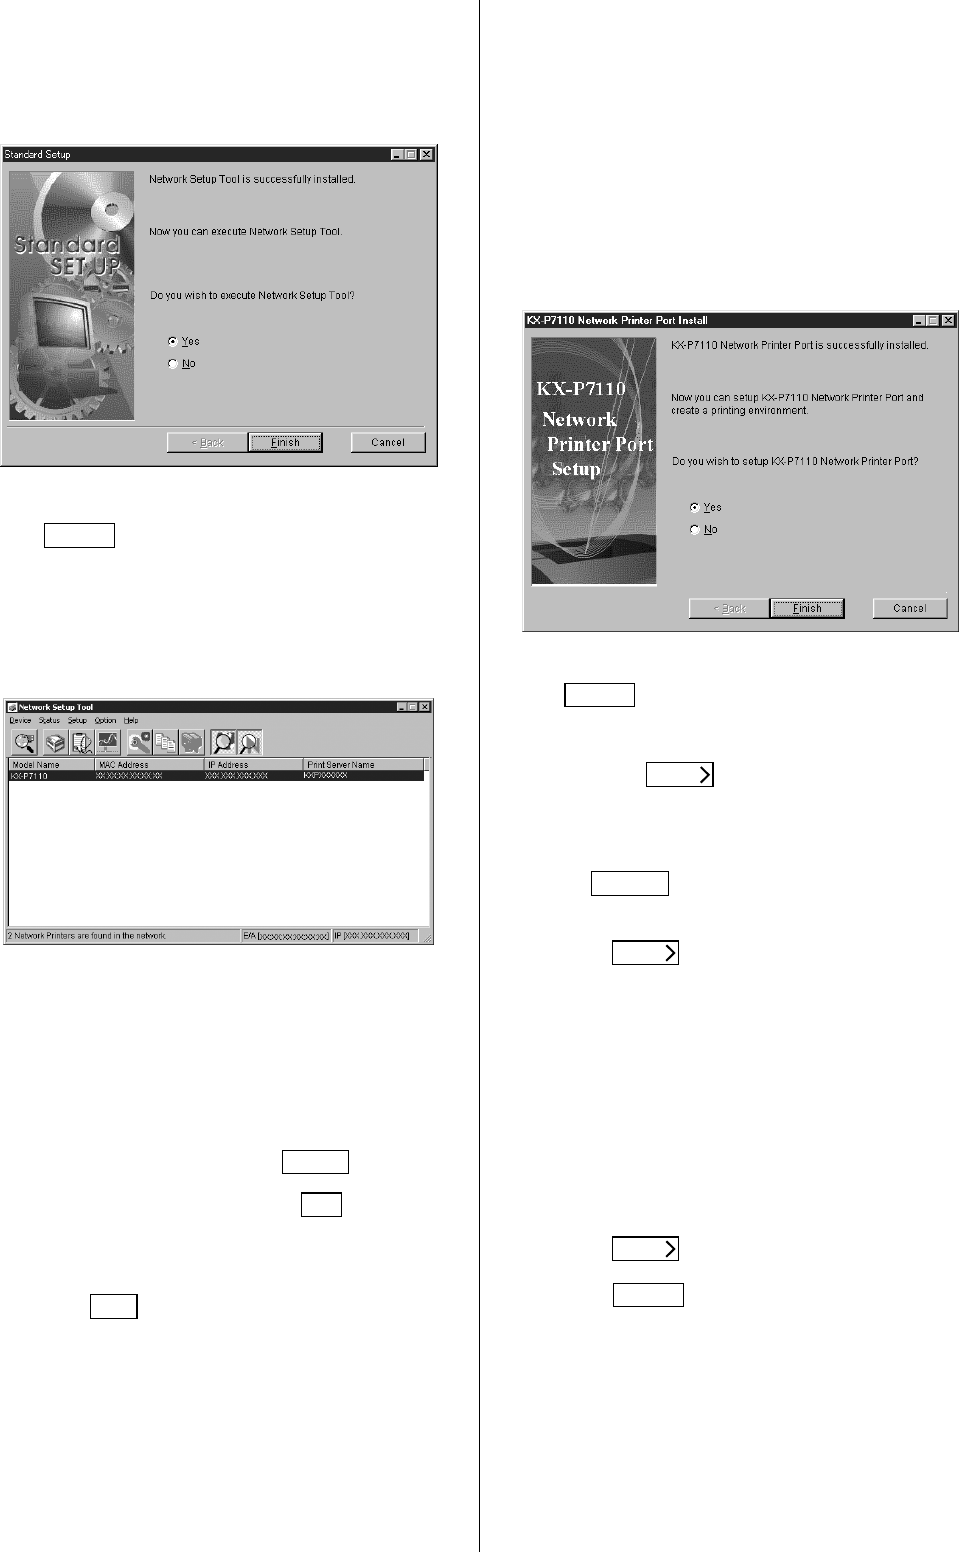
Follow the instructions until the screen below is
displayed.
5
Click on the Yes check button, and then click
.
6
Click on the Print by using LPR check button
and click .
7
Enter the IP address or host name of the
printer.
• Clicking will display the list of printers on
the network.
8
Click .
9
Change the print port name (ex. KX-P7110
No.1) if needed.
• By default, the IP address: lp will be automatically
assigned to the Destination print port name.
Note:
• Destination print port name should be a unique
name because it is used as the printer port name
when setting the printer driver.
10
Click .
11
Click .
Setup
OK
Yes
Next
Next
Next
Finish