19
Advanced operations
RQT6012
Content
A-B repeat (á page 12)
[ENTER] (start point) á [ENTER] (finish point)
To cancel: [ENTER]
Repeat play (á page 12)
[DVD] C (Chapter) ,.T (Title) ,. OFF
^--------------------------------------------J
[VCD] [CD] T(Track) ,. A (All) ,. OFF
^-------------------------------------J
[VCD] [CD]
Play mode display
---: Off PGM: Program play RND: Random play
Marker
You can mark up to 5 positions to play again.
[ENTER] (The unit is now ready to accept markers.)
To mark a position
[ENTER] (at the desired point)
To mark another position: [2, 1] á [ENTER]
To recall a marker: [2, 1] á [ENTER]
To erase a marker: [2, 1] á [CANCEL]
Icon
AB
–––
1 2 3✱✱
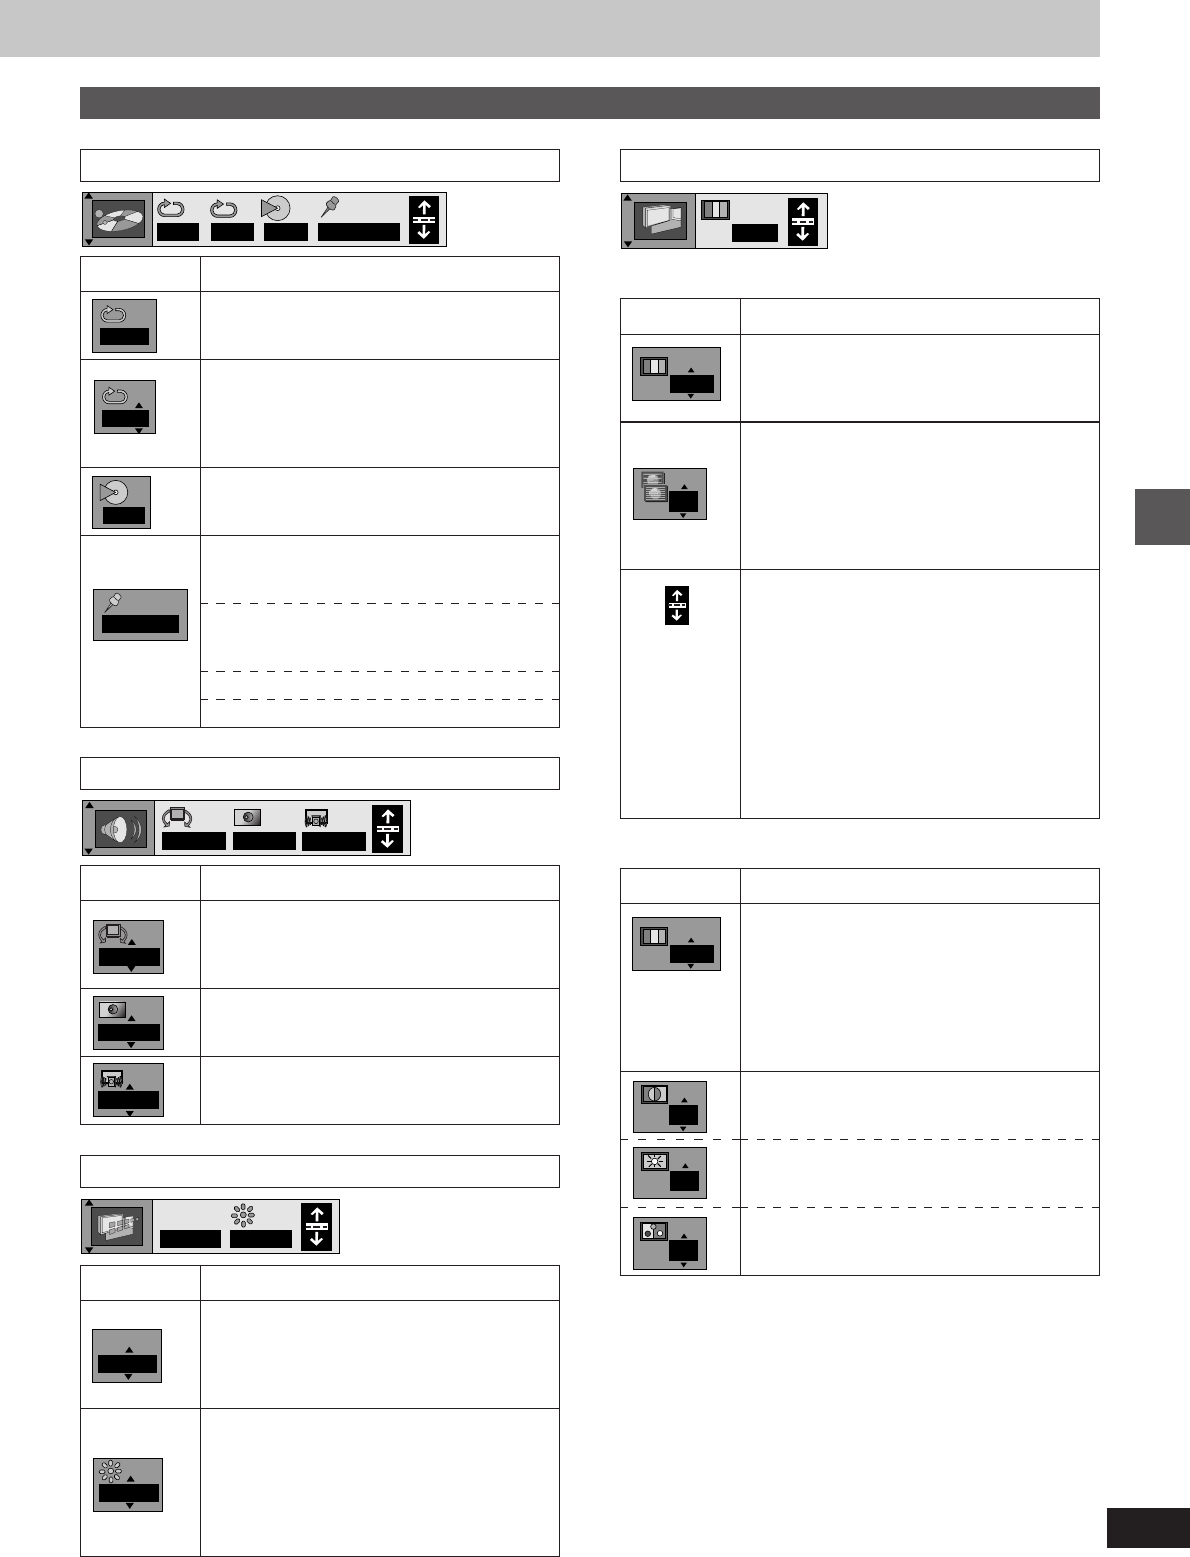
Display menu
Icon Content
[DVD]
IPB display (á page 25)
Displays the picture type (I/P/B) in the still picture
mode.
ON()OFF
Display dimmer
Changes the brightness of the unit’s display.
BRIGHT()DIM()AUTO
¤
^-------------------------------------J
¤
The display is dimmed during play, but
brightens when you perform operations such
as slow-motion, search, and pause.
OFF
I P B
BRIGHT
Icons for unit information
Play menu
Icon Content
[DVD] (Dolby Digital, 2-channel or over only)
Advanced Surround (V.S.S.) (á page 14)
1()2()OFF
^--------------------J
Bass Plus (á page 14)
OFF()ON
[DVD] (Dolby Digital, 3-channel or over only)
Dialogue Enhancer (á page 15)
ON()OFF
OFF
OFF
ON
Audio menu
Icon Content
[DVD] [VCD]
Digital picture mode
N: Normal mode
C: Cinema mode (á page 15)
U: User mode
Ð
The following items are also displayed when
you select “U”.
Contrast (j7 to i7)
Increases the contrast between white and black
parts of the picture.
Brightness (0 to i15)
Brightens the picture.
Color (j7 to i7)
Adjust the shade of the picture’s color.
0
0
0
AB
––– 1 2 3 ✱✱
OFF
Video menu
OFF
OFF ON
OFF BRIGHT
I P B
When the progressive out indicator is off:
Icon Content
[DVD] [VCD]
Digital picture mode
N: Normal mode
C: Cinema mode (á page 15)
[DVD] [VCD]
Transfer MODE
Select the method of conversion for
progressive output to suit the type of material
being played (á page 25, “Film and video”).
Auto (normal): for viewing film material
Video: for video material
Horizontal position
Press the numbered buttons to change the
horizontal position of the picture.
After highlighting the icon shown at left:
1. Press [1].
2. Press [1] to move the picture to the left or
[3] to move the picture to the right.
³Pressing [2] returns the position to the
factory preset.
3. Press [4] to confirm the position.
This position is saved even if you turn the unit
off.
Auto
When the progressive out indicator is on (á page 9):
N
OFF
