34
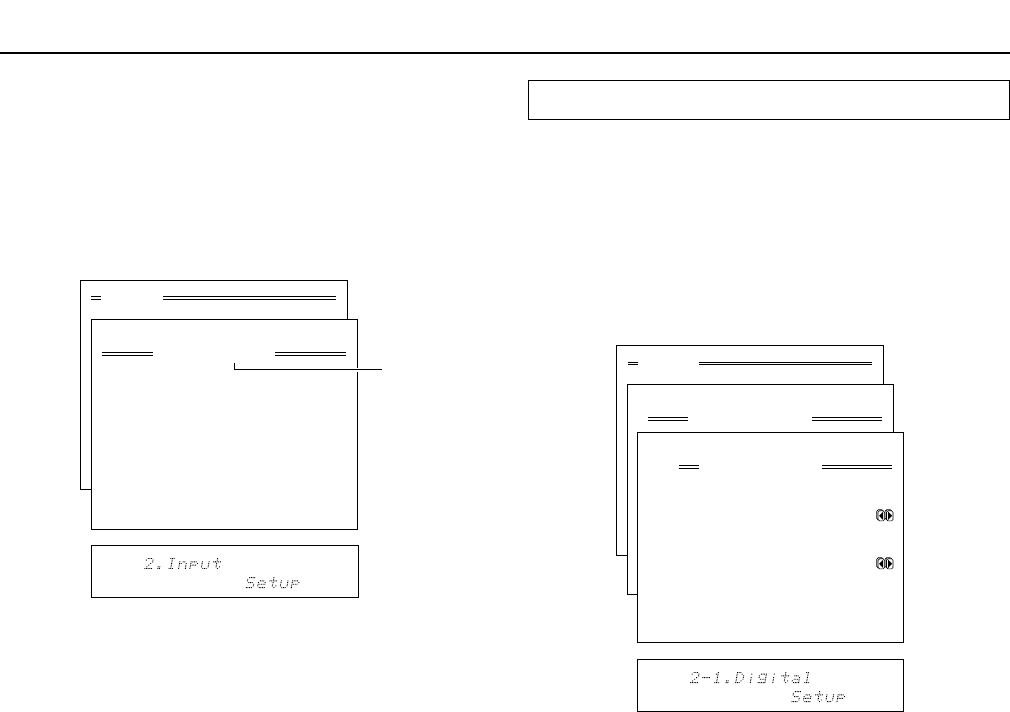
2. Input Setup menu
This menu allows you to setup the various input sources available
with the TX-DS989. Each input source may have a great number
of settings that are difficult to keep track of, so we recommend
making a chart to record what you have set and for which
component to prevent confusion later.
Input Setup
Menu
1.Speaker Setup
2.Input Setup
3.Listening Mode Setup
4.Preference
5.Zone2 OSD Setup
6.About
Select: Exit:|EXIT|
Enter:|ENTER| Quit:|OSD|
1
2
3
4
5
6
7
8
9
0
1
2
123456789012345678901234
2.Input Setup
Input:VIDEO1
1.Digital Setup
2.Multichannel Setup
3.Video Setup
4.Listening Mode Preset
5.Delay
6.Sound Effect
7.Character Input
8.Miscellaneous Setup
Quit:|OSD|
Menu
1.Speaker Setup
2.Input Setup
3.Listening Mode Setup
4.Preference
5.Zone2 OSD Setup
6.About
Select: Exit:|EXIT|
Enter:|ENTER| Quit:|OSD|
1
2
3
4
5
6
7
8
9
0
1
2
123456789012345678901234
2.Input Setup
Input:VIDEO1
1.Digital Setup
2.Multichannel Setup
3.Video Setup
4.Listening Mode Preset
5.Sound Effect
6.Character Input
7.Miscellaneous Setup
Quit:|OSD|
2-1.Digital Setup
Input:VIDEO1
a.Digital Input
:OPT1
b.Digital Format
:Auto
Quit:|OSD|
2-1. Digital Setup sub-menu
The settings made in this sub-menu are valid for the input source
that is currently selected with the input source buttons at the front
panel and, therefore, these settings are made separately for each
digital input source. This sub-menu will not appear if the
Multichannel setting in the Multichannel Setup sub-menu is set to
“On” for the selected input source, or if the selected input source
button is AM, FM, or PHONO. If this setting is incorrectly made,
the digital audio signals may not be properly output, or not heard at
all.
a. Digital Input
This setting tells the TX-DS989 which input source button on the
front panel is connected with which digital input jack on the rear
panel. To perform this setting, you must first select a digital input
source at the front panel and then set the name of the digital input
jack it is connected to here.
For example, if the input source selected at the front panel is CD
and the compact disc player is connected to OPTICAL IN 1, then
select “OPT1” here. If the input source selected is not connected to
a digital input, then select “----.”
OPT1: Select if connected to DIGITAL INPUT (OPTICAL) 1.
OPT2: Select if connected to DIGITAL INPUT (OPTICAL) 2.
OPT3: Select if connected to the DIGITAL INPUT (OPTICAL) 3.
COAX1: Select if connected to DIGITAL INPUT (COAXIAL) 1.
COAX2: Select if connected to DIGITAL INPUT (COAXIAL) 2.
COAX3: Select if connected to DIGITAL INPUT (COAXIAL) 3.
COAX4: Select if connected to DIGITAL INPUT (COAXIAL) 4.
COAX5: Select if connected to DIGITAL INPUT (COAXIAL) 5.
––––: Select if the input source is not from a digital input jack.
b. Digital Format
The default setting is “Auto.” If “----” is selected for this input
source at the Digital Input setting, then this setting will not appear.
Although you can use this default setting as is, you may change it
as desired depending on the input signal format (e.g., if you know
that you will always be listening to a certain input signal format
from a particular input source).
Current
Input
Source


