95
6. Using On-Screen Menu
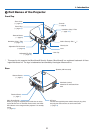
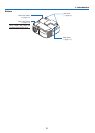
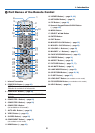
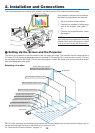
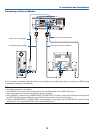
INSTALLATION(2)
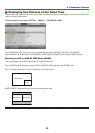
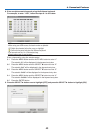
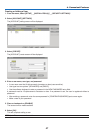
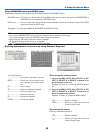
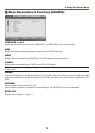
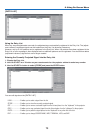
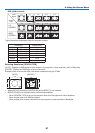
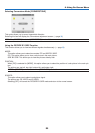
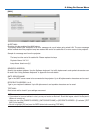
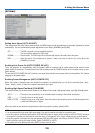
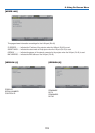
[NETWORK SETTINGS]
This feature allows you to set various setting items when the projector is used on your network.
CAUTION
• Consult with your network administrator about these settings.
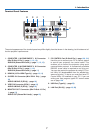
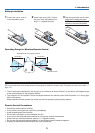
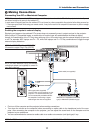
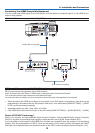
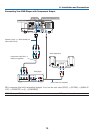
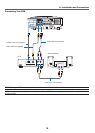
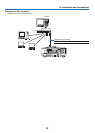
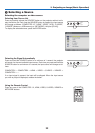
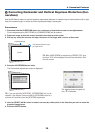
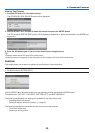
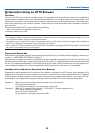
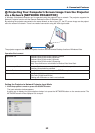
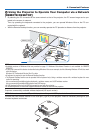
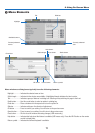
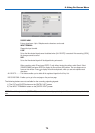
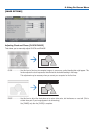
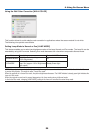
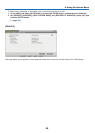
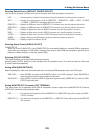
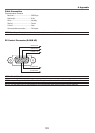
Hints on How to Set Up LAN Connection
To configure the projector to communicate on the network using the LAN port (RJ-45):
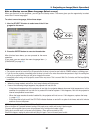
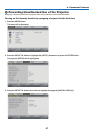
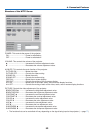
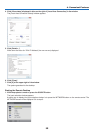
1. Select the [
WIRED] tab for the LAN port (RJ-45).
2. On the [
WIRED] tab, select a number from the [PROFILES] list for your LAN settings.
Two settings can be stored in memory for the LAN port.
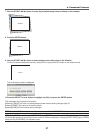
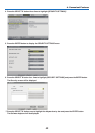
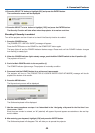
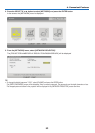
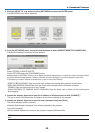
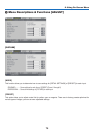
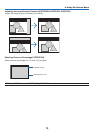
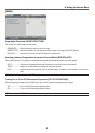
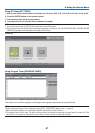
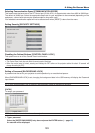
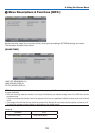
3. On the [
WIRED] tab, turn on or off [DHCP], specify IP address, Subnet Mask, Gateway and DNS Con-
figuration. Select [OK] and press the ENTER button.
(
→
page 98)
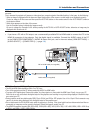
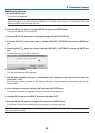
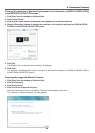
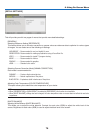
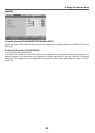
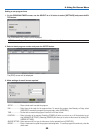
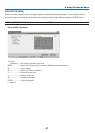
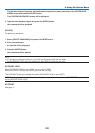
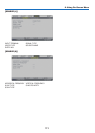
To recall the settings from memory:
After selecting the [WIRED] tab, select the number from the [PROFILES] list.
Select [OK] and press the ENTER button. (
→
page 98)
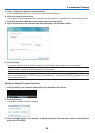
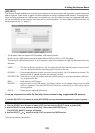
To connect a DHCP server:
On the [WIRED] tab, select [DHCP] and press the ENTER button. A check mark will be placed. Select again
and press the ENTER button. The check box will be cleared.
When setting an IP address without using a DHCP server, clear the check box for [DHCP]. (
→
page 98)