20
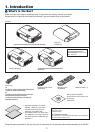
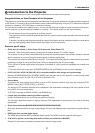
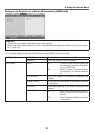
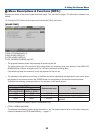
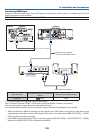
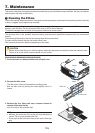
2. Projecting an Image (Basic Operation)
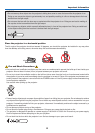
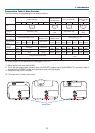
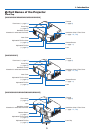
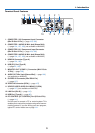
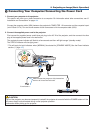
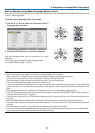
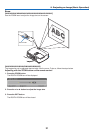
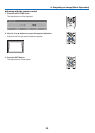
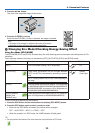
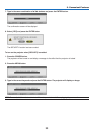
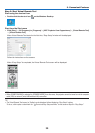
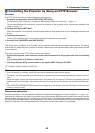
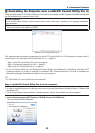
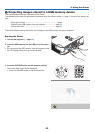
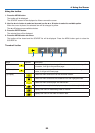
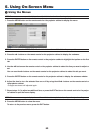
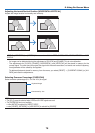
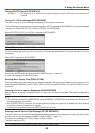
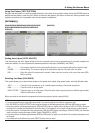
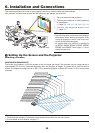
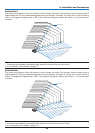
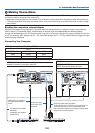
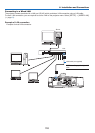
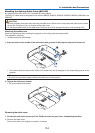
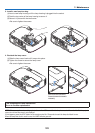
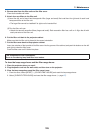
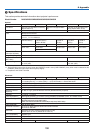
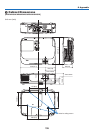
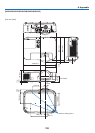
Adjustable Tilt Foot
Adjustable Tilt
Foot Lever
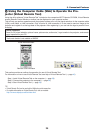
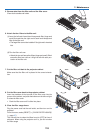
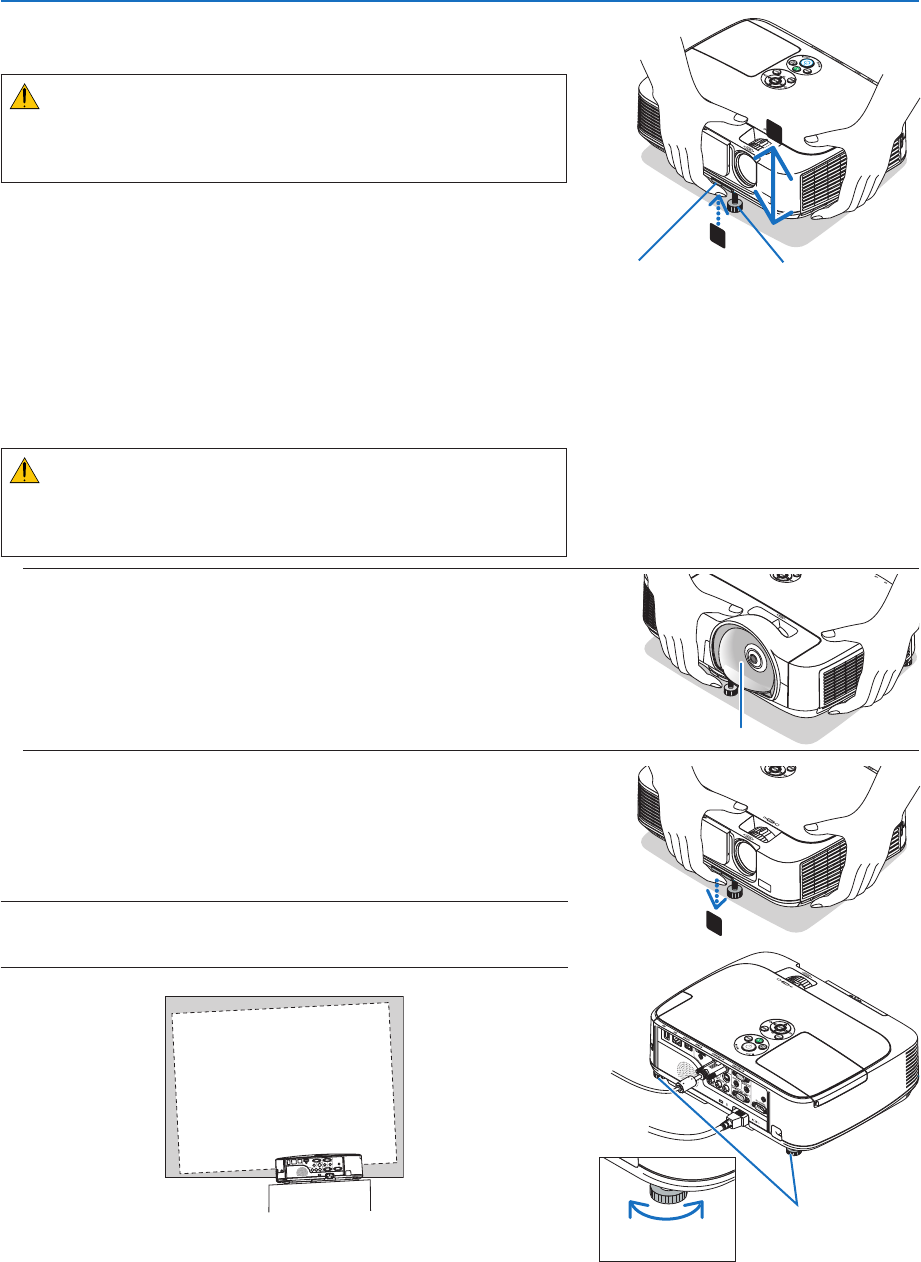
Adjust the Tilt Foot
1.Liftthefrontedgeoftheprojector.
CAUTION:
DonottrytotouchtheventilationoutletduringTiltFootadjustment
asitcanbecomeheatedwhiletheprojectoristurnedonandafterit
isturnedoff.
2.PushupandholdtheAdjustableTiltFootLeveronthefrontof
theprojectortoextendtheadjustabletiltfoot.
3.Lowerthefrontoftheprojectortothedesiredheight.
4.ReleasetheAdjustableTiltFootLevertolocktheAdjustabletilt
foot.
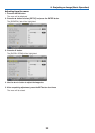
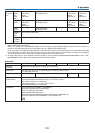
The tilt foot can be extended up to 1.6 inch/40 mm.
There is approximately 10 degrees (up) of adjustment for the front of
the projector.
Rotate the rear foot to the desired height in order to square the image
on the projection surface.
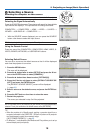
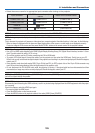
CAUTION:
• Donotusethetilt-footforpurposesotherthanoriginallyintended.
Misusessuchasusingthetiltfoottocarryorhang(fromthewallor
ceiling)theprojectorcancausedamagetotheprojector.
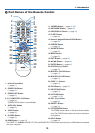
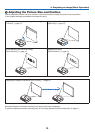
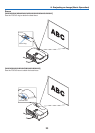
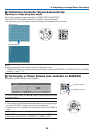
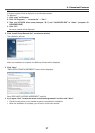
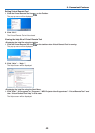
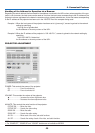
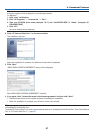
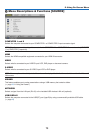
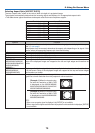
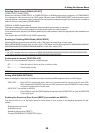
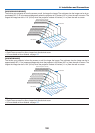
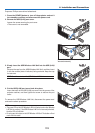
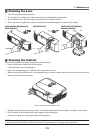
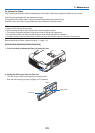
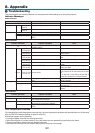
For short-throwmodels (M350XS/M300XS/M260XS/M300WS/
M260WS)
Short-throw models have a round lens protruding from the front cabinet.
While adjusting the tilt foot, pay attention not to touch the lens.
Lens
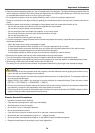
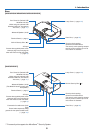
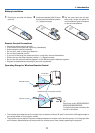
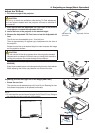
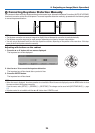
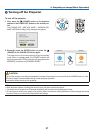
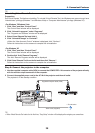
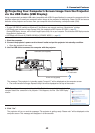
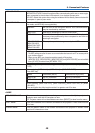
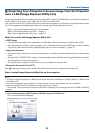
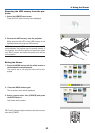
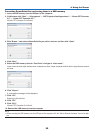
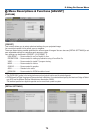
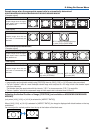
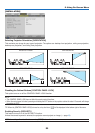
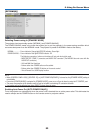
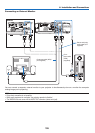
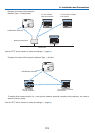
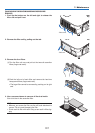
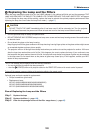
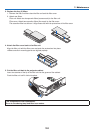
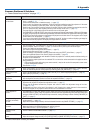
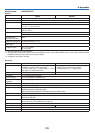
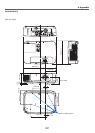
Adjustingtheleftandrighttiltofanimage[Rearfoot]
• Rotatetherearfoot.
The rear foot can be extended up to 0.5 inch/12 mm. Rotating the rear
foot allows the projector to be placed horizontally.
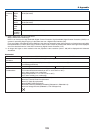
NOTE:
• Donotextendtherearfootbeyonditsheightlimit(0.5inch/12mm).Doingso
maycausetherearfoottocomeoutoftheprojector.
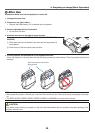
Rear foot
Up Down