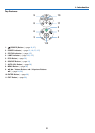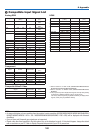
52
3. Convenient Features
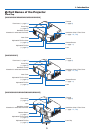
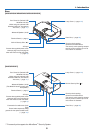
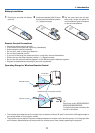
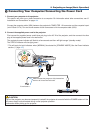
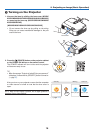
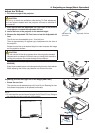
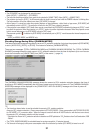
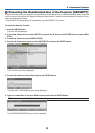
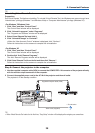
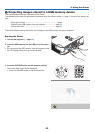
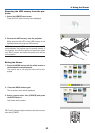
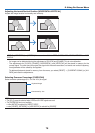
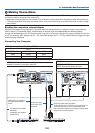
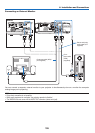
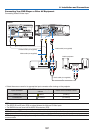
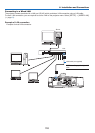
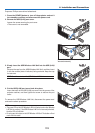
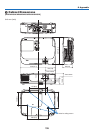
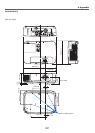
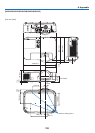
Step 2: Connect the projector to a LAN.
ConnecttheprojectortotheLANbyfollowingtheinstructionsin“ConnectingtoaWiredLAN”(→page110),“Con-
nectingtoaWirelessLAN(Optional:NP02LMseries)”(→page111)and“9.ControllingtheProjectorbyUsingan
HTTPBrowser”(→page44)
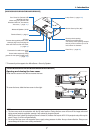
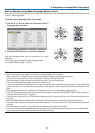
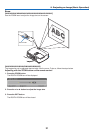
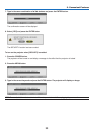
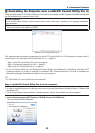
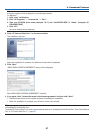
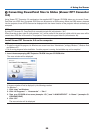
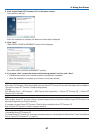
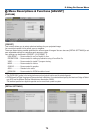
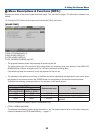
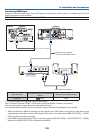
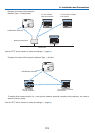
Step 3: Start PC Control Utility Pro 4
Click“Start”→“Allprograms”or“Programs”→“NECProjectorUserSupportware”→“PCControlUtilityPro4”→
“PCControlUtilityPro4”.
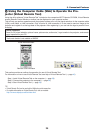
NOTE:
• FortheSchedulefunctionofthePCControlutilityPro4towork,youmusthaveyourcomputerrunningandnotinstandby/
sleepmode.Select“PowerOptions”fromthe“ControlPanel”inWindowsanddisableitsstandby/sleepmodebeforerunningthe
scheduler.
[Example]ForWindows7:
Select“ControlPanel”→“SystemandSecurity”→“PowerOptions”→“Changewhenthecomputersleeps”→“Putthecomputer
tosleep”→“Never”.
NOTE:
• When[POWER-SAVING]isselectedfor[STANDBYMODE]fromthemenu,theprojectorcannotbeturnedonviathenetwork
(wiredLAN/wirelessLAN)connection.
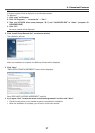
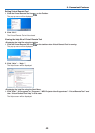
TIP:
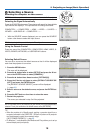
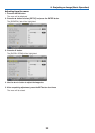
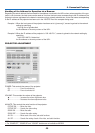
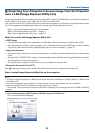
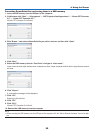
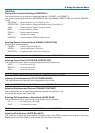
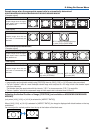
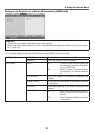
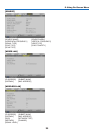
ViewingtheHelpofPCControlUtilityPro4
• DisplayingtheHelpleofPCControlUtilityPro4whileitisrunning.
Click“Help(H)”→ “Help (H) …” of window of PC Control Utility Pro 4 in this order.
The pop-up menu will be displayed.
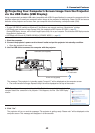
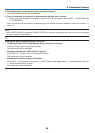
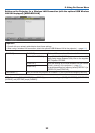
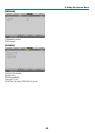
• DisplayingthehelpleusingtheStartMenu.
Click“Start”→ “All programs” or “Programs” → “NEC Projector User Supportware” → “PC Control Utility Pro 4” →
“PC Control Utility Pro 4 Help”.
The Help screen will be displayed.