13
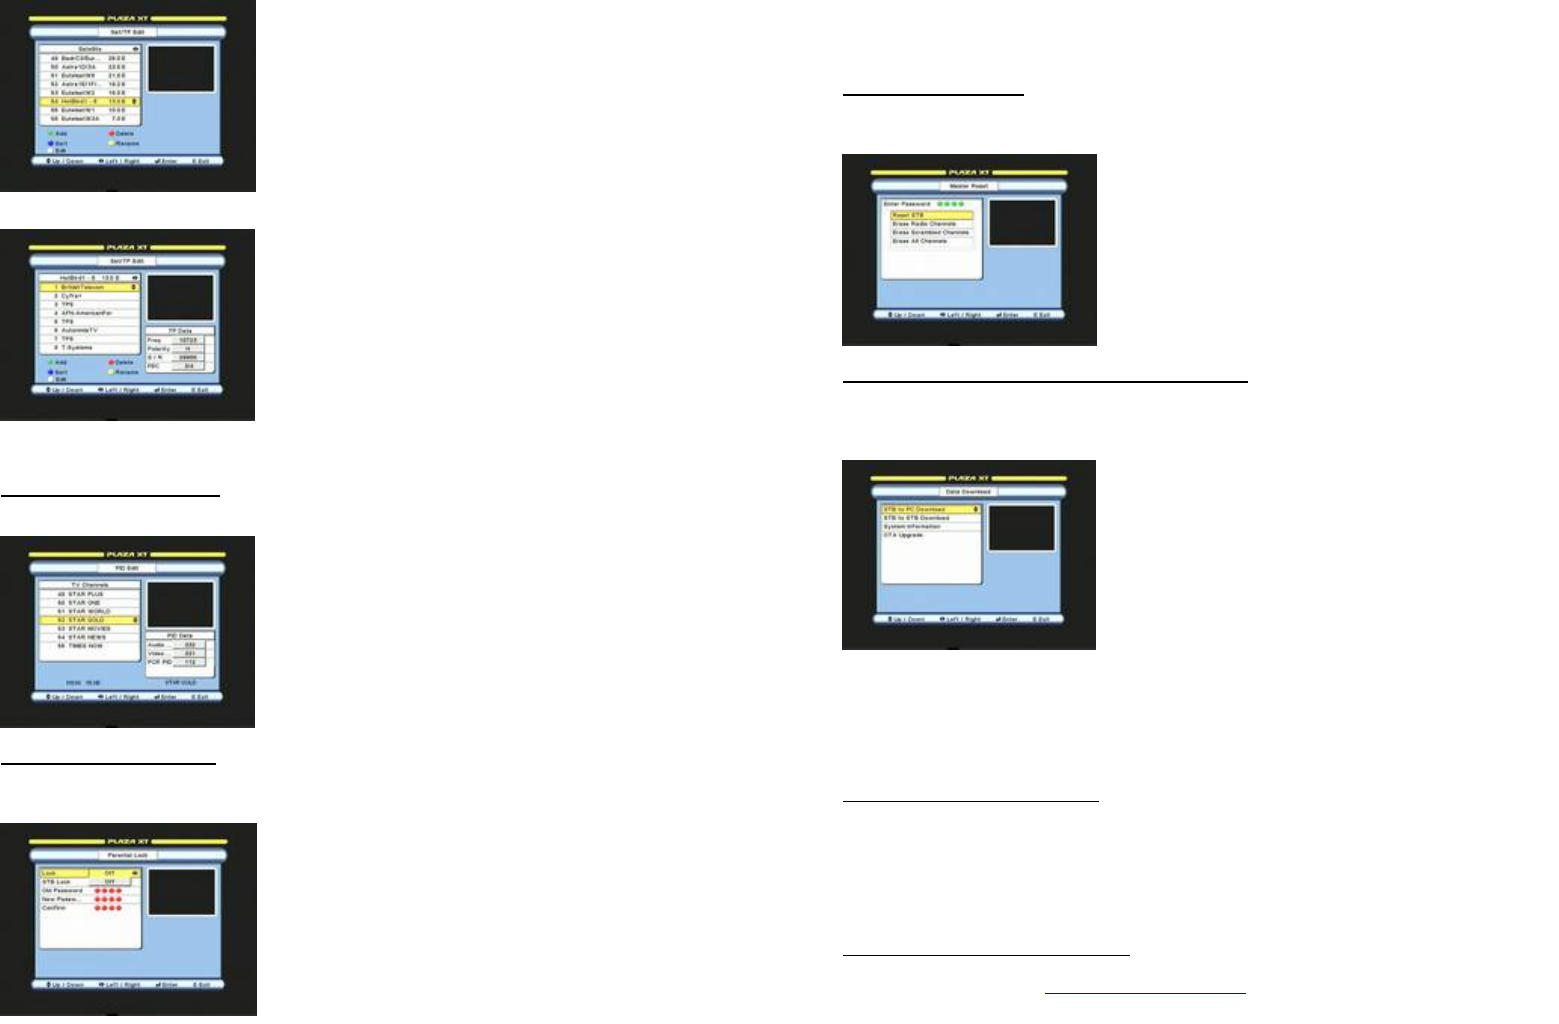
Sat/TP Edit --- Satellite Configuration
Sat/TP Edit --- TP Configuration
Edit: Scroll to required TP and press white key. Focus will move to TP Data for editing.
EDITING CHANNEL PIDS
Press MENU key and go to EDIT. Select PID Edit
PID Edit Configuration
TO SET PARENTAL LOCK
Press MENU, select Parental Lock and enter your password. Default password is ‘0000’.
Parental Lock Configuration
Add:
Press green key to display keyboard. Select
and press OK on letters to name the satellite and
press EXIT. Name is added at end of satellite list.
Enter position with 0~9, PAGE up / down keys.
Delete:
Scroll to required satellite and press red
key.
Sort: Press blue key to sort the list by position.
Rename:
Press yellow key to display keyboard.
Select and press OK on the letters to rename.
Add:
Press green key to display keyboard. Name
the TP and press EXIT. Name is added at end
list and focus moves to TP Data. Enter data and
press EXIT.
Delete: Scroll to required TP and press red key.
Sort: Press blue key to sort the list by frequency.
Rename:
Press yellow key to display keyboard.
Select and press OK on the letters to rename.
Scroll to required channel and press OK. Focus will
move to PID Data. Enter new PID wit
After configuration press EXIT and save the
settings.
Lock: Press left / right and select ‘On’.
STB Lock:
To lock the full operation of the STB
select ‘On’
Old Password:
password. Default is ‘0000’.
New Password:
With 0~9 keys enter your new
password when you wish to change it.
Confirm:
With 0~9 keys enter your new password
again.
14
Note: After ‘Lock’ is turned ‘On’, channels locked in edit menu will require a password to
open. If STB lock is on, a password is required to operate any function. After applying
new password, the default password is no longer operative. If you loose or forget your
password, apply the master password given on page 16.
TO RESET YOUR STB
Press MENU, select Master Reset and enter your password. Default password is ‘0000’.
Master Reset Configuration
TO UPGRADE SOFTWARE OR TRANSFER DATA
Press MENU, go to INSTALL, select Data Download and enter your password. Default
password is ‘0000’.
Data Download Configuration
Note: To upgrade software via satellite, your dish must be positioned to HotBird 1-6
(13.0E). This satellite provides the OTA Upgrade. The STB will check for any available
upgrade and start download. If the software in STB is same as in OTA Upgrade, it will
display ’Latest Software Already Installed’. After upgrading software, it may be necessary
to Master Reset the STB.
STB TO STB COPY FUNCTION
1. Connect download cable to ‘RS232’ connectors (C12) on both STB.
2. Connect power to master STB and switch it on. Go to INSTALL menu and select Data
Download and enter your password. Select STB to STB Download and press OK. Select
option and press OK. ‘Downloading’ message will appear.
3. Connect power to slave STB. After initialising it will start download.
4. When finished, the slave STB will re-initialise.
TO UPGRADE SOFTWARE VIA PC
Connect NUL MODEM cable (see below) to RS232 connector C12. The software is
available on our website http://www.plaza-xt.com Follow instructions contained within the
zipped file.
Factory Reset: Press OK to erase all settings.
Erase Radio Channels:
channels only.
Erase Scrambled Channels:
scrambled channels only.
Erase All Channels:
channels but keep other user settings.
STB To PC Download:
Press OK to transfer user
settings to PC for using with PC Edit software.
STB To STB Download:
Press OK to transfer user
settings to another STB of same model.
System Information:
software version. Press EXIT to close.
OTA Upgrade:
To upgrade software via satellite.
Press OK to open upgrade menu. Menu is pre-
configured therefore press blue key to start.
