30
Chapter 5: Configuring the Wireless-G Home Router
The Access Restrictions Tab - Internet Access
Wireless-G Home Router
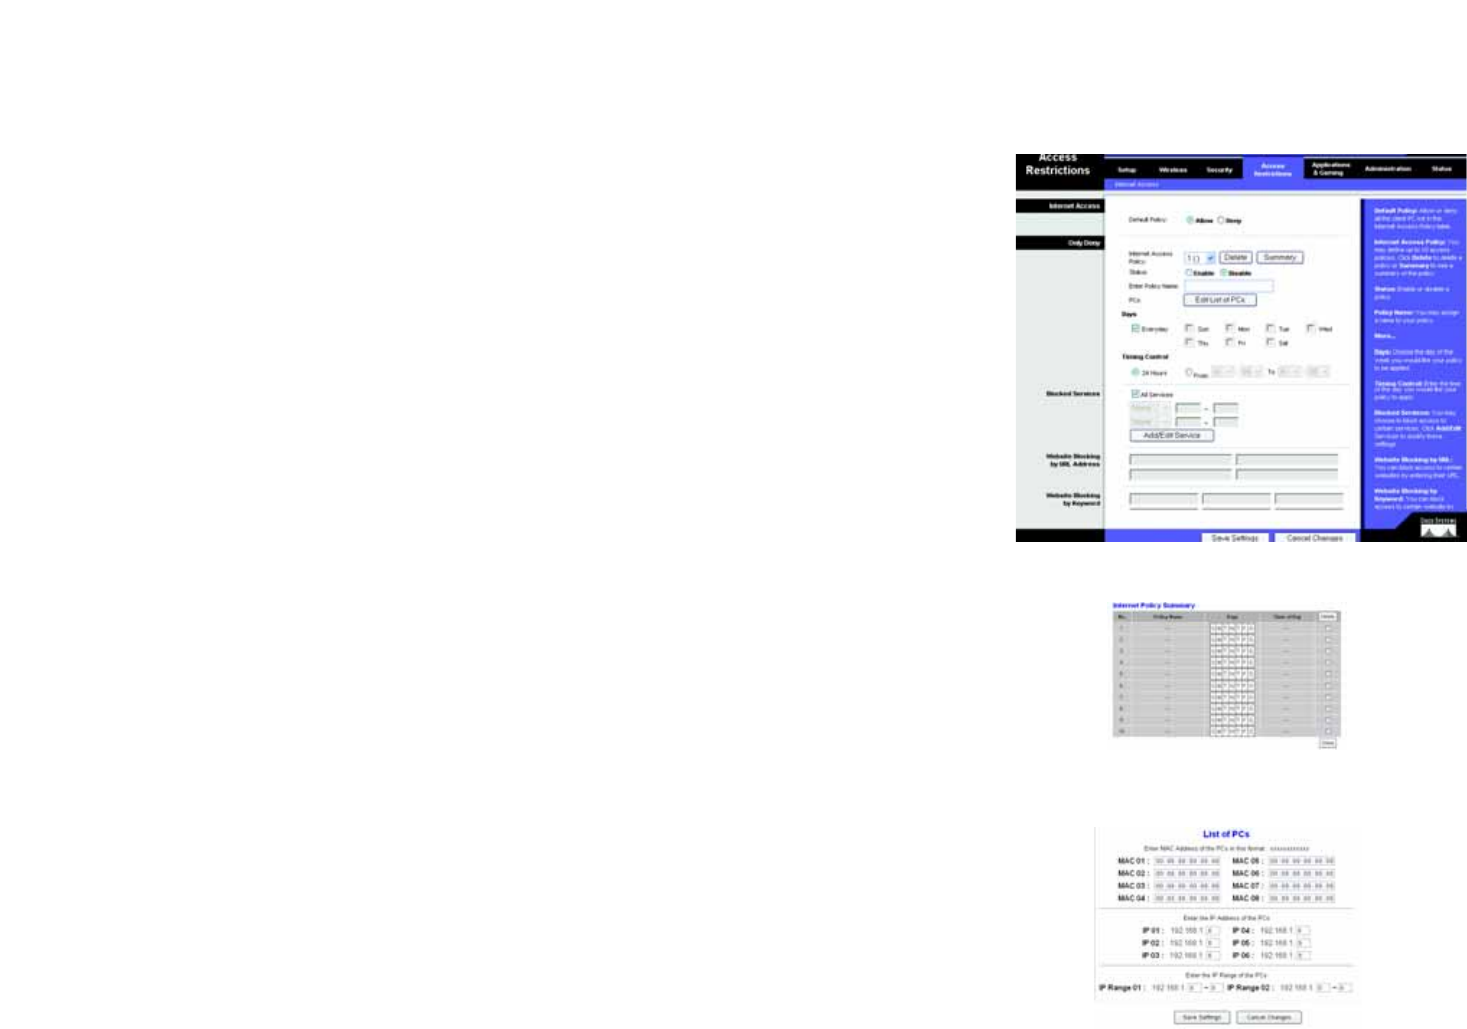
Figure 5-31: Access Restrictions Tab - Internet Access
Figure 5-32: Internet Policy Summary
Figure 5-33: List of PCs
The lower portion of this page is the list of IP-MAC mapping entries. To delete one entry, select first the checkbox
of entry that you want to delete. Then click on "Delete" button.
User can also utilize the ARP Search button to automatically search for the current IP-MAC address mapping list
in the ARP table. Click the checkbox of the entries that you want to add into the mapping list. Then click on "Add"
button to add it into the list.
Finally, click Save to save all the changes.
The Access Restrictions Tab - Internet Access
The Internet Access screen allows you to block or allow specific kinds of Internet usage and traffic, such as
Internet access, designated services, websites, and inbound traffic during specific days and times.
Default Policy. Allows or denies the client PCs that are not in the Internet Access Policy table.
Internet Access Policy. This feature allows you to customize up to ten different Internet Access Policies for
specified PCs, which are identified by their IP or MAC addresses, during the days and time periods specified. Click
Delete to delete a policy or Summary to view a summary of the policy.
To create or edit a policy, follow these instructions:
1. Select the policy number (1-10) in the drop-down menu.
2. Enter a name in the Enter Profile Name field.
3. Click the Edit List of PCs button.
4. On the List of PCs screen, specify PCs by IP address or MAC address. Enter the appropriate IP addresses into
the IP fields. If you have a range of IP addresses to filter, complete the appropriate IP Range fields. Enter the
appropriate MAC addresses into the MAC fields.
5. Click the Apply button to save your changes. Click the Cancel button to cancel your unsaved changes. Click
the Close button to return to the Filters screen.
6. If you want to block the listed PCs from Internet access during the designated days and time, then keep the
default setting, Disable Internet Access for Listed PCs. If you want the listed PCs to be able to access the
Internet during the designated days and time, then click the radio button next to Enable Internet Access for
Listed PCs.
7. Set the days when access will be filtered. Select Everyday or the appropriate days of the week.
