-29-
Revision 4/F3591 © Moffat Ltd, August 2004
3) Remove the door chain assembly and
replace the broken component.
4) Reassemble in reverse order.
5) Adjust chain such that the oven doors
close correctly (refer 6.4.1)
1) Remove the bottom lintel (refer section
6.2.5).
2) Right hand door removal only:
Remove the top lid.
Remove the microswitch actuator pin from
the door pin.
6.3.21 DOOR ASSEMBLY
Microswitch
actuator pin
Figure 6.3.31
3) Undo both turnbuckles from the door chain
assembly.
Figure 6.3.32
Turnbuckle
4) Remove the door chain assemblies.
5) Remove the bottom bearing channel
support brackets (two screws each) to
allow the bottom bearing channel to be
removed.
Support bracket
Bearing channel
Figure 6.3.33
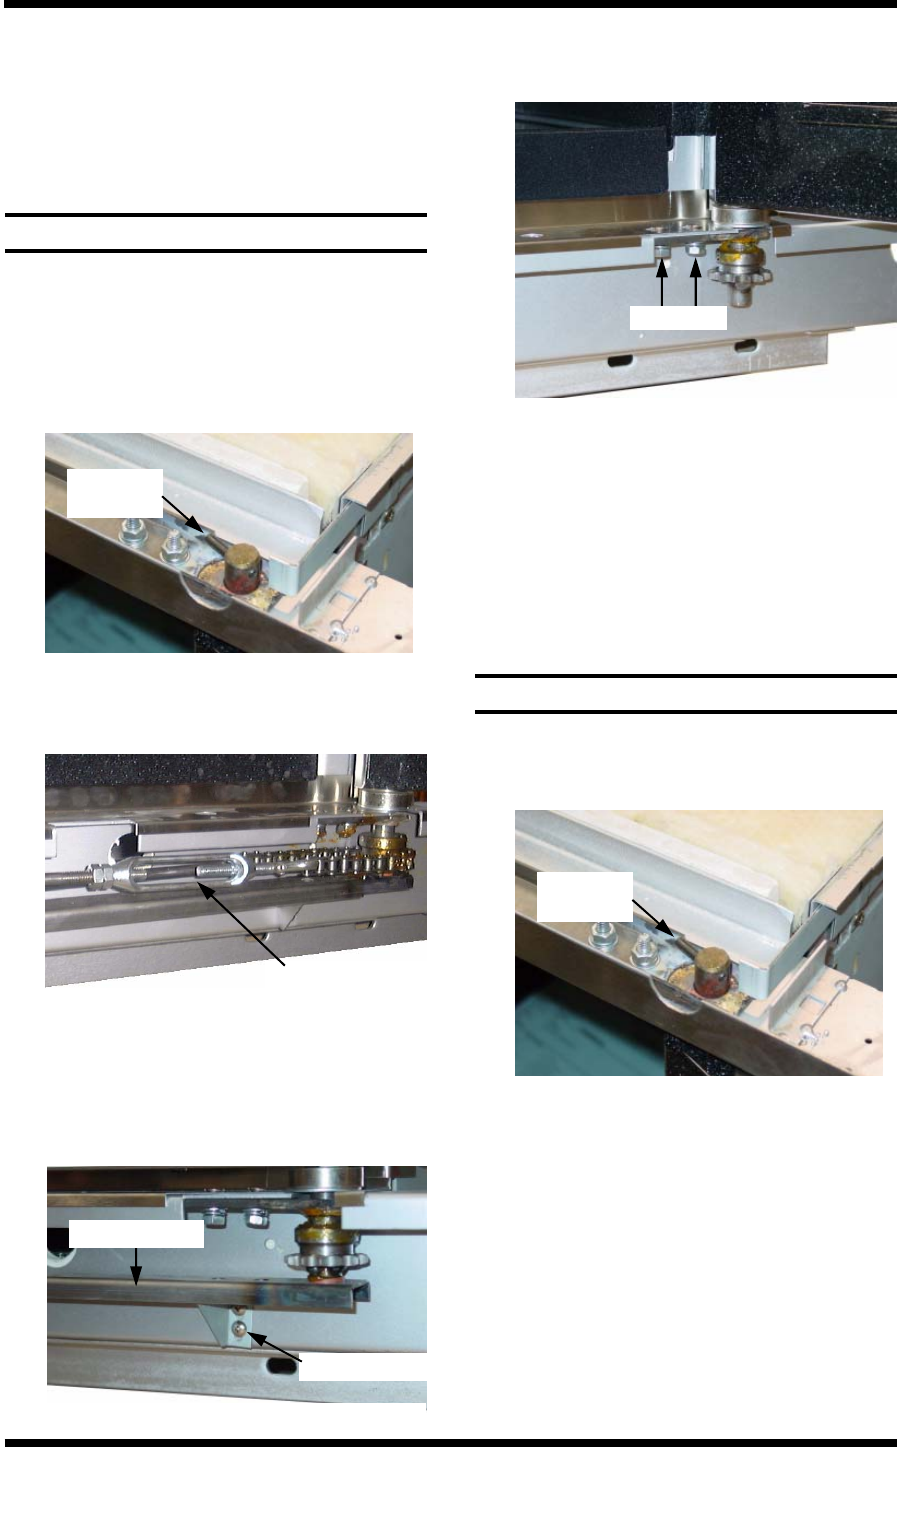
6) Undo the two screws securing the bottom
pivot plate.
Figure 6.3.34
Two screws
7) Remove the door assembly from the oven,
replace, and reassemble in reverse order.
8) After fitting the new door, the door chain
and ball catch will have to be adjusted to
ensure that the doors close correctly.
Refer to sections 6.4.1 and 6.4.2 for these
procedures.
6.3.22 TOP BEARING CHANNEL
1) Remove the top lid.
2) Remove the microswitch actuator pin from
the right hand door pin.
Microswitch
actuator pin
Figure 6.3.35
3) Remove the four bolts securing the top
bearing channel to the oven, and remove
the bearing channel.
4) Replace and reassemble in reverse order.


