


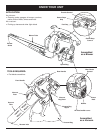


15
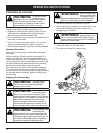
MAINTENANCE AND REPAIR INSTRUCTIONS
MAINTENANCE SCHEDULE
Perform these required maintenance procedures at the
frequency stated in the table. These procedures should
also be a part of any seasonal tune-up.
NOTE: Some maintenance procedures may require
special tools or skills. If you are unsure about
these procedures, take your unit to any non-road
engine repair establishment, individual or
authorized service dealer.
NOTE: Maintenance, replacement or repair of the emission
control devices and system may be performed by
any non-road engine repair establishment, individual
or authorized service dealer.
NOTE: Please read the California/EPA statement that came
with the unit for a complete listing of terms and
coverage for the emissions control devices, such as
the spark arrestor, muffler, carburetor, etc.
FREQUENCY MAINTENANCE REQUIRED REFER TO
Before starting engine Fill fuel tank with fresh fuel Page 11
Every 10 hours Clean and re-oil air filter Page 15
Every 25 hours Check spark plug condition and gap Page 16
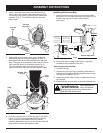
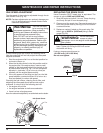
AIR FILTER MAINTENANCE
Removing the Air Filter/Muffler Cover
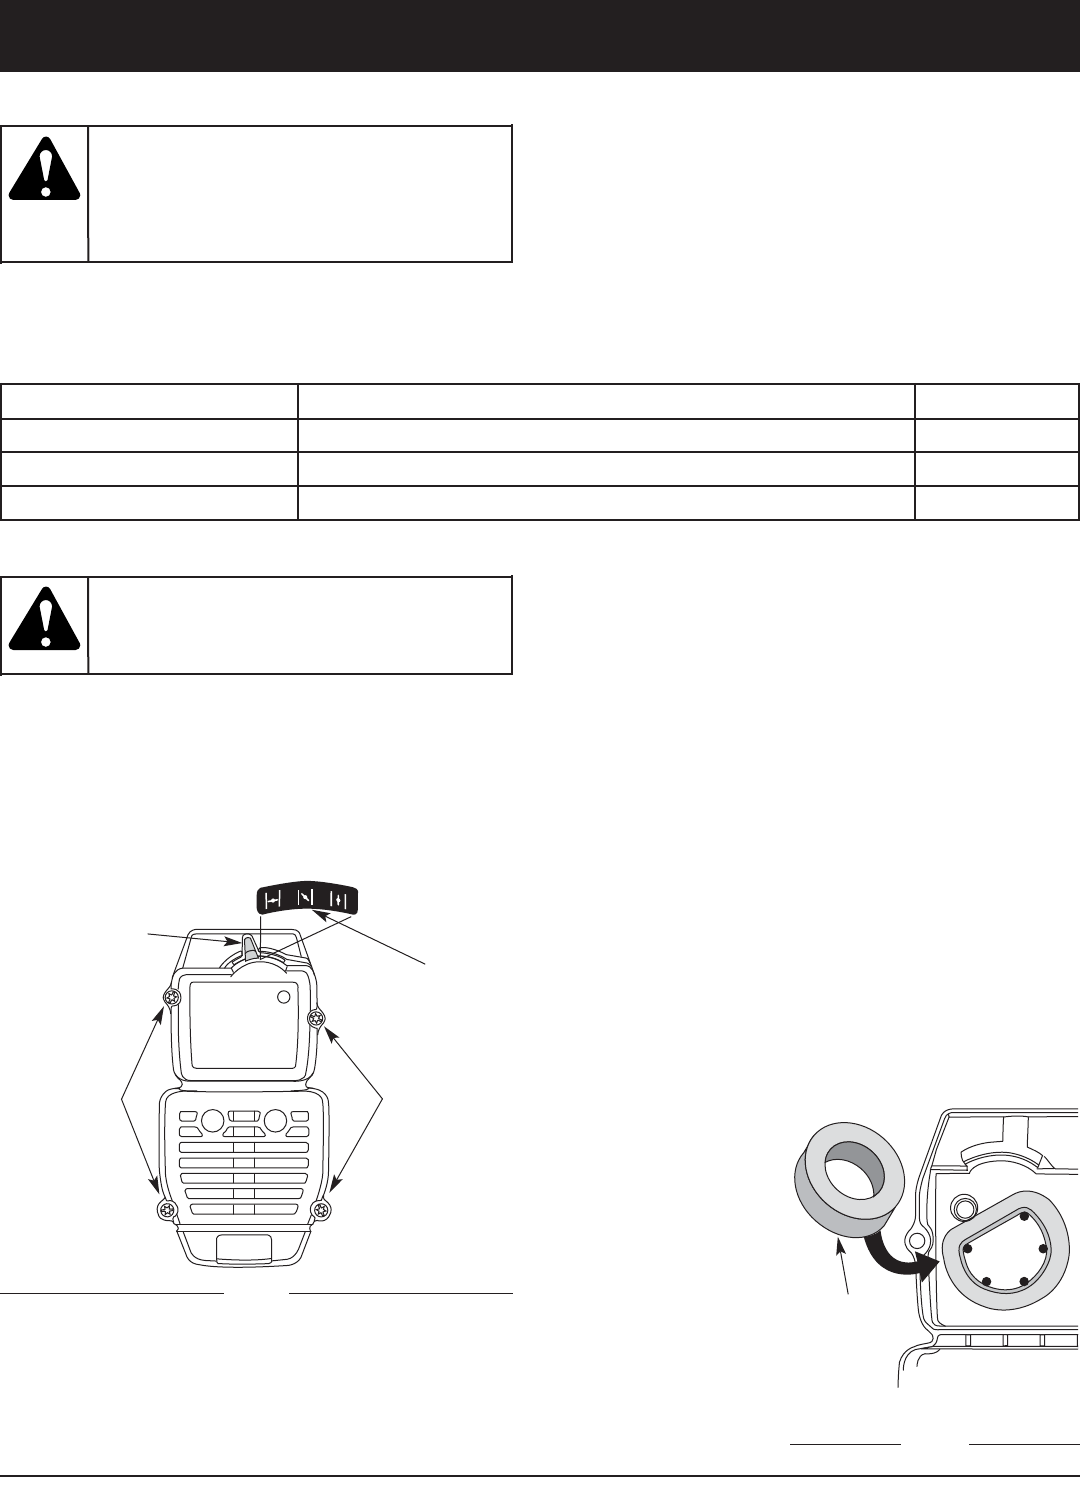
1. Place the choke lever in Position 2.
NOTE: The blue choke lever must be in Position 2 to
remove the air filter/ muffler cover (Fig. 17).
2. Remove the four (4) screws securing the air filter/muffler
cover (Fig. 17). Use a T-20 Torx bit screwdriver.
3. Pull the cover from the engine. Do not force.
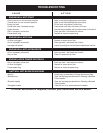
Cleaning the Air Filter
Failure to maintain your air filter properly can result in
poor performance or can cause permanent damage to
your engine.
1. Remove air filter/muffler cover. Refer to Removing
the Air Filter/Muffler Cover.
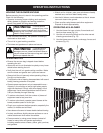
2. Turn cover over and look inside to locate the air filter.
Remove the air filter from inside the air filter/muffler
cover (Fig. 18).
3. Wash the filter in detergent and water. Rinse the filter
thoroughly. Squeeze out excess water. Allow it to dry
completely.
4. Apply enough clean SAE 30 oil to lightly coat the filter.
5. Squeeze the filter to spread and remove excess oil.
6. Replace the air filter inside the air filter/muffler cover
(Fig. 18).
NOTE: Operating the unit without the air filter and air
filter/muffler cover assembly will VOID the warranty.
Reinstalling the Air Filter/Muffler Cover
1. Place the air filter/muffler cover over the back of the
carburetor and muffler. Align the screw holes.
2. Insert the four (4) screws into the holes in the air
filter/muffler cover (Fig. 17) and tighten.
Do not over
tighten.
Fig. 18
Air Filter
Inside Muffler
C over
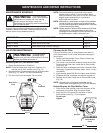
To avoid serious
personal injury,
always turn your unit off and allow it to cool
before you clean or service it.
WARNING:
To prevent serious
injury, never perform
maintenance or repairs with unit running.
Always service and repair a cool unit.
Disconnect the spark plug wire to ensure that
the unit cannot start.
WARNING:
Blue Choke
Lever
Screws
Screws
Position 2
Fig. 17