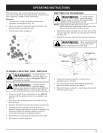
When the bag is full, suction will noticeably decrease.
Turn off the unit before removing the bag. Unzip the bag
and empty the contents before continuing.
Removal
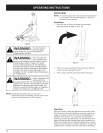
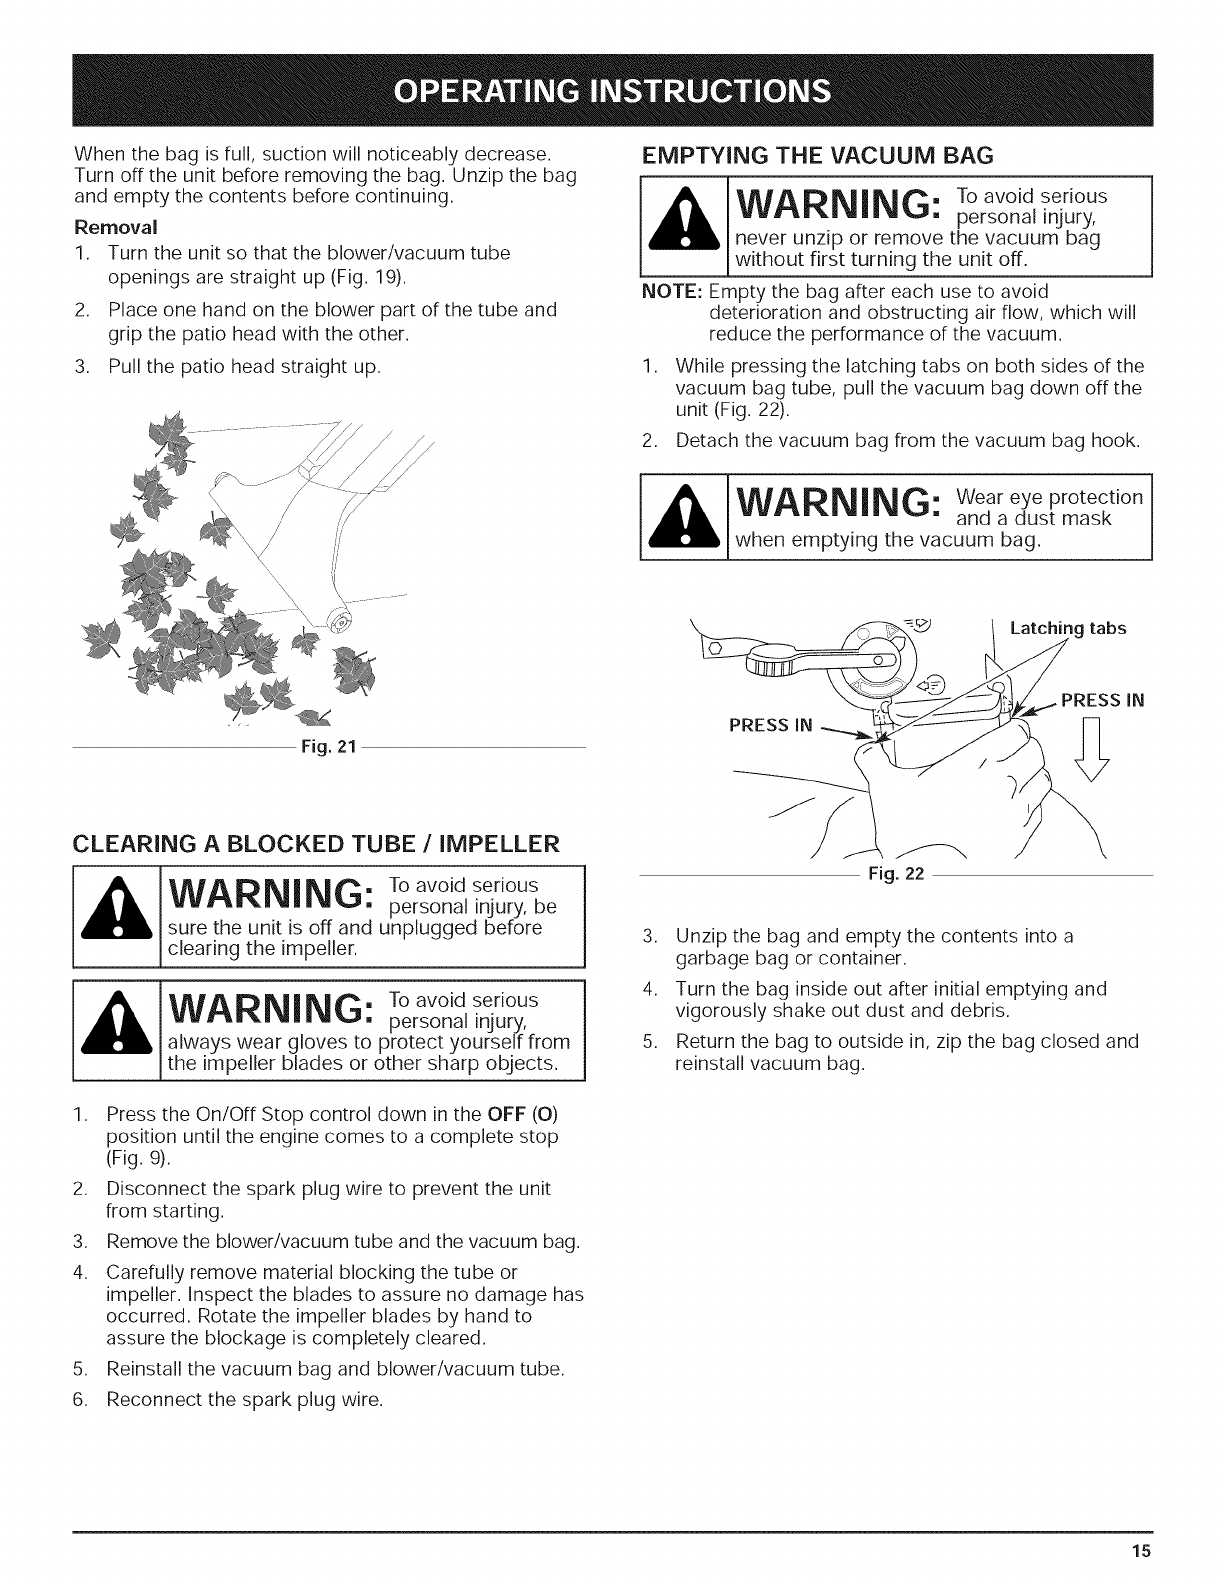
1. Turn the unit so that the blower/vacuum tube
openings are straight up (Fig. 19).
2. Place one hand on the blower part of the tube and
grip the patio head with the other.
3. Pull the patio head straight up.
EMPTYING THE VACUUM BAG
WARNING: Toavoidserious
personal injury,
never unzip or remove the vacuum bag
without first turning the unit off.
NOTE: Empty the bag after each use to avoid
deterioration and obstructing air flow, which will
reduce the performance of the vacuum.
.
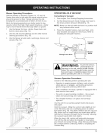
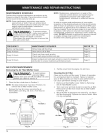
While pressing the latching tabs on both sides of the
vacuum bag tube, pull the vacuum bag down off the
unit (Fig. 22).
2. Detach the vacuum bag from the vacuum bag hook.
/
/
WARNING: Wear eye protection
and a dust mask
when emptying the vacuum bag.
Latching tabs
Fig. 21
PRESS IN
PRESS IN
CLEARING A BLOCKED TUBE / IMPELLER
WARNING" Toavoidserious
[] personal injury, be
sure the unit is off and unplugged before
clearing the impeller.
WARNING: Toavoidserious
personal injury,
always wear gloves to protect yourself from
the impeller blades or other sharp objects.
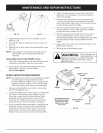
1. Press the On/Off Stop control down in the OFF (O)
position until the engine comes to a complete stop
(Fig. 9).
.
3.
4.
.
6.
Disconnect the spark plug wire to prevent the unit
from starting.
Remove the blower/vacuum tube and the vacuum bag.
Carefully remove material blocking the tube or
impeller. Inspect the blades to assure no damage has
occurred. Rotate the impeller blades by hand to
assure the blockage is completely cleared.
Reinstall the vacuum bag and blower/vacuum tube.
Reconnect the spark plug wire.
Fig. 22
.
4.
5.
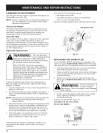
Unzip the bag and empty the contents into a
garbage bag or container.
Turn the bag inside out after initial emptying and
vigorously shake out dust and debris.
Return the bag to outside in, zip the bag closed and
reinstall vacuum bag.
15


