


10
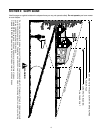
• Your lawn mower may be equipped with a constant
speed throttle, which is set at full throttle for best
performance.
• Stand behind the mower and squeeze the blade
control handle against the upper handle.
• Grasp recoil starter handle and pull rope out slowly
until engine reaches the start of compression cycle
(rope will pull slightly harder at this point).
Let the rope rewind slowly. Pull rope with a rapid,
continuous, full arm stroke. Keeping a firm grip on the
starter handle, let the rope return to the starter slowly.
Using Your Lawn Mower
Be sure that the lawn is clear of stones, sticks, wire, or
other objects which could damage the lawn mower or
the engine. Such objects could be accidently thrown by
the mower in any direction and cause serious personal
injury to the operator and others.
For best results, do not cut wet grass because it tends
to stick to the underside of the mower, preventing
proper discharge of grass clippings, and could cause
you to slip and fall. New grass, thick grass, or wet grass
may require a narrower cut.
For a healthier lawn, never cut off more than one-third
of the total length of the grass. Your lawn should be cut
in the fall as long as there is growth. This mower is
designed to be operated at full throttle to give you the
best cut and do the most effective job of mowing or
mulching.
WARNING: If you strike a foreign object,
stop the engine. Remove wire from the
spark plug, thoroughly inspect the mower
for any damage, and repair the damage
before restarting and operating the
mower. Extensive vibration of the mower
during operation is an indication of
damage. The unit should be promptly
inspected and repaired.
Mulching
For effective mulching, do not cut wet grass because it
tends to stick to the underside of the deck, preventing
proper mulching of grass clippings. New or thick grass
may require a narrower cut. The ground speed should
be adjusted to the condition of the lawn. If mowing has
been delayed and the grass has been allowed to grow
in excess of 4”, mulching is not recommended. Mow
using the side discharge to reduce the grass height to 3
1/4” maximum before mulching.
SECTION 6: MAKING ADJUSTMENTS
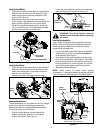
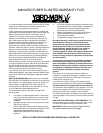
Cutting Height Adjustment
WARNING: Do not at any time make any
adjustments without first stopping engine
and disconnecting spark plug wire.
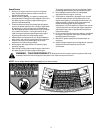
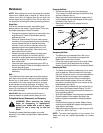
Each wheel has a height adjustment lever which
provides cutting height adjustment. When the
adjustment lever is moved from one location to another
the height of cut will be changed. Simply depress the
lever towards wheel and move lever assembly to
desired position. See Figure 11.
IMPORTANT:
All wheels must be placed in the same
relative position. For rough or uneven lawns, move the
height adjustment lever to a higher position. This will
help stop scalping of the grass.
Figure 11
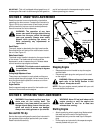
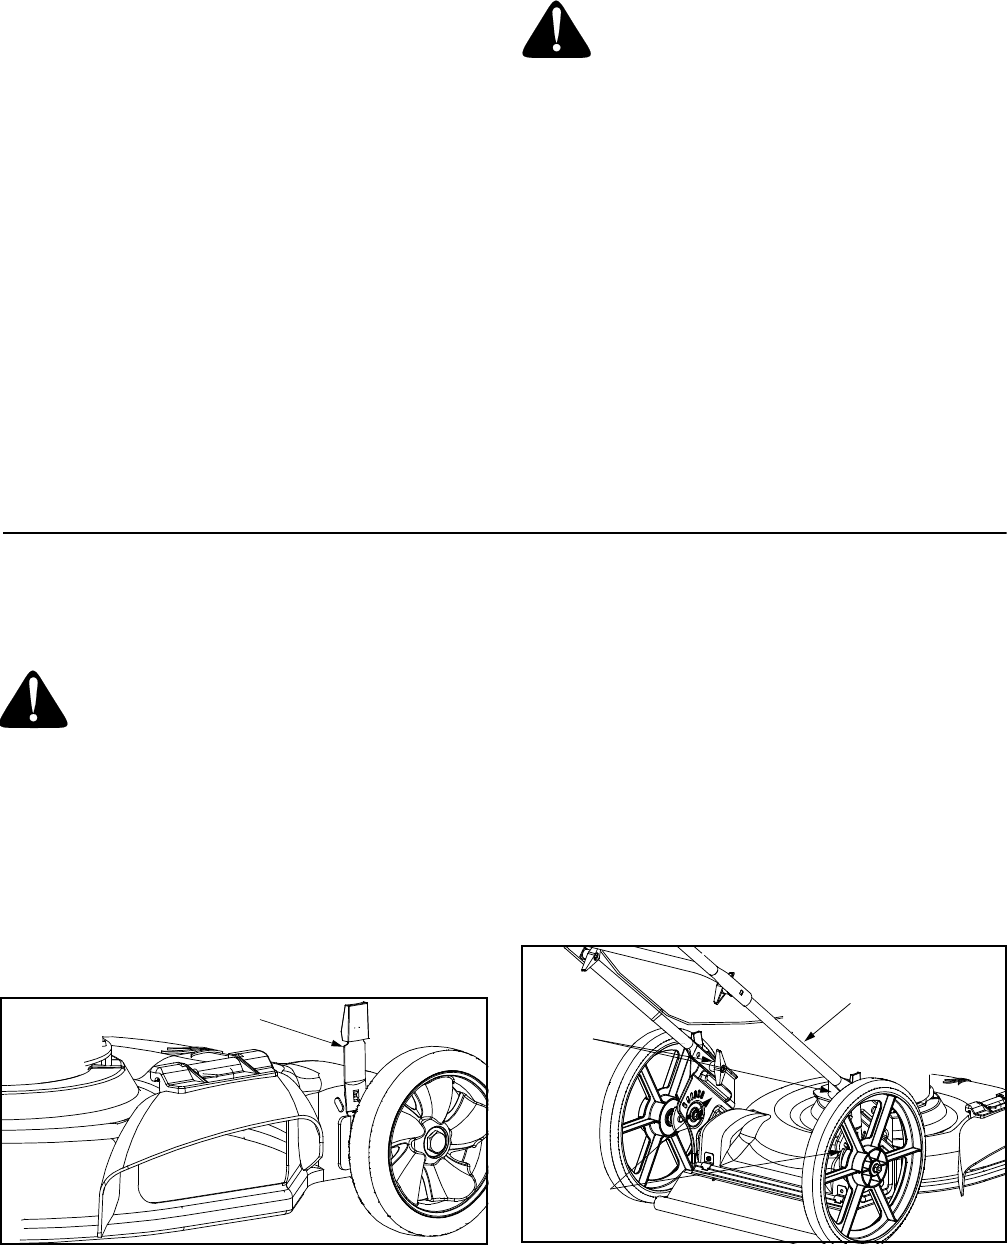
Handle Height Adjustment
Your mower is shipped with the handle in the higher
height position. To lower the height proceed as follows:
• Remove the starter rope from the rope guide.
• Disconnect the handle from the handle bracket
assemblies by removing the wing nuts.
See Figure 12.
• Position each handle bracket assembly stud into
one of the other holes in the lower handle.
• Each end of the lower handle must be placed in
same relative position.
• Reassemble wing nuts removed earlier and
reattach starter rope to rope guide.
Figure 12
Height Adjustment
Lever
Lower
Handle
Wing
Nuts
Handle
Bracket
Assemblies