12
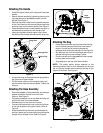
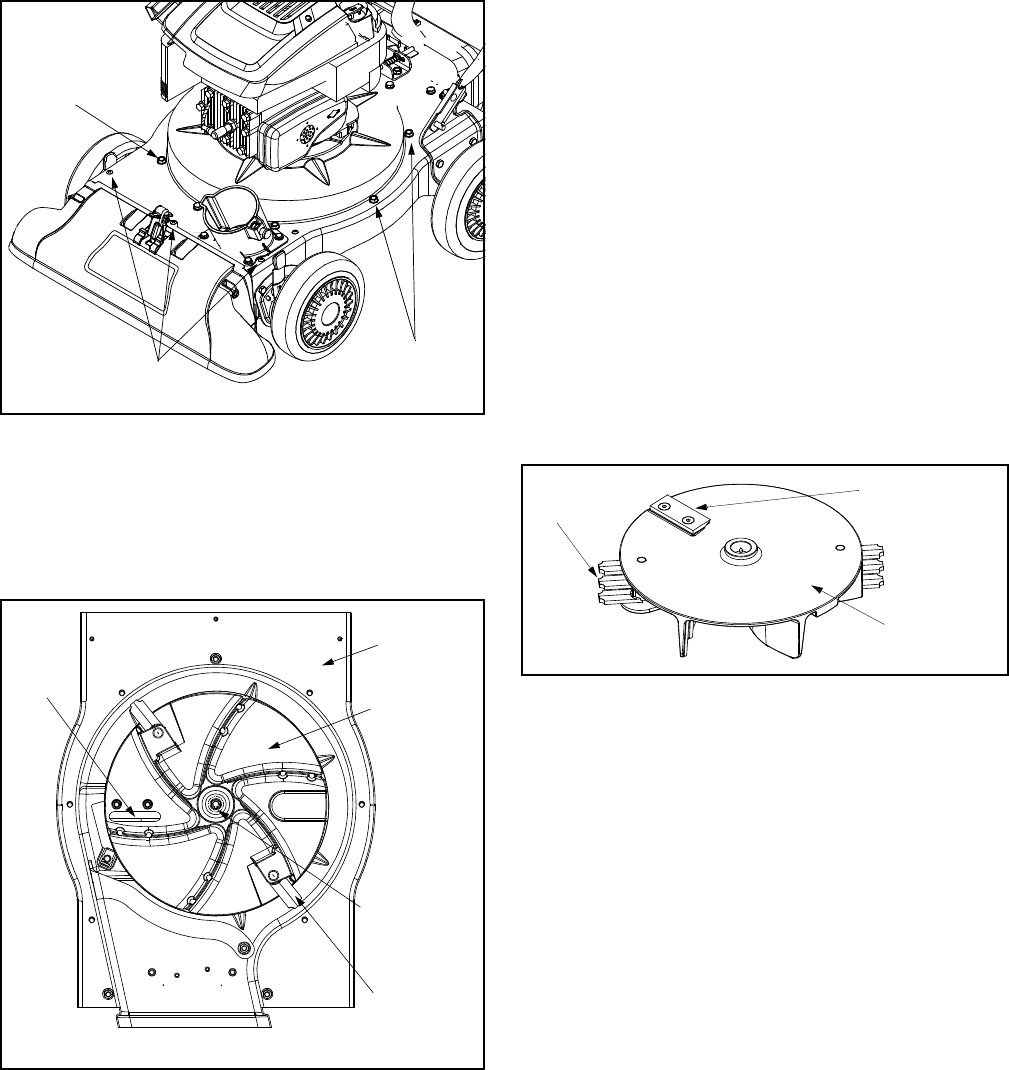
Figure 14
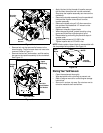
• Remove lock nut that secures flail screen to the
lower housing. The flail screen does not have to be
removed. Refer to Figure 11.
• Remove the hex bolt, lock washer, and flat washer
that secure the impeller assembly to the crankshaft.
See Figure 15.
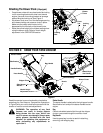
Figure 15
• Apply lubricant to the threads of impeller removal
tool and then thread the tool into the crankshaft.
Stop when the impeller assembly can move on the
crankshaft.
• Remove the impeller assembly from the crankshaft.
Unthread the impeller removal tool from the
impeller assembly.
• Remove the blade using a 3/16” allen wrench on
the outside of the blade and 1/2” wrench on the
impeller assembly.
• Replace or sharpen chipper blade.
• When sharpening blade, protect hands by using
gloves and follow the original angle of grind.
• Reassemble by performing the previous steps in
reverse order.
• Tighten blade screws to 210-250 in-lbs.
Tighten impeller bolt to 375-425 in-lbs.
NOTE: Make certain chipper blade is reassembled with
the sharp edge facing upward. See Figure 16.
Figure 16
Storing Your Yard Vacuum
• Clean the equipment thoroughly.
• Wipe equipment with a oiled rag to prevent rust.
• Refer to engine manual for correct engine storage
instructions.
• Store unit in a clean, dry area. Do not store next to
corrosive materials such as fertilizer.
Nozzle
Screws
Lower Housing
Screws
Housing
Screws
Upper
Housing
Impeller
Assembly
Hex Bolt
Lock Washer
Flat Washer
BOTTOM VIEW
Chipper
Blade
Flail
Blade
Flail
Blade
Chipper
Blade
Impeller
Assembly


