7
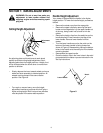
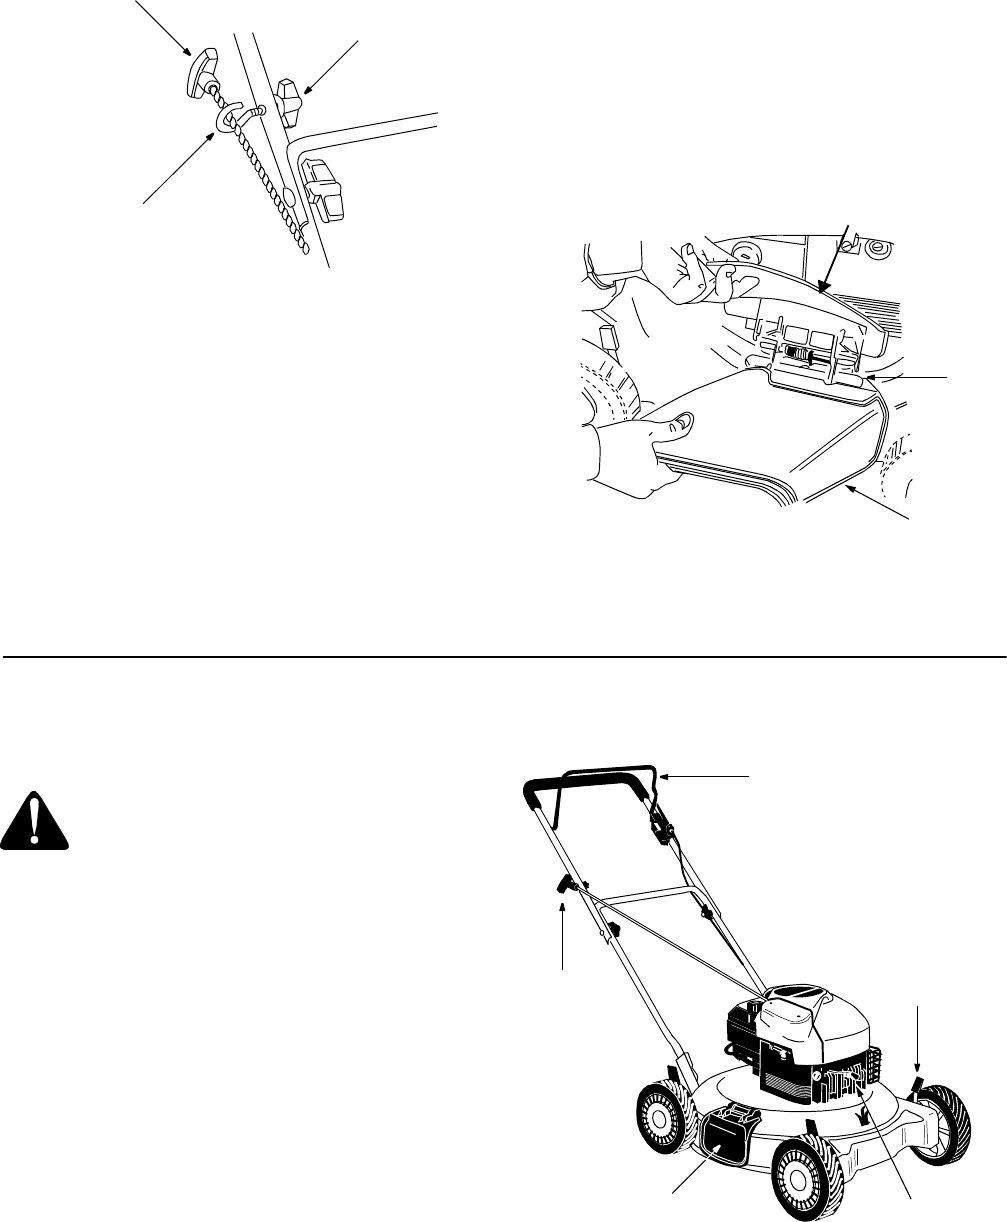
Figure 5
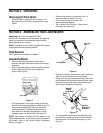
• With the spark plug wire disconnected and
grounded, hold the blade control handle against the
upper handle, and pull the starter rope out of the
engine. Release the blade control handle. Slip the
starter rope into the rope guide. Tighten the wing
nut. See Figure 1.
• Make certain all nuts and bolts are tightened
securely.
• With the spark plug wire disconnected and
grounded, hold the blade control handle against the
upper handle, and pull the starter rope out of the
engine. Release the blade control handle. Slip the
starter rope into the rope guide. Tighten the wing
nut. See Figure 5.
• Make certain all nuts and bolts are tightened
securely.
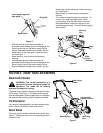
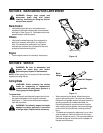
• Your mower has been shipped as a mulcher. To
convert it to a side-discharge mower, lift the
mulching plug. Slide the two hooks on the side-
discharge deflector under the hinge pin on the
mulching plug assembly. Lower the mulching plug.
See Figure 6.
Figure 6
SECTION 5: KNOW YOUR LAWN MOWER
Blade Control Handle
WARNING: This control mechanism is a
safety device. Never attempt to bypass its
operations. The blade will be rotating
whenever the engine is running.
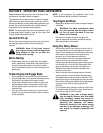
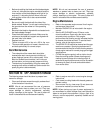
The blade control handle is located on the upper handle
of the mower. See Figure 7. The blade control handle
must be depressed in order to operate the unit. Release
the blade control handle to stop the engine and blade.
Throttle Control
Your engine is equipped with a constant speed throttle,
which is set at full throttle for best performance.
Recoil Starter
The recoil starter handle is attached to the handle. See
Figure 7. Stand behind the unit in the operating position
to start the unit.
Figure 7
Rope Guide
Wing Nut
Insert starter rope into
rope guide
Side
Chute
Deflector
Mulching
Plug
Hinge
Pin
Spark Plug
Cutting Height
Adjustment Lever
Mulching Plug
Blade Control
Starter
Rope
Handle
Wire


