


7
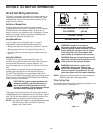
SECTION 3: ASSEMBLY INSTRUCTIONS
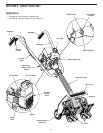
Your yard and garden cultivator has been completely
assembled except for the handlebar, throttle cable and
wheel bracket assembly. A large phillips
screwdriver is needed for assembly.
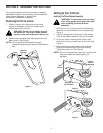
Removing Unit From Carton
1. Carefully unpack the contents and insure that
nothing is damaged. Unwrap the throttle cable
without bending or kinking it.
WARNING: Do not cut the plastic strap off
the handle bar. The strap is under tension
and can cause serious personal injury if cut.
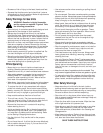
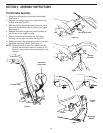
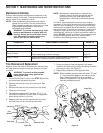
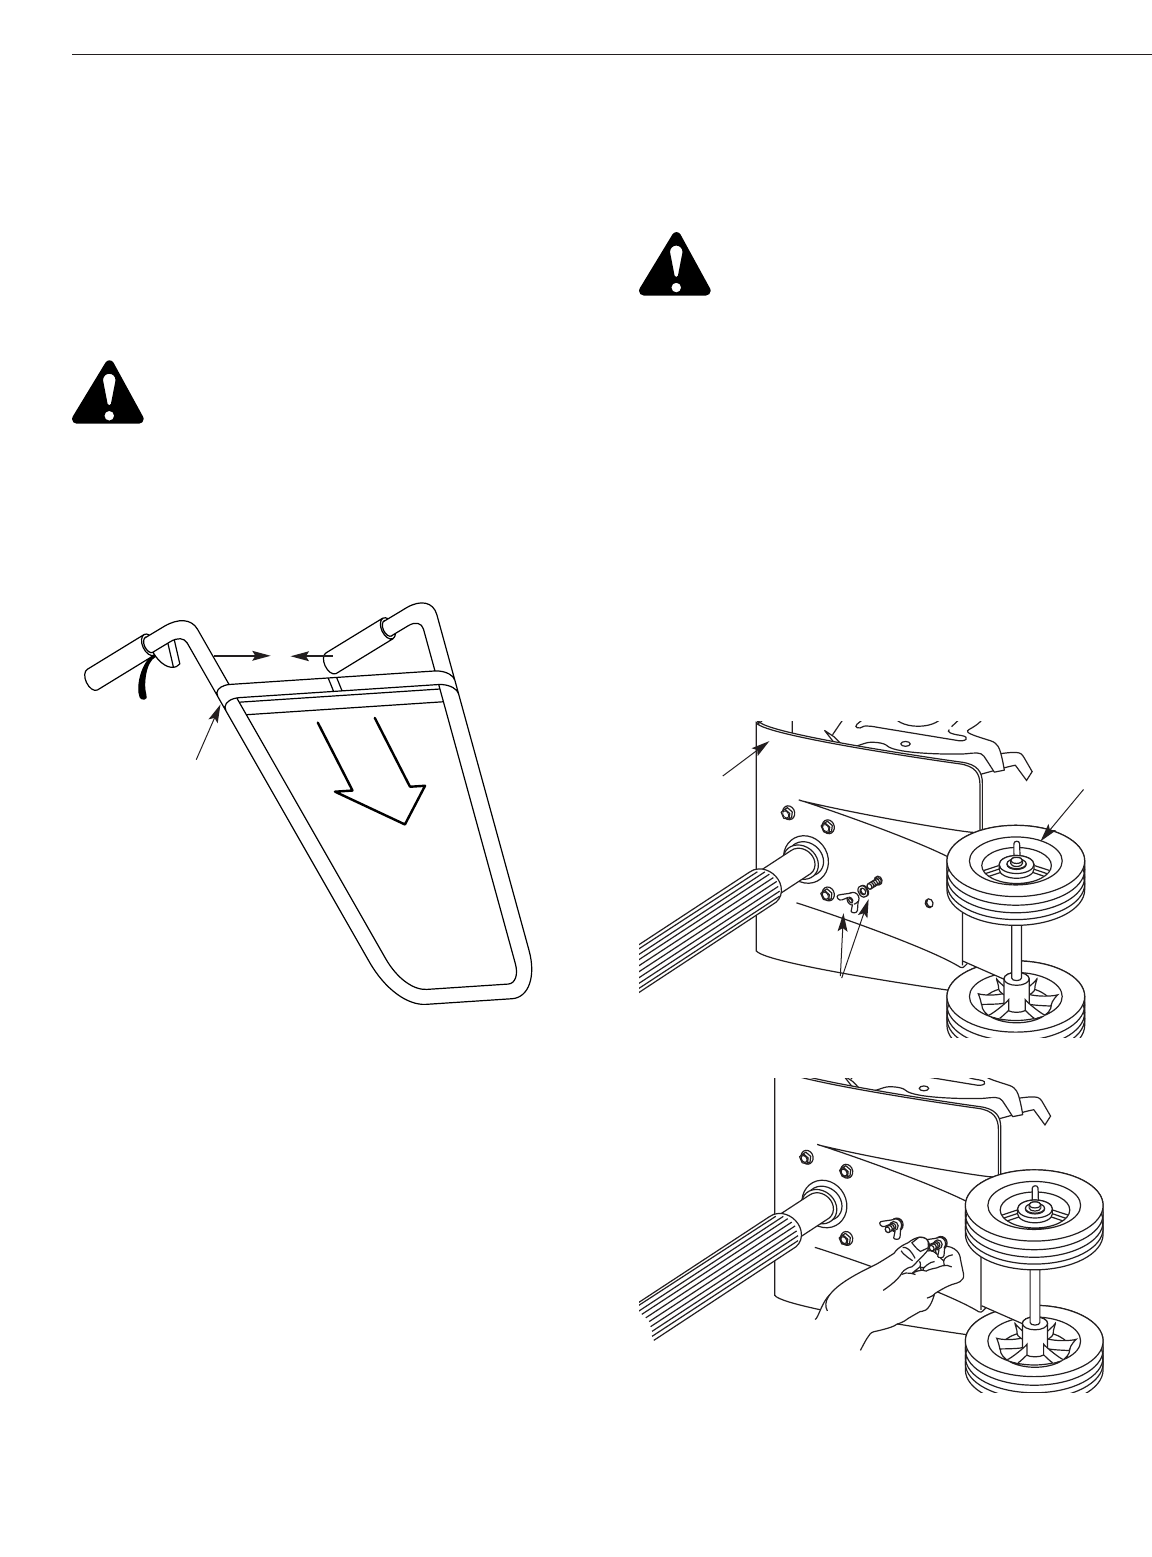
2. Squeeze the handle bar and slide the plastic strap
down and off. See Figure 1.
NOTE: Do not squeeze the handlebar too tight.
Excessive squeezing can cause the handlebar to
kink.
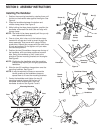
Setting Up Your Cultivator
Installing The Wheel Bracket Assembly
WARNING: To avoid injury from the tines,
wear heavy gloves and a long sleeve shirt
when installing the wheel bracket
assembly.
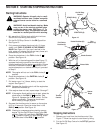
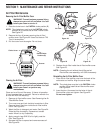
1. With the unit on it’s side, place the wheel bracket
assembly on the underside of the tine guard. See
Figure 2.
2. Install a carriage bolt through each of the slotted
holes in the wheel bracket and into the tine guard.
3. On the top side of the tine guard, install a lock
washer and a wing nut onto each of the bolts. See
Figure 2.
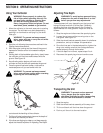
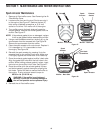
4. Make sure the square shoulder of the bolts are
through the slotted holes in the wheel bracket.
Tighten the wing nuts. See Figure 3.
NOTE: Do not over tighten the wing nuts. Loosening the
wing nuts allows the wheel height to be
adjusted.
Figure 1
Figure 2
Figure 3
Squeeze
Together
Plastic
Strap
Wing Nut &
Lock Washer
Tine
Guard
Wheel
Bracket
Assembly