


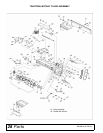
Dealer Service 21
MAN0814 (3/11/2010)
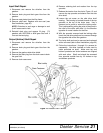
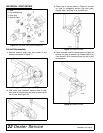
Input Shaft Repair
1. Disconnect and remove the driveline from the
gearbox.
2. Remove drain plug and drain gear lube from the
gearbox.
3. Remove mast plates from the tiller frame.
4. Remove shaft seal. Replace with new seal (see
Seal Installation, page 20).
NOTE: Distortion to seal cage or damage to seal
lip will cause seal to leak.
5. Reinstall drain plug and remove fill plug. Fill
gearbox with SAE 80W or 90W gear lube until it
runs out the level plug.
Output (Hollow) Shaft Repair
1. Disconnect and remove the driveline from the
gearbox.
2. Remove drain plug and drain gear lube from the
gearbox.
3. Remove the gearbox side drive shield.
4. Remove the drain plug from the chain case to drain
the gear fluid.
5. Remove chain case cover.
6. Remove retaining bolt and washer from the top
sprocket.
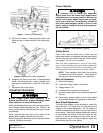
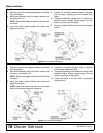
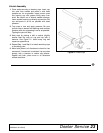
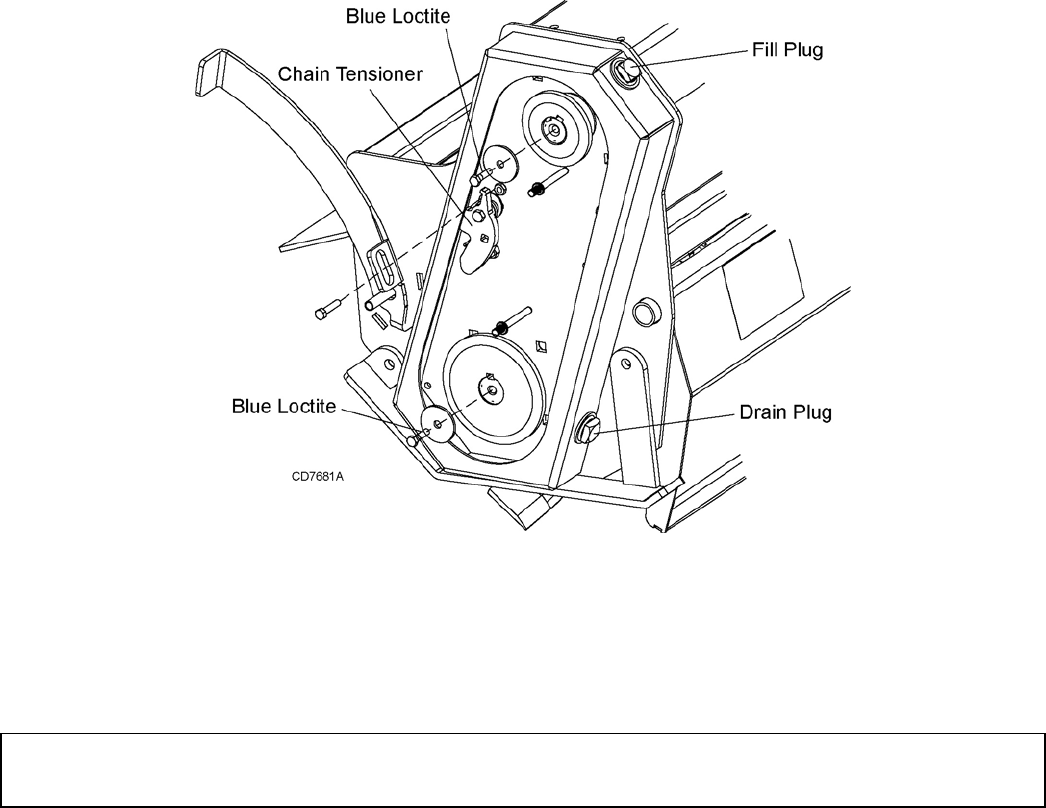
7. Release the tension from the chain, Figure 15, and
remove the top sprocket and sleeve from the side
drive shaft.
8. Loosen the set screw on the side drive shaft
bearing. This bearing is located inboard of the top
sprocket, at the top of the chain case. Use a
hammer and a punch to unlock the locking collar.
This is achieved by putting the point of the punch in
the relief of the collar and drive it in the direction
opposite of normal rotation for the tiller.
9. With the sprocket removed and the locking collar
freed, the side drive shaft can be removed through
the opposite side of the tiller gearbox.
10. The faulty shaft seal can be removed and replaced
with a new seal (refer to Seal Installation, page 20)
11. Follow the instructions 1 through 9 in reverse for
reassembly. Use blue Loctite
®
on bolts used to
retain sprockets on shaft. Make sure top and
bottom sprockets and chain tensioner are aligned
with each other. Shaft end should be recessed
from sprocket outside face by .03 inches on top
and bottom sprockets.
Figure 15. Release Chain Tension
(Rev 9/28/2010)