Operation 13
MAN0884 (08/15/2011)
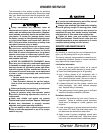
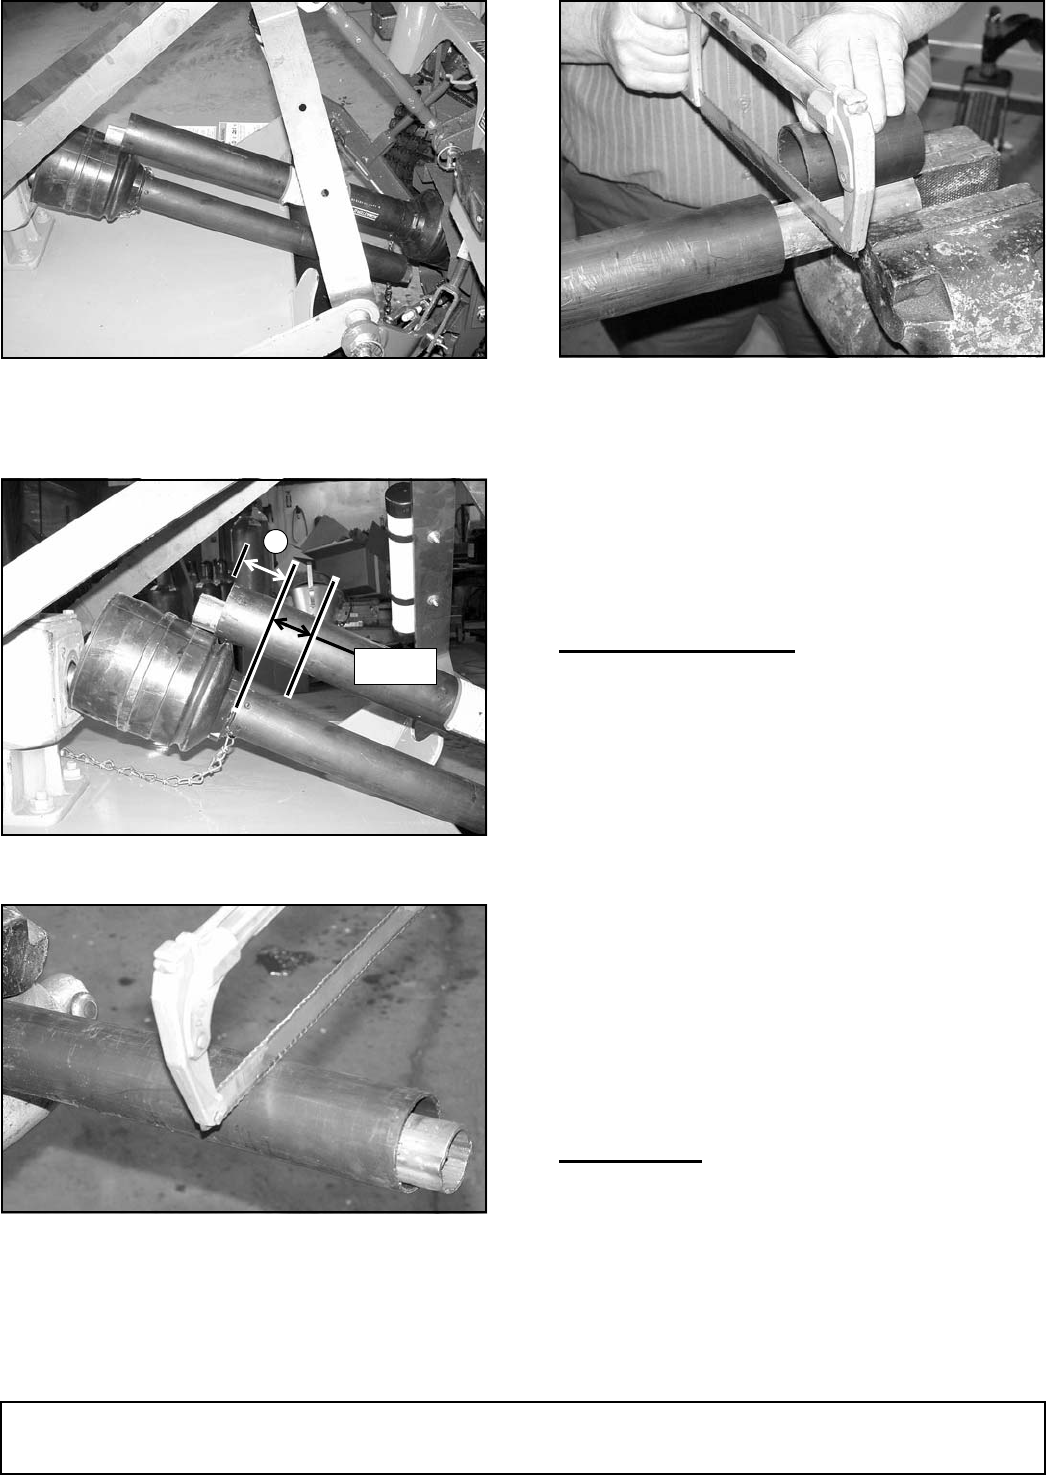
Figure 3. Drive Halves Placed Parallel
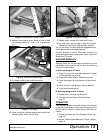
4. Measure from end of upper shield to base of bell
on the lower shield (A). Add 1-1/4" to dimension
(A).
Figure 4. Determine Shield Length
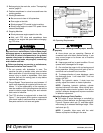
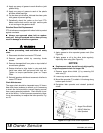
5. Cut upper shield to this overall dimension
Figure 5. Cut Shield
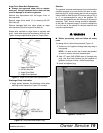
6. Place cut portion of shield against end of shaft and
use as a guide. Mark and cut shaft.
Figure 6. Cut Shaft to Length
7. Repeat step 4 through 6 for other half of drive.
8. File and clean the cut ends of both drive halves.
Ensure the drive halves slide smoothly together.
Do not run tractor if proper driveline engagement can-
not be obtained through these methods.
Connect driveline to tractor PTO shaft, making sure
spring-activated locking collar slides freely and locks
driveline to PTO shaft.
MACHINE BREAK-IN
Although there are no operational restrictions on the
snowblower when used for the first time, the following
items are to be checked.
A. After operating for 1/2 hour:
1. Check all nuts, bolts and other fasteners. Tighten
to their specified torque level.
2. Check drive chain tension. Adjust as required.
3. Check that auger, fan and spout are in good condi-
tion.
4. Check oil level in the gearbox. Add as required.
5. Lubricate all grease points.
B. After operating for 5 to 10 hours:
1. Repeat items 1 through 4 of Section A.
2. Then go to normal Owner Service Section,
page 17.
OPERATION
Each operator should review this section of the manual
at the start of the season and as often as required to be
familiar with the machine. When using, follow this pro-
cedure:
1. Review and follow the "Pre-Operation Check List,"
page 16.
2. Review "Attaching Snowblower to Tractor" section,
page 12.
1-1/4"
A


