


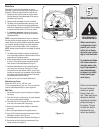
7
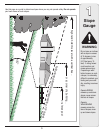
Figure 5
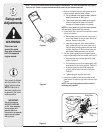
NOTE: Make certain
the drive cable is routed
around the outside and
above the lower handle
so it does not interfere
with attaching the grass
bag.
3
Figure 6
Figure 7
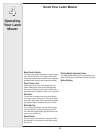
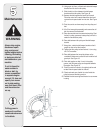
Never operate mower
unless grass bag,
side discharge chute
or mulching baffle is
firmly in place.
All mowers are
equipped with a rear
protective guard. The
guard helps eliminate
projectiles thrown by
the blade from injur-
ing the operator. DO
NOT REMOVE THIS
GUARD.
5. Bagging Grass Clippings.
a. Remove wing nuts holding mulching plug (see
Figure 4) or side discharge chute (see Figure 5) in
place. Then remove baffle or discharge chute.
b. Replace with bagging adapter (see Figure 6).
Attach using wing nuts. Be sure that inner lip of
attachment goes under the edge of the deck.
c. Lift flap and slide bag onto adapter. See Figure 7.
6. Side Discharge grass clippings.
a. Remove mulching plug or grass bag adapter.
b. Attach discharge chute with wing nuts. See Figure
5.
7. The height adjuster determines the cutting height of
the mower. The adjuster is located above the left rear
wheel. To adjust the cutting height, pull the lever out
and away from the mower and then move it forward or
back to select a new cutting height. See Figure 9.
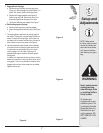
8. Use the adjustment wheel located on the underside
of the clutch control housing to tighten the drive belt
if mower does not self-propel with the drive clutch
control engaged, or if drive belt is slipping (unit
hesitates while engine maintains the same speed).
See Figure 8.
In addition, the adjustment wheel may also be used to
determine the position in which the drive clutch control
is engaged. If it is more comfortable to have the drive
engaged with the lever further away from the handle,
tighten the drive belt.
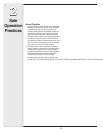
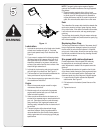
WARNING
Setup and
Adjustments
Figure 8