


10
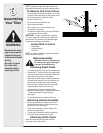
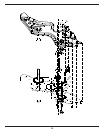
Setting The Depth
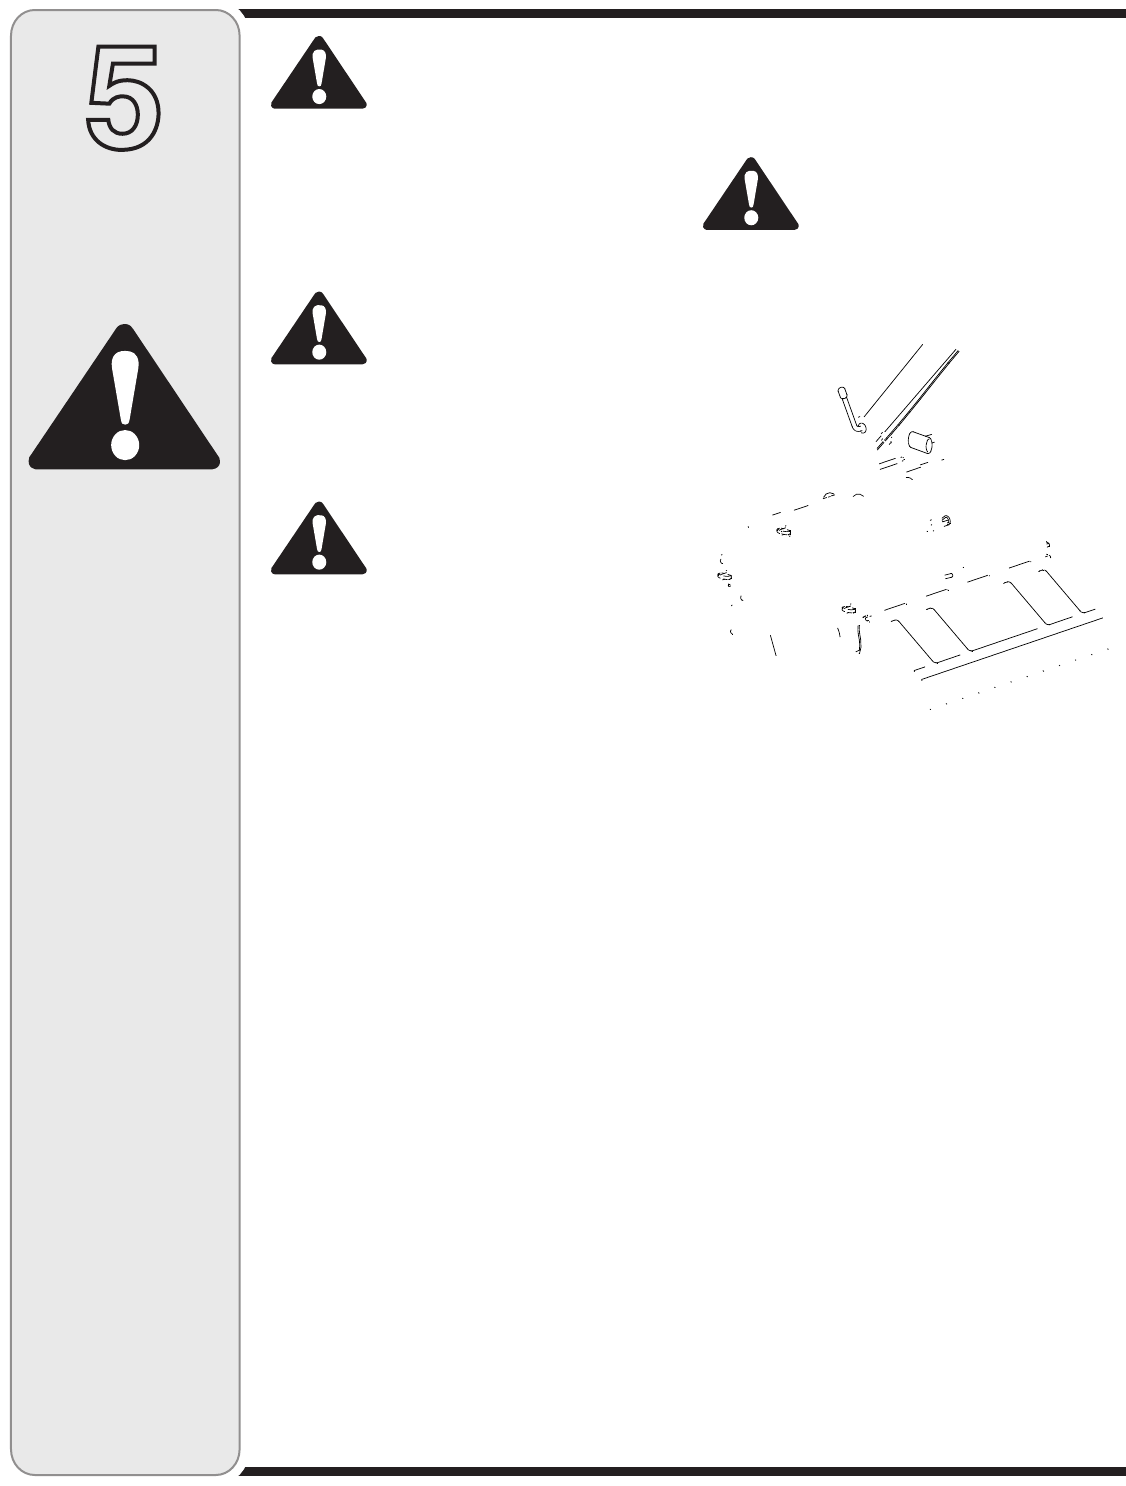
Tilling depth is controlled by the depth stake which can be
adjusted to five different settings. Adjust the side shields
as you adjust the depth stake.
WARNING: Be ceai ak lg
ie i diceced ad gded
agai he egie he efig a
adje.
• When using the tiller for the first time, use the second
adjustment hole from the top (1” of tilling depth). See
Figure 7.
• When breaking up sod and for shallow cultivation, use
the setting which gives 1” of tilling depth (second hole
from the top). Place the side shields in their lowest
position.
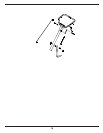
• For further depth, raise the depth stake and side
shields and also make one or two more passes over
the area.
• When tilling loose soil, the depth stake may be raised
to its highest position (use bottom adjustment hole) to
give the deepest tilling depth. Raise the side shields to
their highest position.
• To transport tiller, lower the depth stake (use top
adjustment hole).
WARNING: Read, dead, ad
fll all ici ad aig
he achie ad i hi aal befe
eaig.
Before Starting
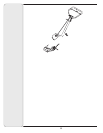
Gas And Oil Fill-Up
Service the engine with gasoline and oil as instructed in
the separate engine manual packed with your tiller. Read
instructions carefully.
WARNING: Ue eee cae he
hadlig galie. Galie i e-
eel flaable ad he a ae
elie. Nee fel achie id
hile he egie i h ig.
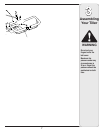
Starting Engine
NOTE: When pushing the unit with the engine off, you
will hear a ratcheting sound (gear noise) which is normal.
WARNING: Be e e i adig
i f f he ille hile he egie i
ig beig aed.
• Place gear selection lever in NEUTRAL.
• Place the throttle control lever in FAST position or
if equipped, place the engine speed control in the
START position.
• Move choke lever to CHOKE position or if equipped,
push primer two (2) or three (3) times. Wait about two
(2) seconds between each push.
NOTE: A warm engine may not require choking or priming.
• Stand at side of tiller. Grasp the starter handle and pull
out slowly, until it pulls slightly harder. Let rope rewind
slowly.
• Pull starter handle rapidly. Do not allow handle to snap
back. Allow it to rewind slowly while keeping a firm
hold on the starter handle.
• Repeat previous steps until engine starts.
• As engine warms up and begins to operate evenly,
move choke lever gradually to RUN position. If engine
falters, return to choke position, then slowly move to
RUN position.
• Refer to engine manual for additional engine informa-
tion.
NOTE: After starting and prior to using the tiller for the
first time, be certain to check the clutch adjustment as
described in “Checking the Clutch Adjustment” section of
the Assembly Instructions.
To Stop Engine
• Move throttle control to STOP or OFF position.
• Disconnect spark plug wire and ground to prevent
accidentally starting while equipment is unattended.
NOTE: After the first ten hours of operation, recheck
the clutch adjustment. Refer to final clutch adjustment in
Assembly Instructions.
5
Operating
Your Tiller
WARNING
Read, dead,
ad fll all ic-
i ad aig
he achie ad
i hi aal befe
eaig.
Ue eee cae
he hadlig
galie. Galie i
eeel flaable
ad he a ae
elie. Nee fel
achie id
hile he egie i
h ig.
Be e e i
adig i f f
he ille hile he
egie i ig
beig aed.
Be ceai ak
lg ie i dic-
eced ad gded
agai he egie
he efig a
adje.