12
Cleaning Tine Area
Clean the underside of the tine shield after each use.
The dirt washes off the tines easier if rinsed off
immediately instead of after it dries. Always towel dry
the tiller afterwards and apply a light coat of oil or
silicone to prevent rusting or water damage.
IMPORTANT:
Never use a "pressure washer” to clean
your tiller. Water can penetrate tight areas of the tiller
and its chain case and cause serious damage to the
unit.
Belt Replacement
Your tiller has been engineered with belts made of
special material (Kevlar Tensile). They should not be
replaced with an off-the-shelf belt. If belt replacement is
required, order belt or belts by part number from your
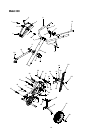
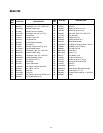
nearest authorized service dealer. See parts list.
Reverse Drive Belt
• Disconnect and ground the spark plug wire against
the engine. Remove the belt cover from the left side
of the tiller as follows.
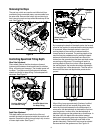
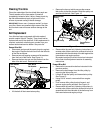
• Remove two self-tapping screws and flat washers
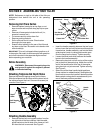
from the front of belt cover. See Figure 14.
• Remove the hex stop nut and flat washer from the
side of the belt cover. Remove belt cover.
Figure 14
• Lift the belt off the transmission pulley.
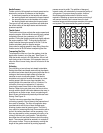
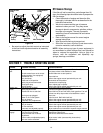
• Remove the hex nut which secures the reverse
idler pulley to the idler bracket. Slide idler pulley out
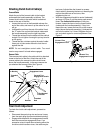
and remove the belt. See Figure 15.
Figure 15
• Reassemble the new belt, following instructions in
reverse order. Make certain the reverse drive belt is
assembled with the wide side of the belt against the
transmission and engine pulleys.
Be certain to adjust the clutch control as instructed
in the final clutch adjustment section of assembly
instructions.
Forward Drive Belt
• Remove the reverse drive belt as instructed in the
previous section.
• Remove the belt keeper from the idler pulley by
removing the idler pulley nut.
• Lift belt off the idler pulley and transmission pulley.
See Figure 15.
• Using a 9/16" wrench, remove bolt from engine
pulley.
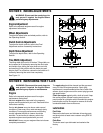
• Push reverse idler pulley bracket forward, and
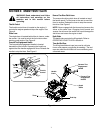
remove engine pulley and belt. See Figure 16.
• Reassemble the new belt, following instructions in
reverse order. Make certain the forward drive belt is
assembled with the wide side of the belt away from
the transmission and engine pulleys.
Lock Nut &
Hex Washer
Screw
Flat Washer
Belt Cover
Reverse Idler
Pulley
Hex Nut
Engine Pulley
Forward
Belt
Reverse Belt
Transmission
Pulley


