7
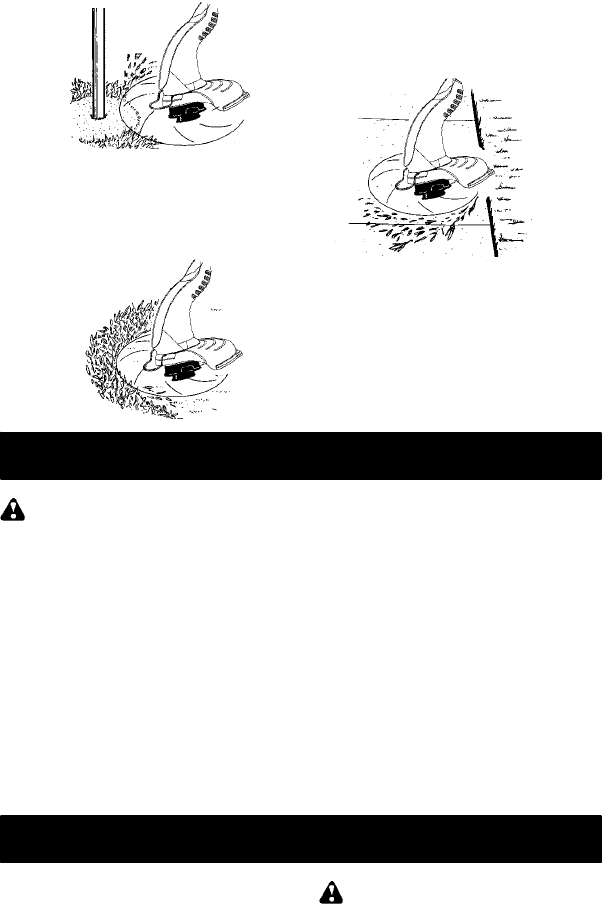
Scalping
MOWING
Your trimmer is ideal for mowing in places
conventional lawn mowers cannot reach. In
the mowing position, keep the line parallel to
the ground. A void pressing the head into the
ground asthis canscalpthe ground anddam-
age the tool.
Mowing
SWEEPING
The fanning action of the rotating line can be
used for aquick and eas y clean up. Keep the
line parallel to and above the surfaces being
swept and move the tool from side to side.
Sweeping
MAINTENANCE
WARNING: Disconnect unit fr omthe
power source before performing mainte-
nance.
GENERALRECOMMENDATIONS
Thewarrantyonthisunit doesnotco veritems
that have been subjected to operator abuse
or negligence. To receive full value from the
warranty, the operator must maintain unit as
instructed in this manual. Various adjust-
ments will need to be made periodically to
properly maintain your unit.
BEFORE EACH USE
CHECK FOR LOOSE
FASTENERS AND PARTS
S Housing Screws
S Locking Sleeve Assembly
S Assist Handle
S Debris Shield
S Edge Guide
CHECK FOR DAMAGED OR
WORN PARTS
Contact an authorized service dealer for re-
placement of damaged or worn part s.
S Trigger Switch -- Ensure switch functions
properly by pressing andreleasing thetrig-
ger switch. M ake sure motor st ops.
S Debris Shield -- Discontinue use of unit if
debris shield is damaged.
AFTER EACH USE
INSPECT AND CLEANUNIT AND LA-
BELS
S After each use, inspect com plete unit for
loose or damaged parts. Clean the unit us-
ing a damp cloth with a m ild detergent.
S Wipe off unit with a clean dry cloth.
SERVICE AND ADJUSTMENTS
REPLACING THE LINE
1. Disconnect the unit from the power
source.
2. Removethe spoolby firmly pulling onthe
tap button.
3. Clean entire surface of hub and spool.
4. Replace with a pre-wound spool or cut a
length of 30 feet of 0.065″ (1.65 mm) di-
ameter WEED EATER brand line. Use of
heavier lines could overload and damage
unit.
WARNING: Neve r use wi re, rope,
string,etc., which c anbreakoffandbecomea
dangerous missile.
5. Inse rtone endofthe lineabout 1/2 inch(1
cm) into the small hole inside the spool.
6. Wind the line evenly and tightly onto the
spool. Wind in the direct ion of the arrow
found on the spool.
7. Pushthe line intothe notch, leaving 3to5
inches (7 -- 12 cm) unwound.


