6
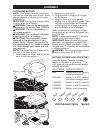
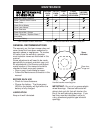
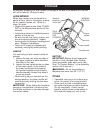
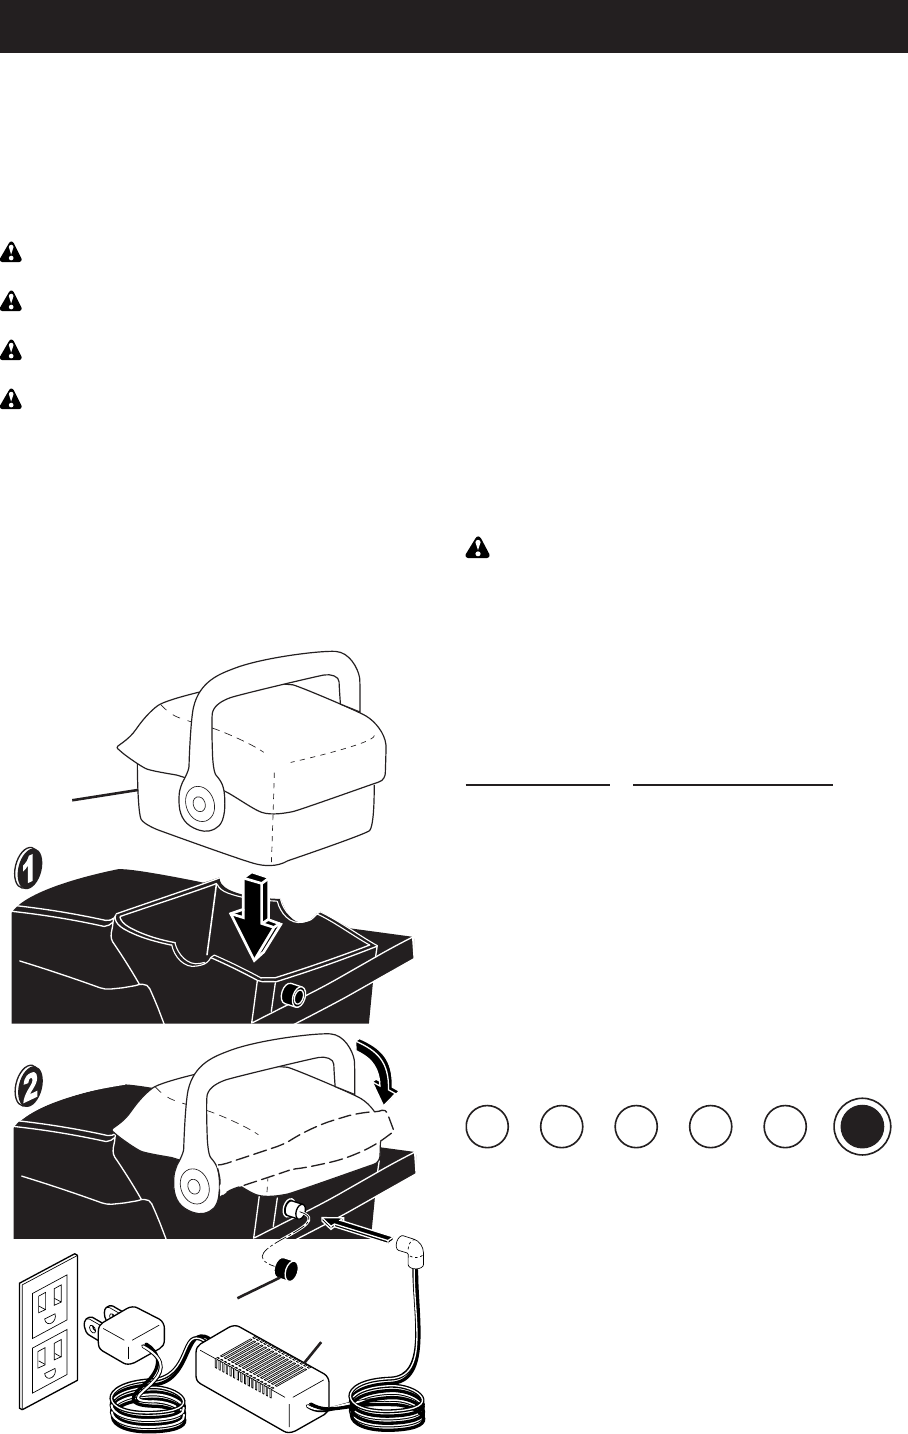
Battery
Battery
charger
Jack
cover
LED indicator lights Switch
Red
Yellow
Green
Green
Green
ASSEMBLY
TO PREPARE BATTERY
NOTE: Your battery must be charged be-
fore you can start your lawn mower. Avoid
charging battery in extremely hot or cold
temperatures.
IMPORTANT: Do not store charger inside
of motor or on top of battery.
WARNING: Use only the battery pack
supplied with this mower. Type: XXXXXX.
WARNING: Do not charge battery in
rain or wet locations.
WARNING: Do not attempt to operate
mower while battery is charging.
CAUTION: Only use battery charger
approved by the manufacturer of your
mower. Using a charger not approved by
the manufacturer of your mower is hazard-
ous, could damage your mower and void
your warranty.
NOTE: The battery can be charged while
in or out of the lawn mower.
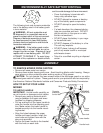
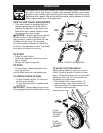
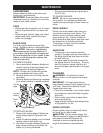
1. Install battery as shown and tilt handle
back to lock into position.
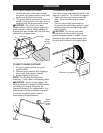
2. Remove the jack cover.
3. Plug the battery charger into the jack
on the battery.
4. Plug the other end of the battery
charger into a 120 volt A.C. outlet. The
red light on the charger will illuminate
indicating that the charger is working
and the battery is being charged.
When the battery is completely charged,
the red light will go out and the green light
will illuminate.
NOTE: It takes approximately 15 hours to
charge a fully discharged battery.
IMPORTANT: Battery should be charged
after each use regardless of power level.
Battery should always be stored in a fully
charged state. This battery will not develop
a charging memory.
WARNING: Do not store battery in tem-
peratures lower than 32° F (0° C).
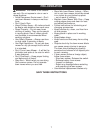
BATTERY CHARGER LED INDICATORS
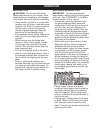
Press the Battery Capacity Indicator
Switch (on the back of the battery). The
LED lights will indicate the current battery
capacity as follows:
LIGHT MODE
BATTERY STATUS
RED Battery is at 20% capacity,
charging is required
YELLOW Battery is at 25% capacity,
will require charging soon
1 GREEN Battery is at 45% capacity
2 GREEN Battery is at 60% capacity
3 GREEN Battery is at full capacity


