


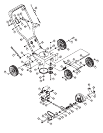

8
5
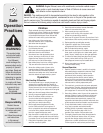
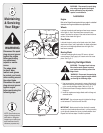
Operation
And
Adjustment
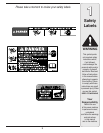
WARNING
Do not lower blade
if blade is over
concrete, asphalt,
rocks or the like. The
blade can strike the
supporting surface,
resulting in personal
injury or property
damage.
Never fill fuel tank
indoors, with engine
running or until the
engine has been
allowed to cool for
at least two minutes
after running.
The “Blade Control”
is a safety device.
Never attempt to
bypass its operation.
Rotating cutting
blade may throw
objects causing
personal injury.
Keep area clear of
bystanders and do
not operate without
guards in place.
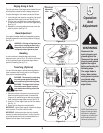
The operation of any edger can result
in foreign objects being thrown into the
eyes, which can result in severe eye
damage. Always wear safety glasses or
eye shields. We recommend wide vision safety mask
for over spectacles or standard safety glasses.
WARNING: Do not lower blade if blade
is over concrete, asphalt, rocks or
the like. Blade can strike supporting
surface, resulting in personal injury or
property damage.
Adding Gasoline And Oil
Service the engine with gasoline and oil as instructed
in the Engine Manual packed with your edger. Read
instructions carefully.
WARNING: Never fill fuel tank indoors,
with engine running or until the engine
has been allowed to cool for at least two
minutes after running.
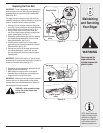
Starting The Engine
NOTE: Refer to the Engine Manual packed with your
edger for a detailed description of all engine-related
controls and components.
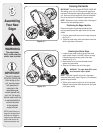
To start the edger’s engine, proceed as follows:
1. Attach the spark plug wire to the spark plug. Make
certain the metal cap on the end of the spark plug
wire is fastened securely over the metal tip on the
spark plug.
2. Move the blade depth control lever back to the
START position in the adjacent (top) notch.
3. Depress the primer bulb three times, pausing two to
three seconds between each push. In cold weather
(below 50°F /19°C), it may be necessary to depress
the primer bulb four or five times.
IMPORTANT: Using the primer to restart a warm engine
after a short shutdown is usually not necessary. Doing so
may result in a flooded engine.
4. Standing behind the unit, depress the blade control and
hold it against the upper handle with your left hand.
WARNING: This control mechanism is
a safety device. Never attempt to bypass
its operation.
5. With your right hand, grasp the recoil starter handle and
slowly pull the rope outward until engine reaches the
start of its compression cycle (the rope will pull slightly
harder at this point).
6. After slowly allowing the rope to recoil, pull the rope
with a rapid, continuous, full arm stroke. Keep a firm
grip on starter handle throughout the entire stroke.
7. Allow the starter handle to slowly return to the eyebolt.
NOTE: If the engine fails to start after three pulls, depress
the primer an additional two times before pulling the starter
rope again.
Stopping The Engine
To stop the edger’s engine, release the blade control.
NOTE: See your engine manual packed with your unit for
more detailed instructions.
WARNING: Rotating cutting blade may
throw objects causing personal injury.
Keep area clear of bystanders and do not
operate without guards in place.
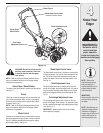
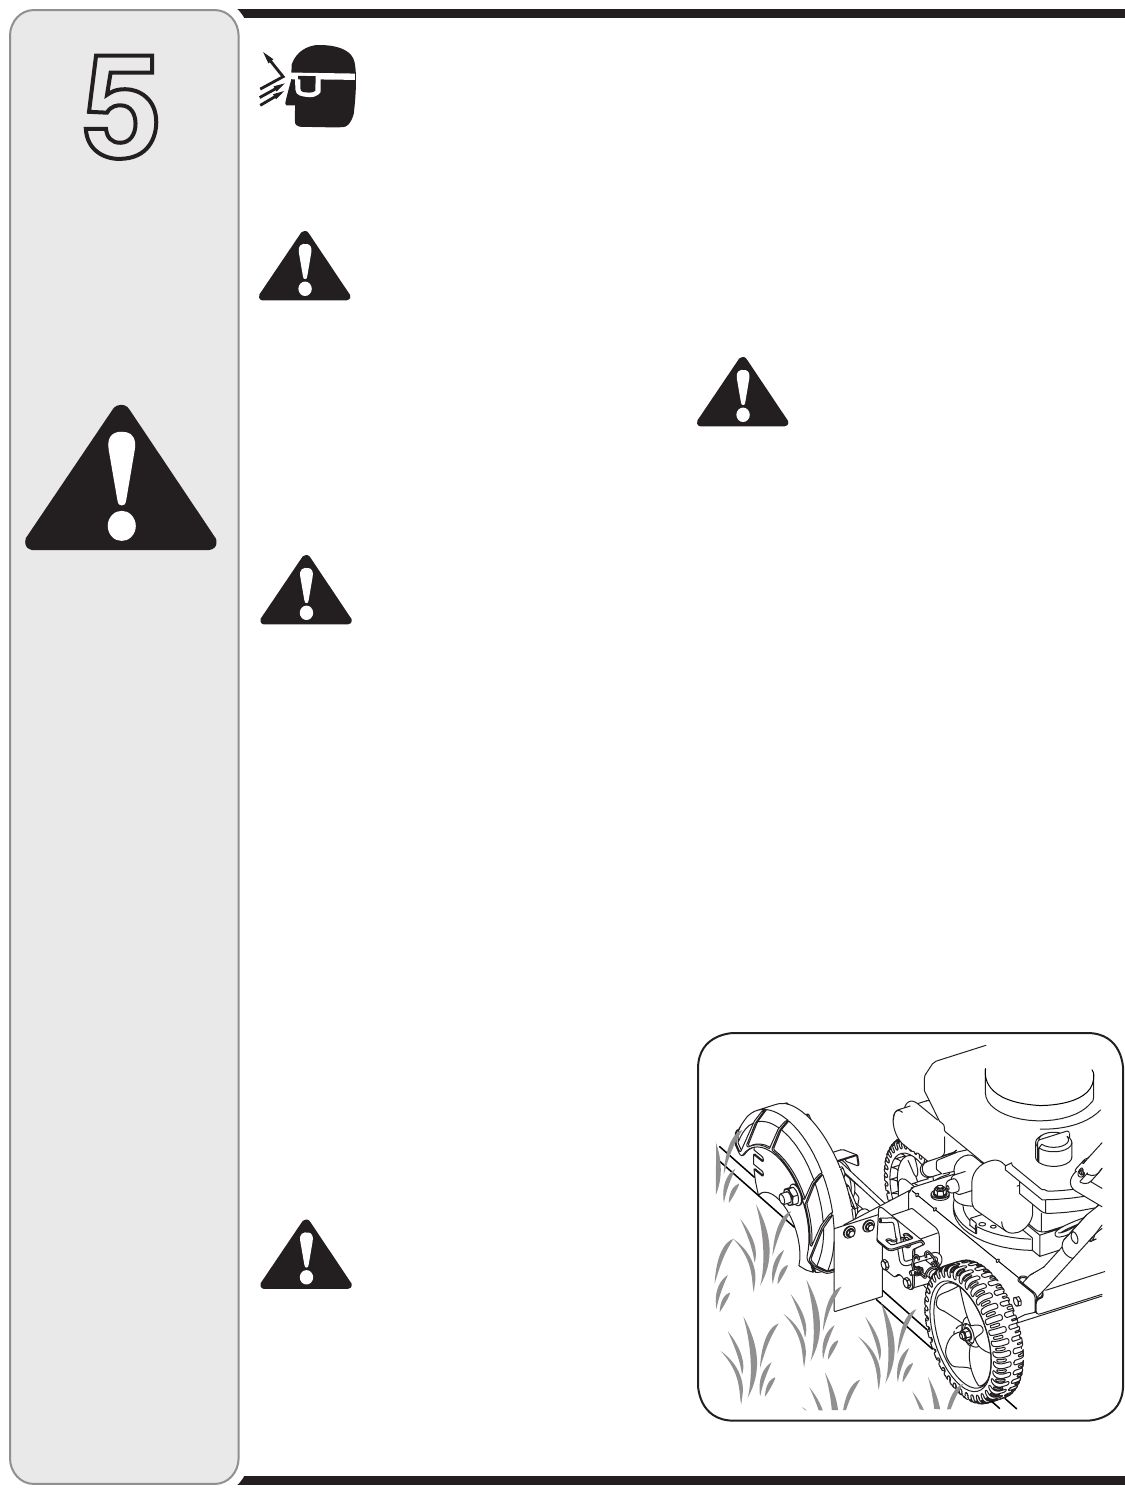
Edging
To begin edging, proceed as follows:
1. Move unit to area to be edged, making sure that the
left rear wheel is on a hard surface and the blade is
over the area to be cut. See Fig. 5–1.
2. With blade control lever in START position, make a
pass along area to be edged before proceeding to the
next notch. The further forward blade depth control
lever is moved, the deeper or lower the blade will cut
into the ground. Several passes may be necessary to
obtain desired depth of cut. Do not lower blade more
than one depth notch at a time without making a pass.
3. For best results, proceed slowly along path being edged,
slowly moving edger back and forth through cutting
area, again making sure to keep the left rear wheel on
the hard surface and the blade in the cutting path, close
to but not touching the edge of the hard surface.
4. Once you have finished edging selected area, raise the
blade control lever back into the START position, move
to the next area to be edged, and proceed again from
step 1.the curb to be edged along.
Figure 5–1