6
3
Setup and
Adjustment
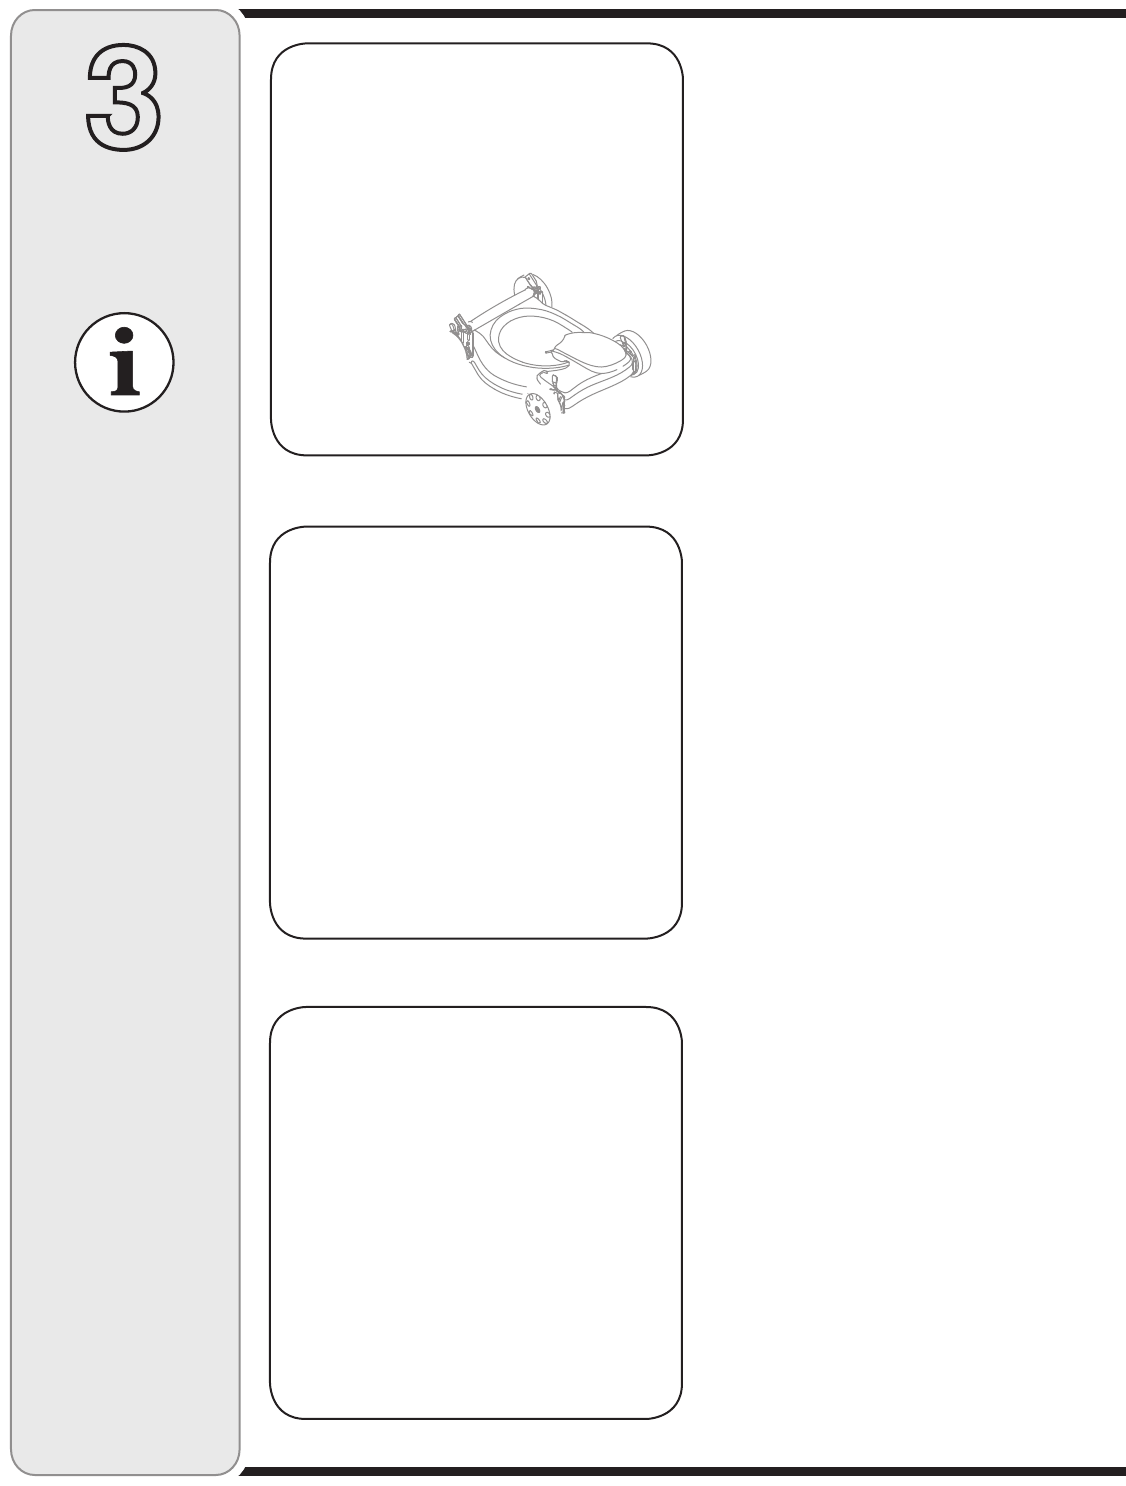
1. Before assembling, remove the unit from the carton.
a. Open carton and remove loose parts included with
unit. Do not crimp cables while removing loose
parts or the entire unit from the carton.
b. Cut corners and lay carton down flat. Remove
packing material. Roll or slide unit out of carton.
Check carton thoroughly for loose parts.
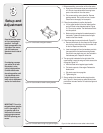
2. Follow the steps below to position the handle.
a. Lift the upper handle up from the folded position
and pull it back to the extended position, Figure
3-1. Do not crimp cables. The handle should click
into this position.
b. Make sure the carriage bolt is seated properly in
the handle. Tighten star knobs to secure upper
handle to the lower handle.
3. Follow these steps to secure the handle, Figure 3-2.
a. Remove the hairpin clip from the pivot rod. Using a
pair of pliers, insert hairpin clip into the other hole
on the rod. Repeat on other side.
b. Insert a carriage bolt from the hardware pack into
the upper hole on the handle mounting bracket.
Secure with one plastic wing nut, also included in
the hardware pack. Repeat on other side.
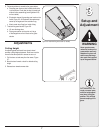
4. The rope guide is attached to the right side of the
upper handle. Loosen the wing nut which secures the
rope guide, Figure 3-3.
a. Hold the blade control against upper handle.
b. Pull starter rope out of the engine. Release the
blade control.
c. Slip starter rope into rope guide.
d. Tighten wing nut.
5. Secure cables to the lower handle using the cable
ties, Figure 3-4. Insert posts on cable ties into holes
provided on the lower handle. Pull cable ties tight and
trim excess.
Sad ehid he e
a if ee gig
eae i. Y igh
had ced he
igh ide f he e;
lef had ce
-
d he lef ide f
he e.
IPORTAT: Thi i i
hied ih galie
il i he egie. Fill
galie ad il a
iced i he acc-
aig egie aal
NEFORE eaig
e.
F hiig e
e i e ih
he heel i a l
cig heigh ii.
F e el aie
he cig ii il
i i deeied hich
heigh i e f
la, efe Adje
eci f ici.
Figure 3-1: Unfold handle and tighten hardware.
Figure 3-2: Secure handle to handle mounting brackets.
Figure 3-3: Pull recoil starter through rope guide and tighten.
Figure 3-4: Use cable ties to secure cables to lower handle.


